NodeJS Sample Application
Using Docker Compose 🐳
A simple sample CRUD application and see how seamlessly Keploy integrates with Express and MongoDB. Buckle up, it's gonna be a fun ride! 🎢
Don’t have Keploy installed yet?
Before running this sample, make sure Keploy is installed on your system.
👉 Go to Installation GuideGet Started! 🎬
Clone the repository and move to express-mongoose folder
git clone https://github.com/keploy/samples-typescript && cd samples-typescript/express-mongoose

# Install the dependencies
npm install
We will be using Docker compose to run the application as well as MongoDb on Docker container.
Lights, Camera, Record! 🎥
Fire up the application and mongoDB instance with Keploy. Keep an eye on the two key flags:
-c: Command to run the app (e.g., docker compose up).
--container-name: The container name in the docker-compose.yml for traffic interception.
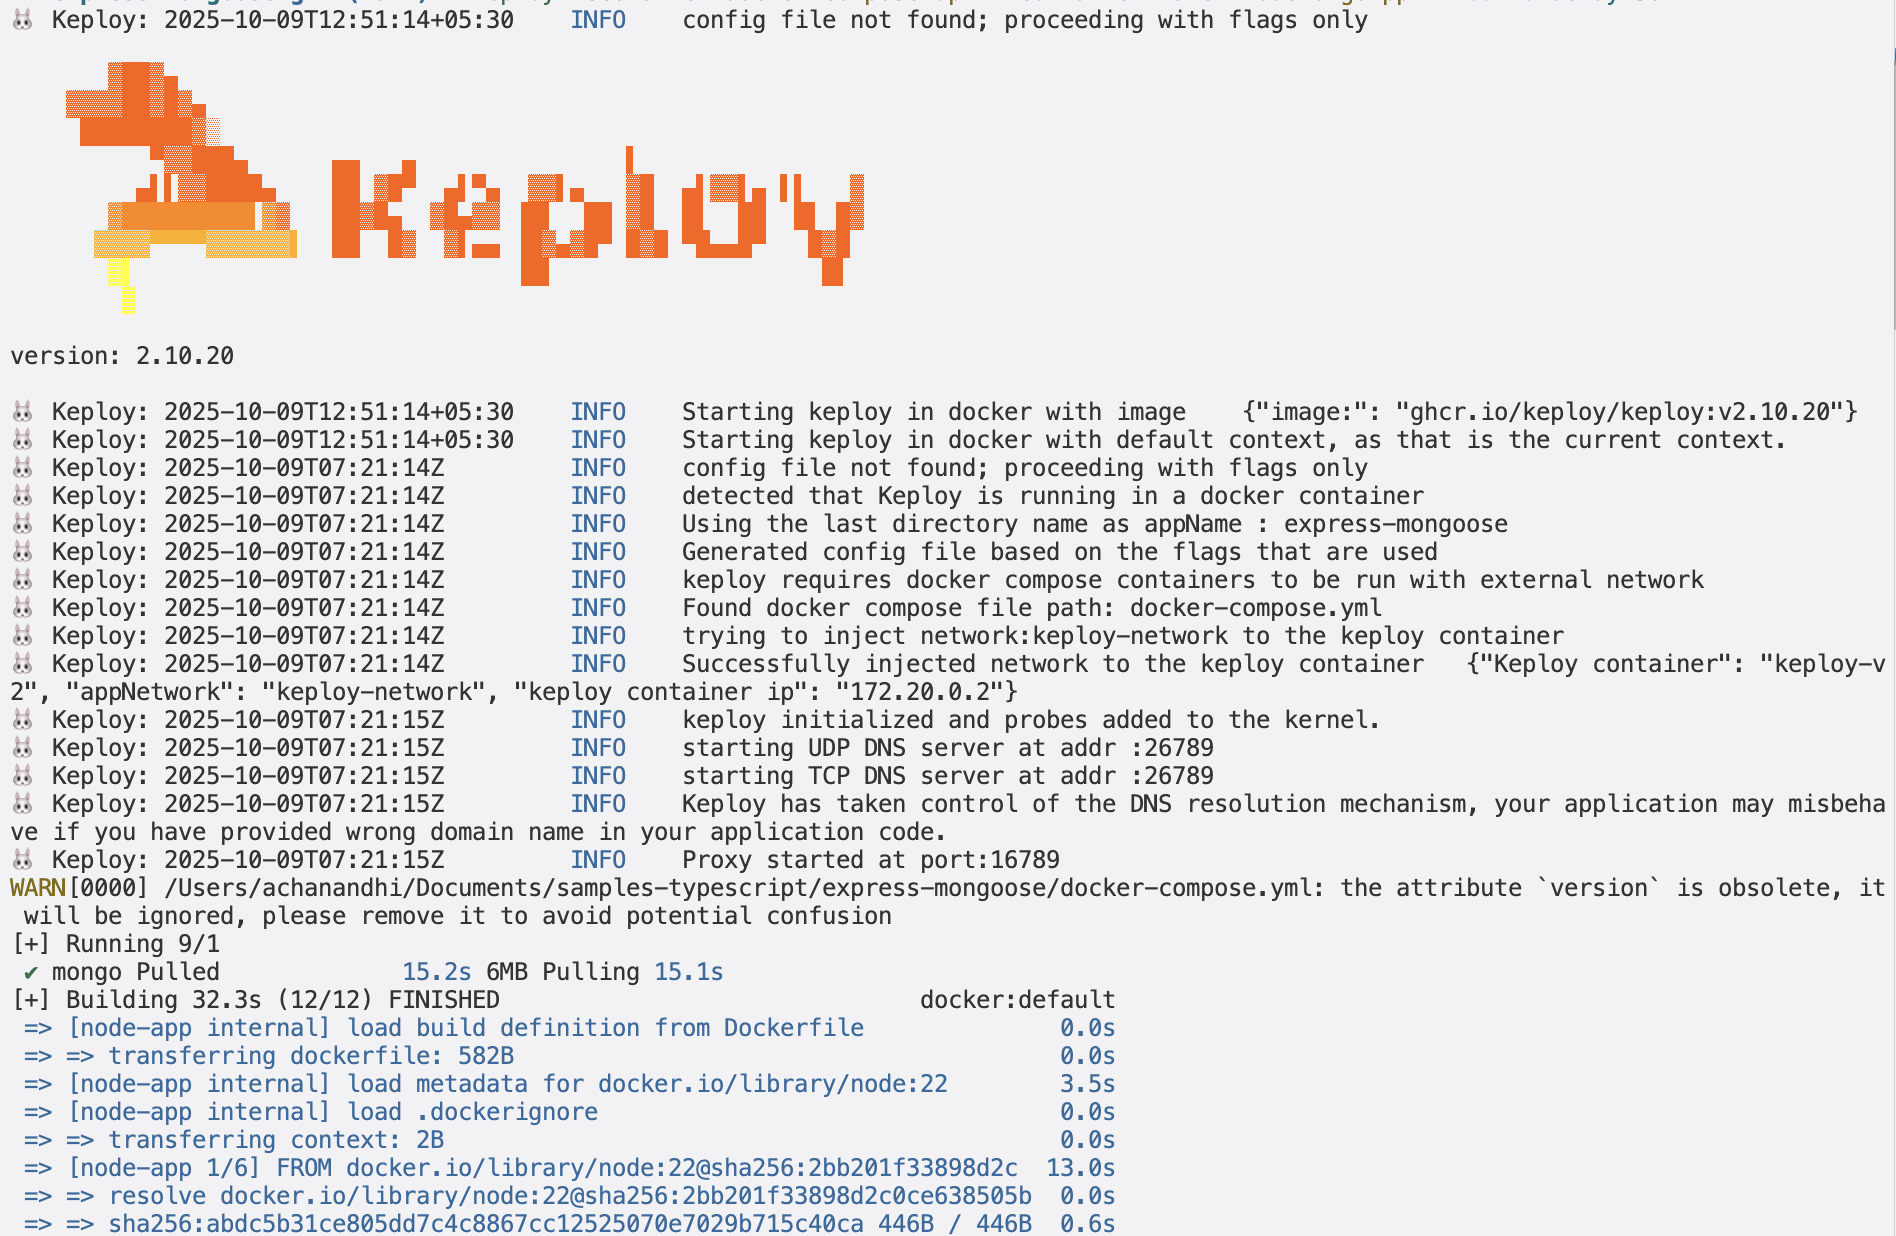
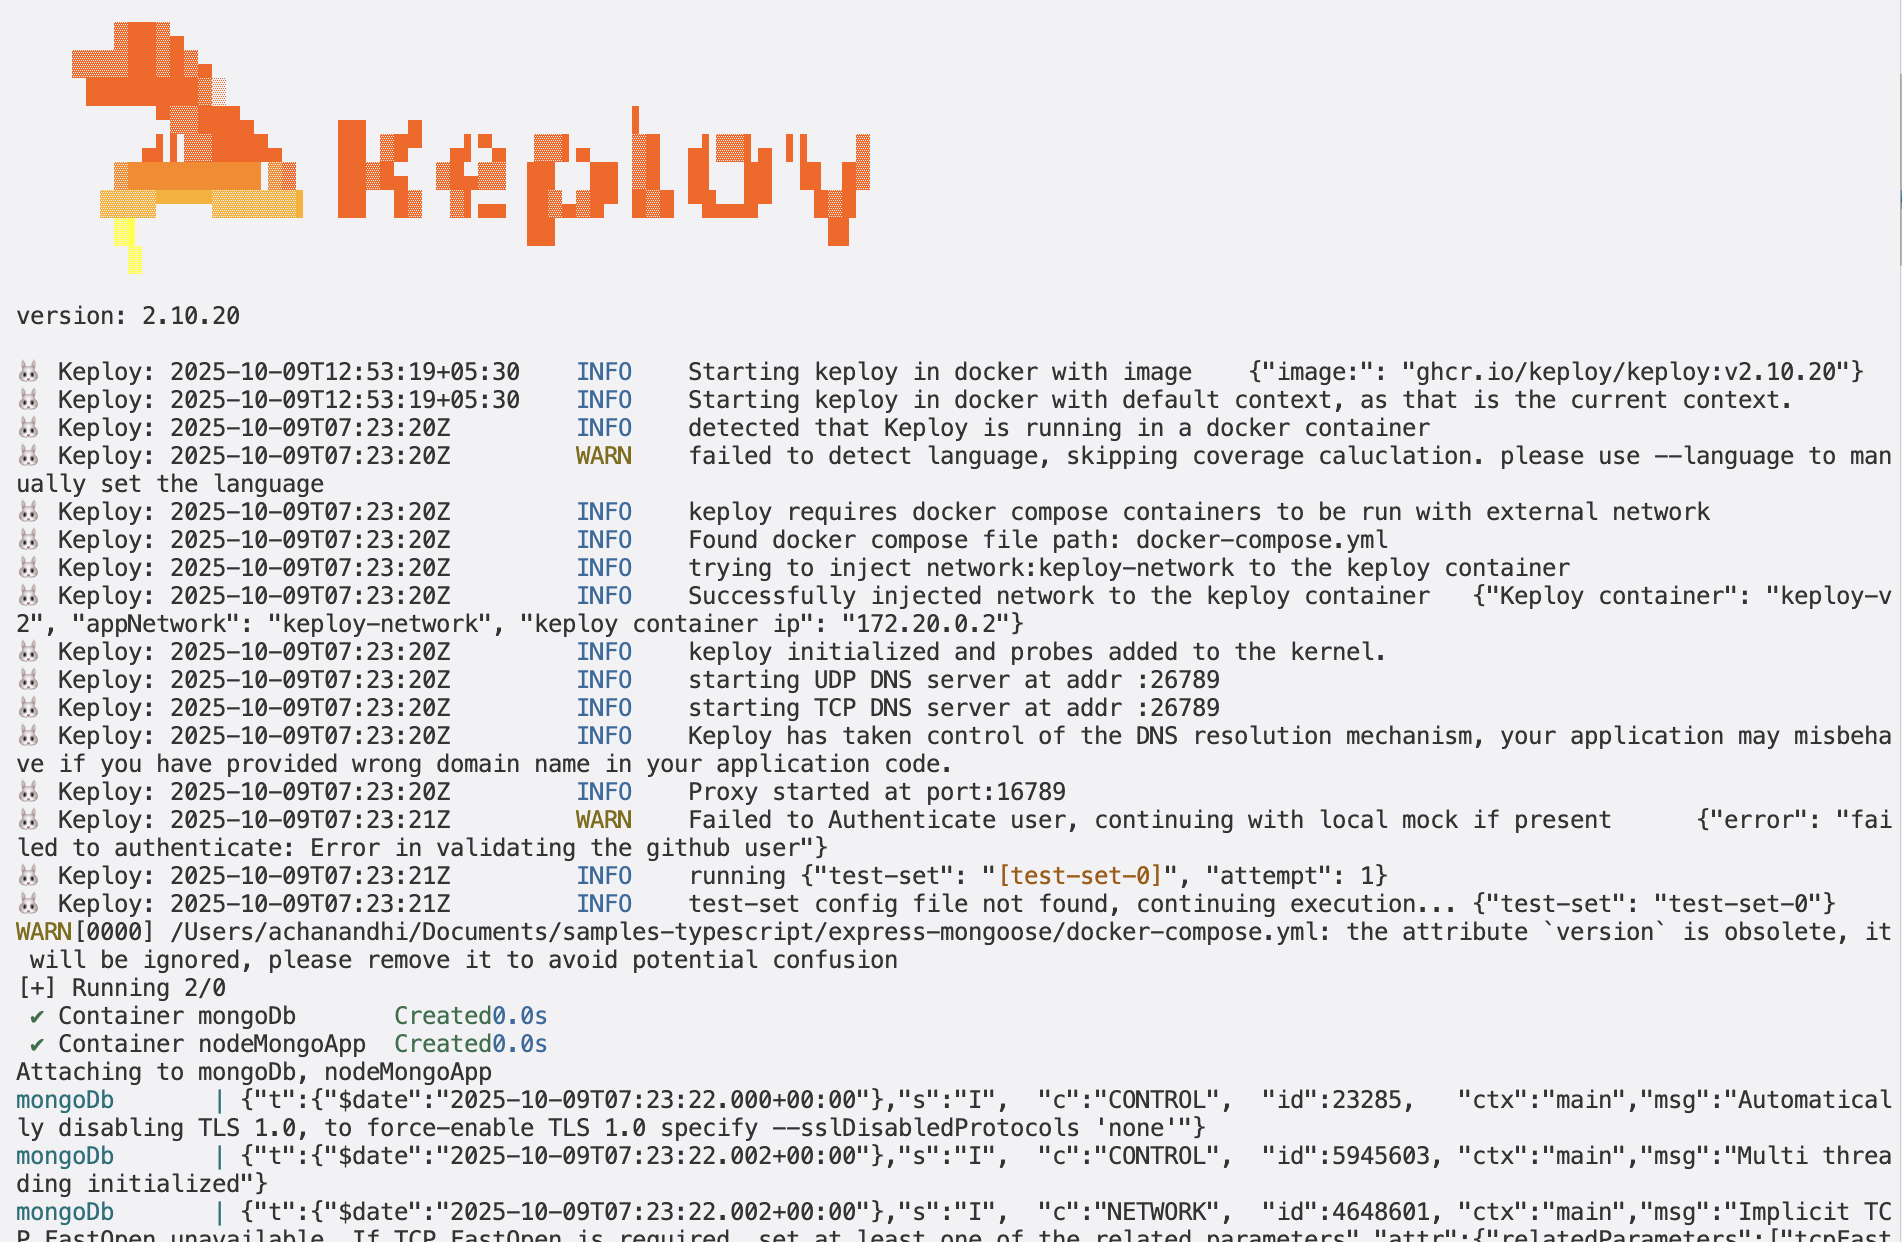
keploy record -c "docker compose up" --container-name "nodeMongoApp" --build-delay 50
🔥 Challenge time! Generate some test cases. How? Just make some API calls. Postman, Hoppscotch or even curl - take your pick!
Let's generate the testcases.
Make API Calls using Postman or cURL command. Keploy with capture those calls to generate the test-suites containing testcases and data mocks.
curl --request POST \
--url http://localhost:8000/students \
 --header 'content-type: application/json' \
 --data '{
  "name":"John Do",
  "email":"john@xyiz.com",
  "phone":"0123456799"
  }'
Here's a peek of what you get:
Student registration successful!
🎉 Woohoo! With a simple API call, you've crafted a test case with a mock! Dive into the Keploy directory and feast your eyes on the newly minted test-1.yml and mocks.yml
Time to perform more API magic! Follow the breadcrumbs... or Make more API Calls
curl --request GET \
--url http://localhost:8080/students
Or simply wander over to your browser and visit http://localhost:8000/students.
Did you spot the new test and mock scrolls in your project library? Awesome! 👏
Run Tests
Time to put things to the test 🧪
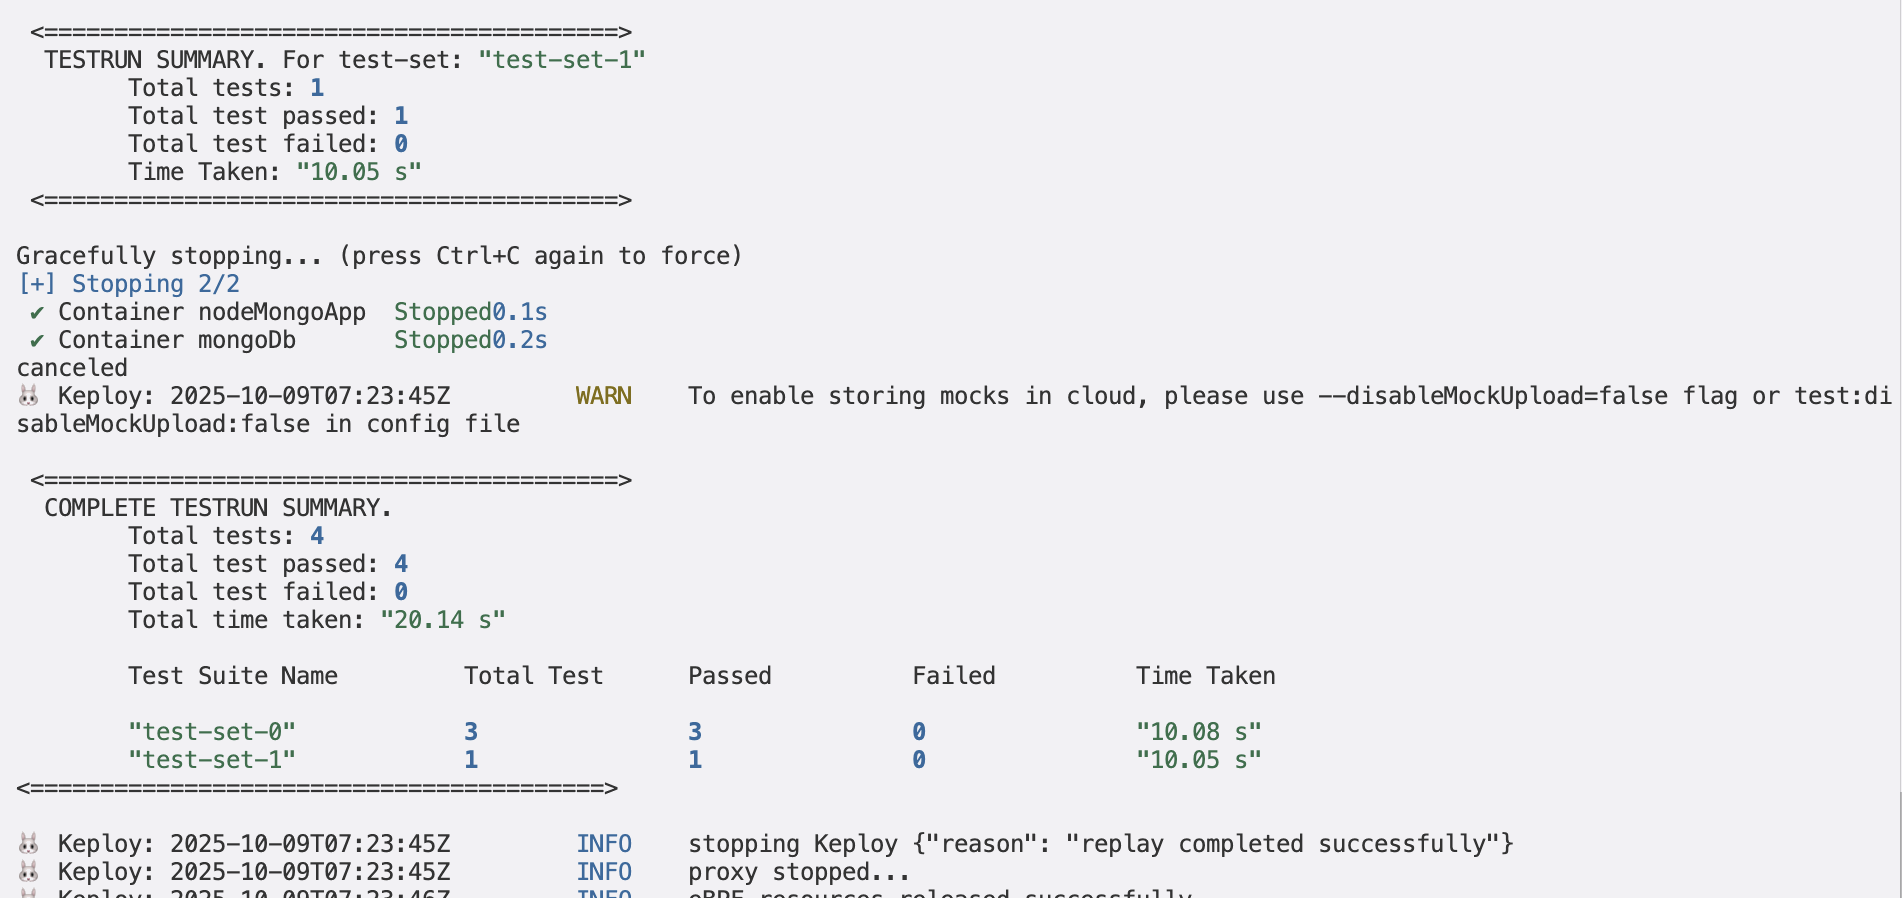
keploy test -c "docker compose up" --container-name "nodeMongoApp" --build-delay 50 --delay 10
The
--delayflag? Oh, that's just giving your app a little breather (in seconds) before the test cases come knocking.
Wrapping it up 🎉
Congrats on the journey so far! You've seen Keploy's power, flexed your coding muscles, and had a bit of fun too! Now, go out there and keep exploring, innovating, and creating! Remember, with the right tools and a sprinkle of fun, anything's possible.😊🚀
Happy coding! ✨👩💻👨💻✨
Running App Locally on Linux/WSL 🐧
A simple sample CRUD application and see how seamlessly Keploy integrates with Express and MongoDB. Buckle up, it's gonna be a fun ride! 🎢
Don’t have Keploy installed yet?
Before running this sample, make sure Keploy is installed on your system.
👉 Go to Installation GuideGet Started! 🎬
Clone the repository and move to express-mongoose folder
git clone https://github.com/keploy/samples-typescript && cd samples-typescript/express-mongoose

# Install the dependencies
npm install
We'll be running our sample application right on Linux, but just to make things a tad more thrilling, we'll have the database (mongoDB) chill on Docker. Ready? Let's get the party started!🎉
If you are using WSL on windows then use below to start wsl in the user's home directory:
wsl ~
First things first, update the MongoDB URL on line 4, in db/connection.js, from mongodb://mongoDb:27017/keploy to mongodb://127.0.0.1:27017/keploy.
🍃 Kickstart MongoDB
We are going to run a mongo docker container which requires an existing docker network. We need to run the following command to create the required docker network:
docker network create keploy-network
Now, let's breathe life into your mongo container. A simple spell should do the trick:
docker compose up mongo
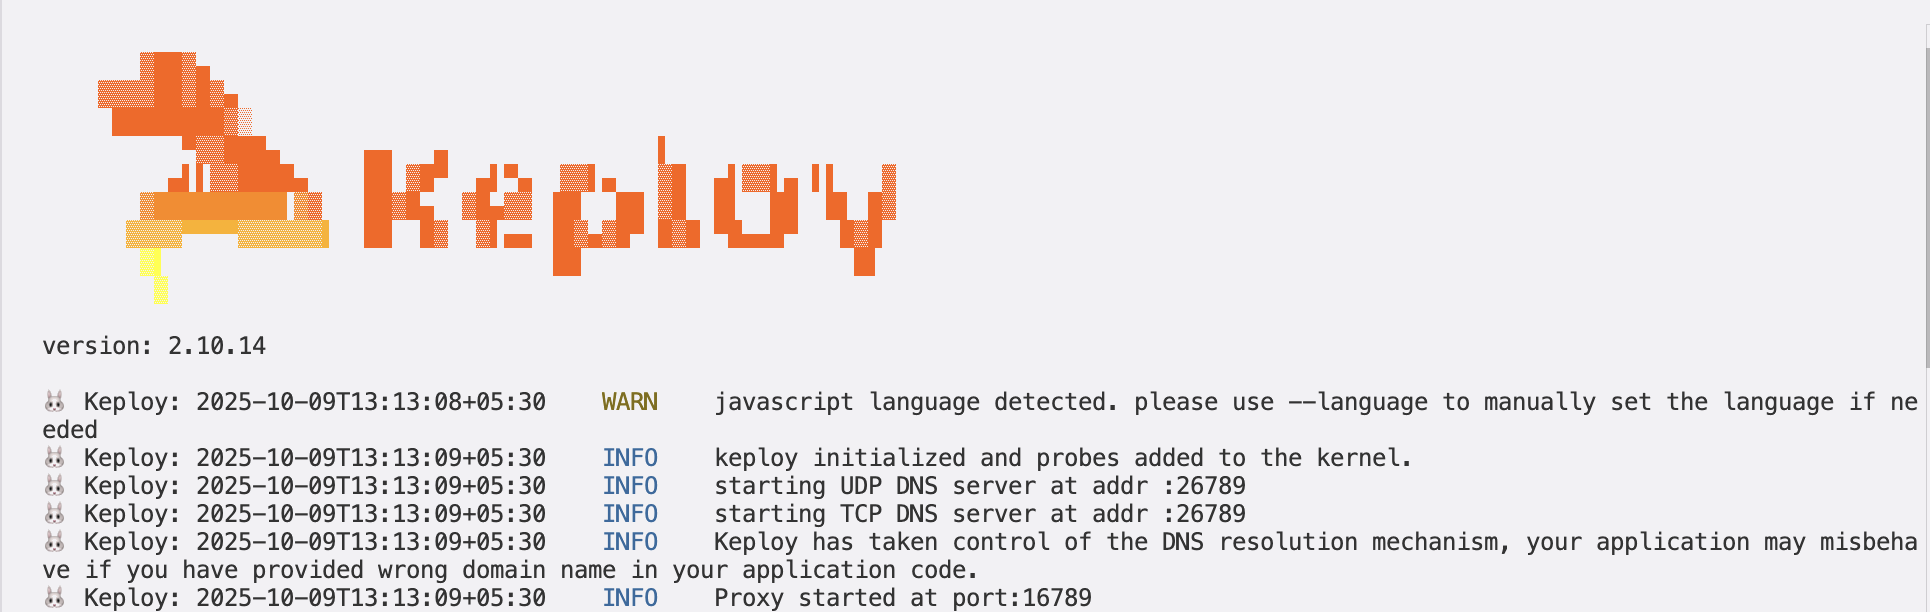
📼 Roll the Tape - Recording Time!
Ready, set, record! Here's how:
sudo -E env PATH=$PATH keploy record -c 'node src/app.js'
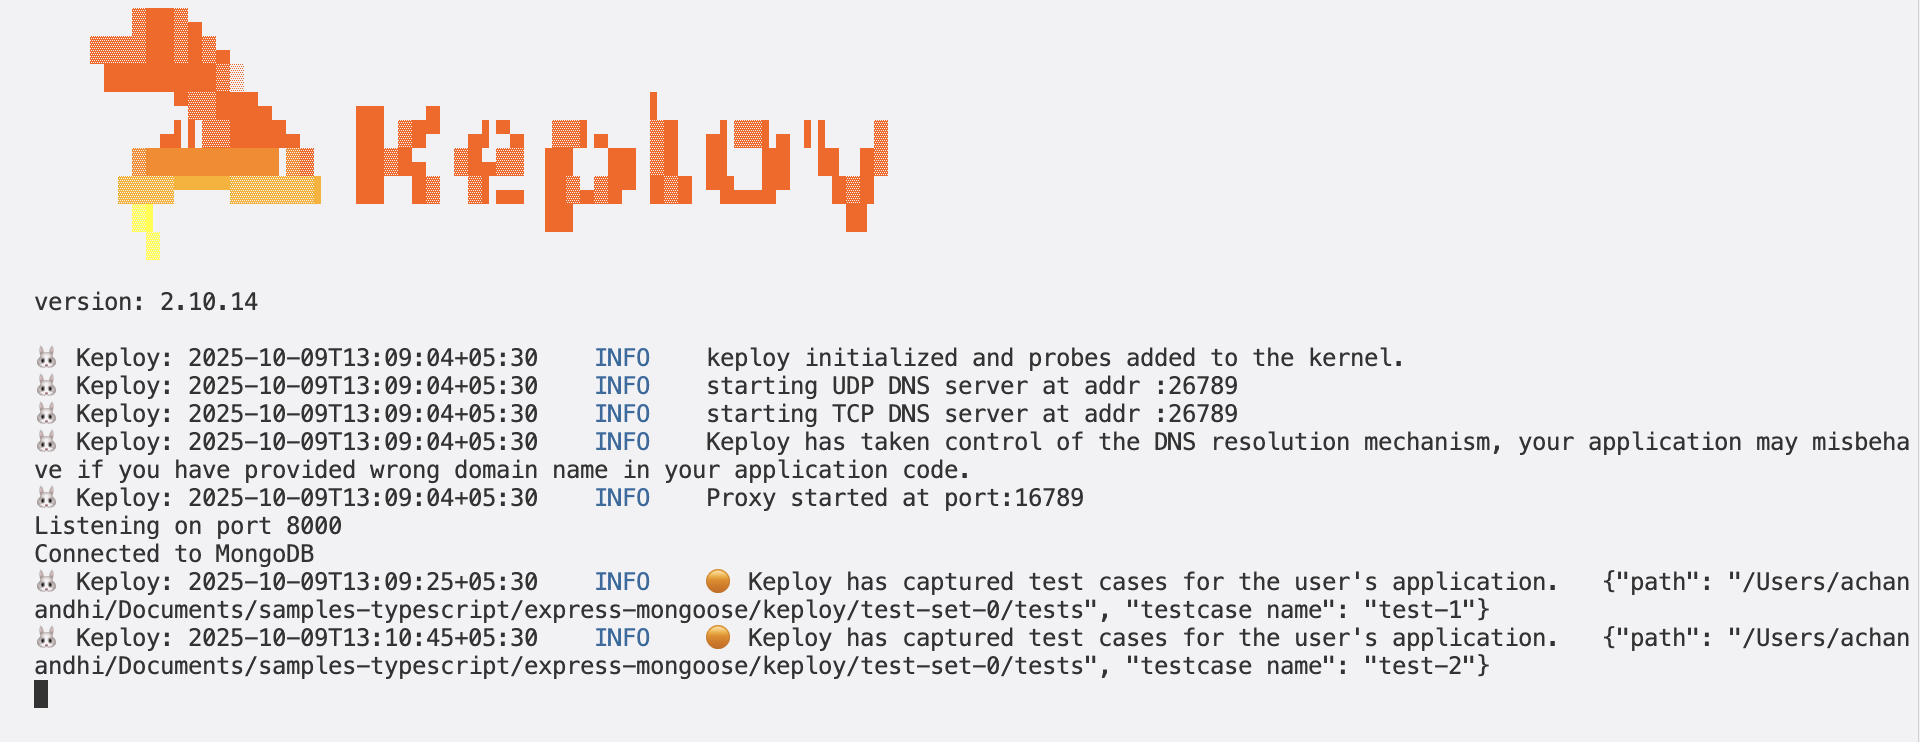
Keep an eye out for the -c flag! It's the command charm to run the app.
Alright, magician! With the app alive and kicking, let's weave some test cases. The spell? Making some API calls! Postman, Hoppscotch, or the classic curl - pick your wand.
Let's generate the testcases.
Make API Calls using Postman or cURL command. Keploy with capture those calls to generate the test-suites containing testcases and data mocks.
curl --request POST \
--url http://localhost:8000/students \
--header 'content-type: application/json' \
--data '{
  "name":"John Do",
  "email":"john@xyiz.com",
  "phone":"0123456799"
  }'
Here's a peek of what you get:
Student registration successful!
🎉 Woohoo! Give yourself a pat on the back! With that simple spell, you've conjured up a test case with a mock! Explore the Keploy directory and you'll discover your handiwork in test-1.yml and mocks.yml.
Now, the real fun begins. Let's weave more spells!
🚀 Follow the URL road...!
curl --request GET \ --url http://localhost:8000/students
Or simply wander over to your browser and visit http://localhost:8000/students.
Did you spot the new test and mock scrolls in your project library? Awesome! 👏
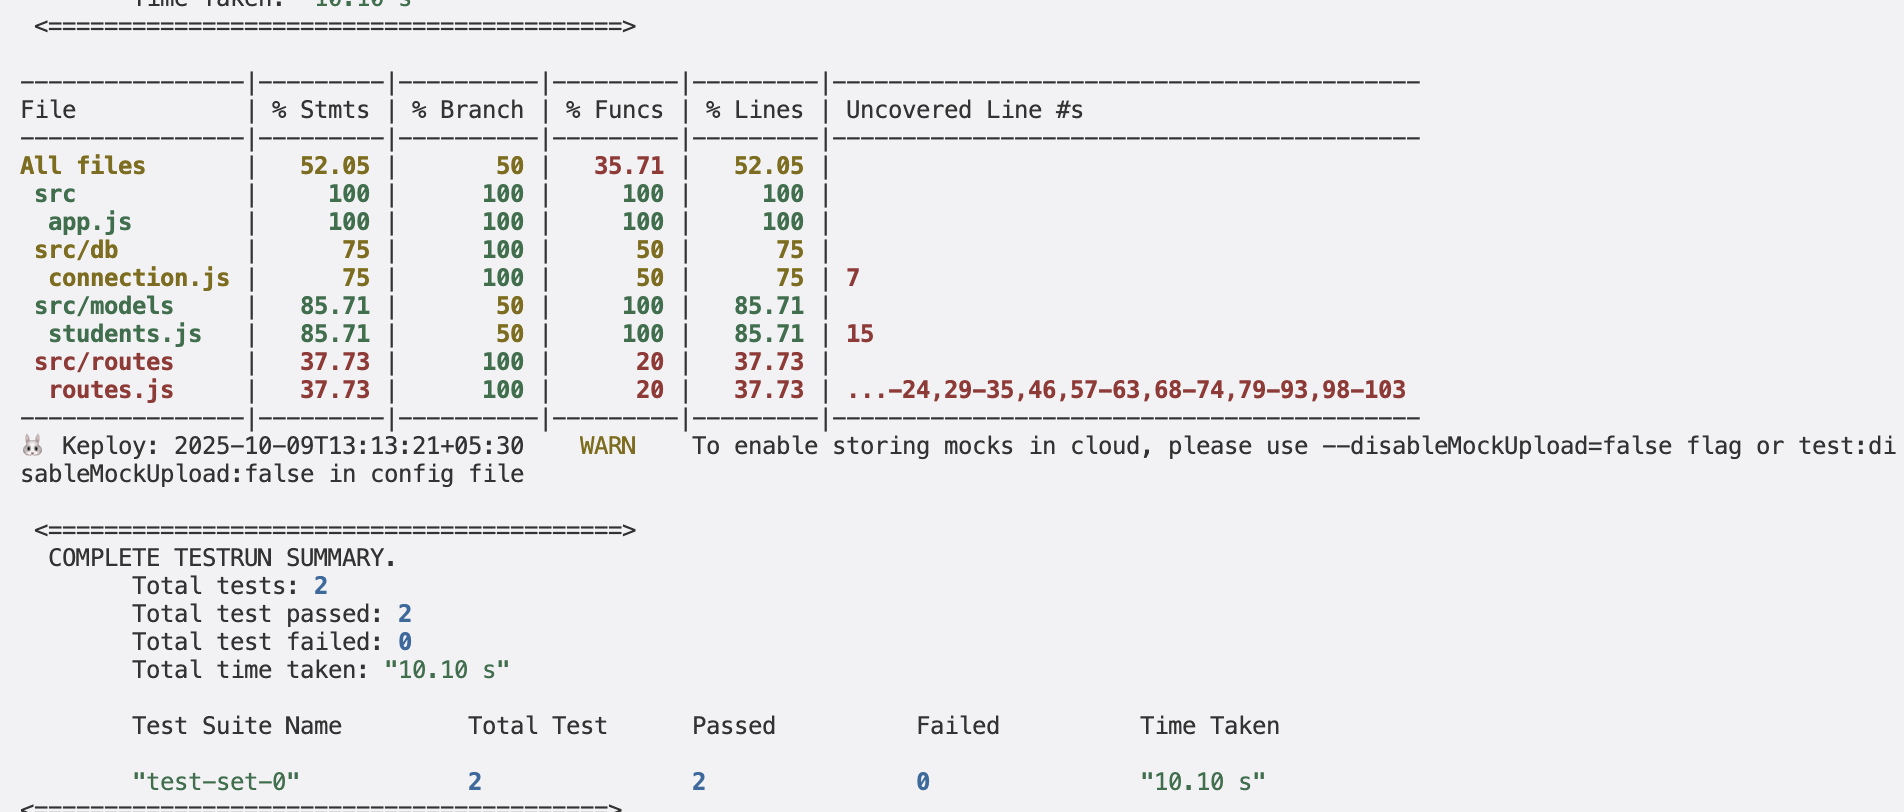
Run Tests 🏁
Ready to put your spells to the test?
sudo -E env PATH=$PATH keploy test -c "node src/app.js" --delay 10
output should look like
Wrapping it up 🎉
Congrats on the journey so far! You've seen Keploy's power, flexed your coding muscles, and had a bit of fun too! Now, go out there and keep exploring, innovating, and creating! Remember, with the right tools and a sprinkle of fun, anything's possible.😊🚀