NodeJS Sample Application
Introduction
A simple sample CRUD application and see how seamlessly Keploy integrates with Express and MongoDB. Buckle up, it's gonna be a fun ride! 🎢
🛠️ Platform-Specific Requirements for Keploy
Below is a table summarizing the tools needed for both native and Docker installations of Keploy on MacOS, Windows, and Linux:
| Operating System | Without Docker | Docker Installation | Prerequisites |
|---|---|---|---|
| - Docker Desktop version must be 4.25.2 or above - For running Keploy on MacOS natively, refer to Guide | |||
- Use WSL wsl --install - Windows 10 version 2004 and higher (Build 19041 and higher) or Windows 11 | |||
| Linux kernel 5.15 or higher |
On MacOS and Windows, additional tools are required for Keploy due to the lack of native eBPF support.
Keploy Installation
Quick Installation Using CLI
Let's get started by setting up the Keploy alias with this command:
curl --silent -O -L https://keploy.io/install.sh && source install.sh
You should see something like this:
       ▓██▓▄
    ▓▓▓▓██▓█▓▄
     ████████▓▒
          ▀▓▓███▄      ▄▄   ▄               ▌
         ▄▌▌▓▓████▄    ██ ▓█▀  ▄▌▀▄  ▓▓▌▄   ▓█  ▄▌▓▓▌▄ ▌▌   ▓
       ▓█████████▌▓▓   ██▓█▄  ▓█▄▓▓ ▐█▌  ██ ▓█  █▌  ██  █▌ █▓
      ▓▓▓▓▀▀▀▀▓▓▓▓▓▓▌  ██  █▓  ▓▌▄▄ ▐█▓▄▓█▀ █▓█ ▀█▄▄█▀   █▓█
       ▓▌                           ▐█▌                   █▌
        ▓

Keploy CLI

Available Commands:
  example           Example to record and test via keploy
  config --generate generate the keploy configuration file
  record            record the keploy testcases from the API calls
  test              run the recorded testcases and execute assertions
  update            Update Keploy

Flags:
      --debug     Run in debug mode
  -h, --help      help for keploy
  -v, --version   version for keploy

Use "keploy [command] --help" for more information about a command.
🎉 Wohoo! You are all set to use Keploy.
Other Installation Methods
Install using Docker
Downloading and running Keploy in Docker
On macOS
Note : Keploy is not supported natively on MacOS, so you can follow the below method to run with docker
-
Open up a terminal window.
-
Create a bridge network in Docker using the following docker network create command:
docker network create keploy-network
- Run the following command to start the Keploy container:
alias keploy="docker run --name keploy-v2 -p 16789:16789 --network keploy-network --privileged --pid=host -v $(pwd):$(pwd) -w $(pwd) -v /sys/fs/cgroup:/sys/fs/cgroup -v /sys/kernel/debug:/sys/kernel/debug -v /sys/fs/bpf:/sys/fs/bpf -v /var/run/docker.sock:/var/run/docker.sock --rm ghcr.io/keploy/keploy"
Downloading and running Keploy in Native
Downloading and running Keploy in Native
Prequisites:
- Linux Kernel version 5.15 or higher
- Run
uname -ato verify the system architecture. - In case of Windows, use WSL with Ubuntu 20.04 LTS or higher.
Downloading and running Keploy On WSL/Linux AMD
On WSL/Linux AMD
- Open the terminal Session.
- Run the following command to download and install Keploy:
curl --silent --location "https://github.com/keploy/keploy/releases/latest/download/keploy_linux_amd64.tar.gz" | tar xz --overwrite -C /tmp
sudo mkdir -p /usr/local/bin && sudo mv /tmp/keploy /usr/local/bin/keploy
On WSL/Linux ARM
- Open the terminal Session
- Run the following command to download and install Keploy:
curl --silent --location "https://github.com/keploy/keploy/releases/latest/download/keploy_linux_arm64.tar.gz" | tar xz --overwrite -C /tmp
sudo mkdir -p /usr/local/bin && sudo mv /tmp/keploy /usr/local/bin/keploy
Note: Keploy is not supported on MacOS natively.
Setting up the Docker Desktop for WSL 2
- Install Docker Desktop for Windows from here.
When developing on Windows with Docker Desktop and WSL 2, it's crucial to configure Docker Desktop to allow WSL 2 distributions to access the Docker daemon. This setup enables seamless integration between your Windows environment, WSL 2 Linux distros, and Docker.
By default, Docker Desktop may not be configured to work with all WSL 2 distros out of the box. Proper configuration ensures that you can run Docker commands from within your WSL 2 environment, allowing for a more native Linux development experience while leveraging the power of Windows.
This setup is essential for Keploy to function correctly in a WSL 2 environment, as it needs to interact with the Docker daemon to manage containers and networks effectively. For detailed instructions on how to configure
Docker Desktopfor WSL 2, please refer to the official Docker documentation.
Get Started! 🎬
Clone the repository and move to express-mongoose folder
git clone https://github.com/keploy/samples-typescript && cd samples-typescript/express-mongoose

# Install the dependencies
npm install
Installation 📥
Depending on your OS, choose your adventure: There are 2 ways you can run this sample application.
- Using Docker compose : running application as well as MongoDb on Docker container
- Using Docker container for mongoDb and running application locally
Using Docker Compose 🐳
We will be using Docker compose to run the application as well as MongoDb on Docker container.
Lights, Camera, Record! 🎥
Fire up the application and mongoDB instance with Keploy. Keep an eye on the two key flags:
-c: Command to run the app (e.g., docker compose up).
--container-name: The container name in the docker-compose.yml for traffic interception.
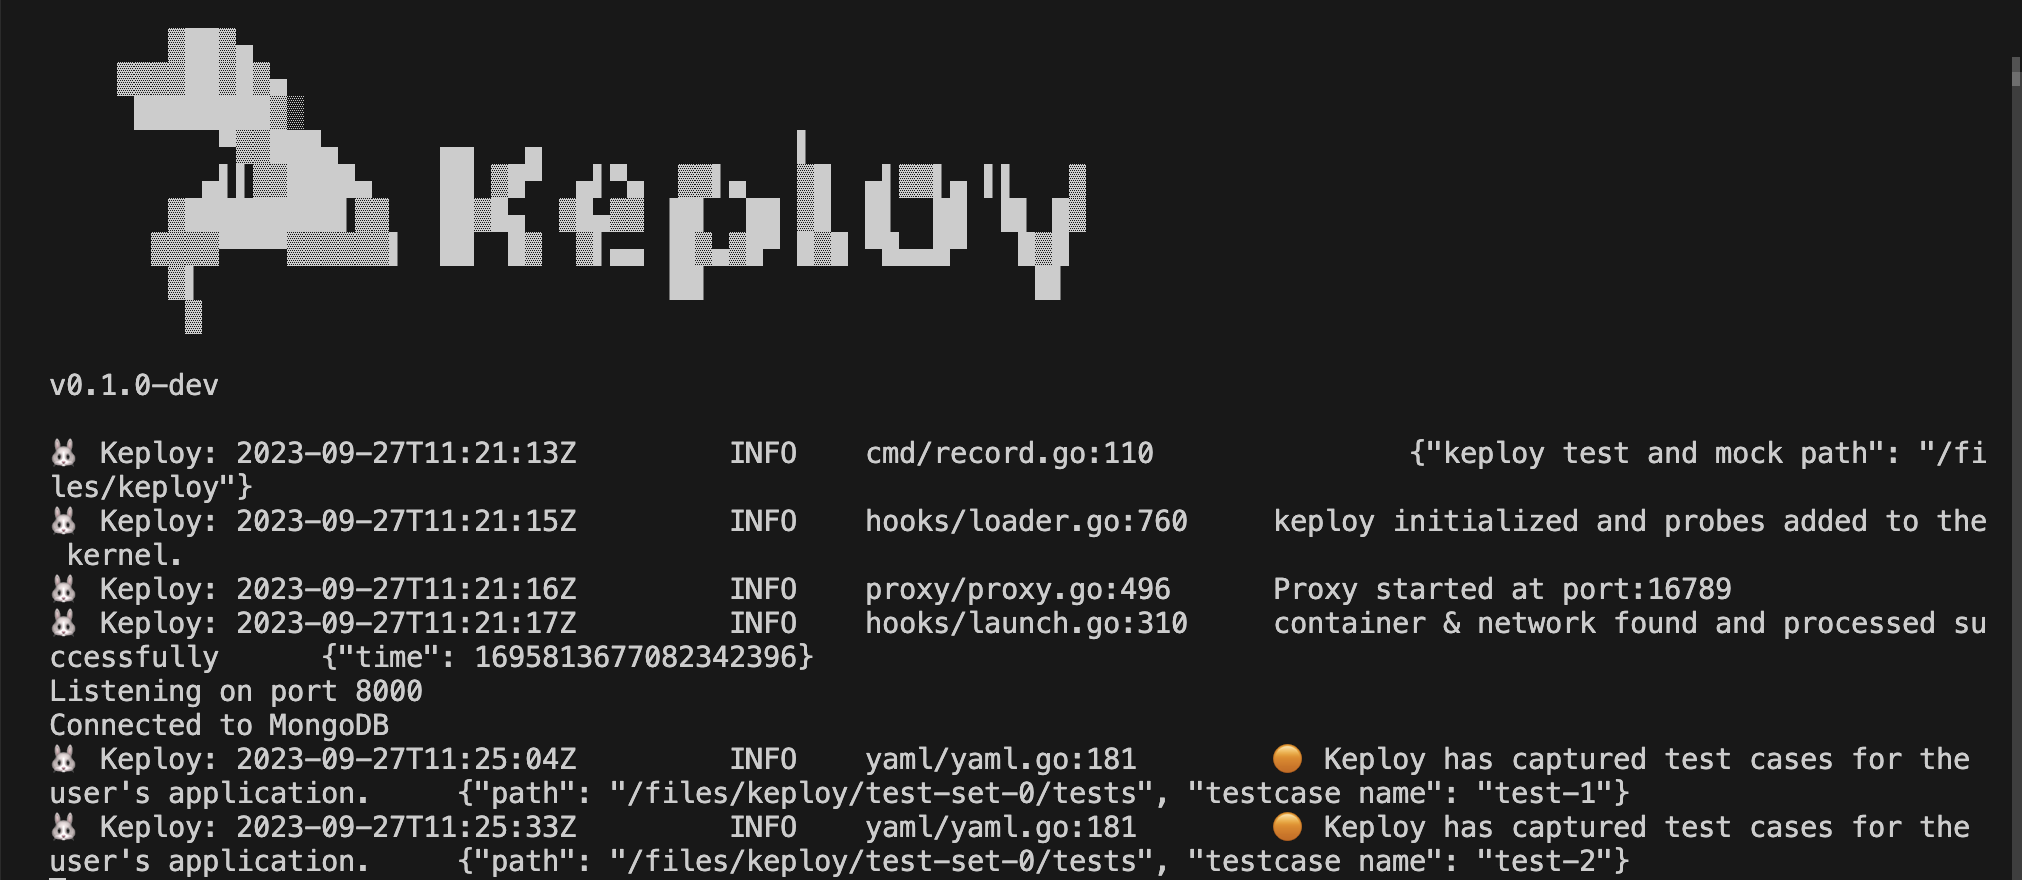
keploy record -c "docker compose up" --container-name "nodeMongoApp" --build-delay 50
🔥 Challenge time! Generate some test cases. How? Just make some API calls. Postman, Hoppscotch or even curl - take your pick!
Let's generate the testcases.
Make API Calls using Postman or cURL command. Keploy with capture those calls to generate the test-suites containing testcases and data mocks.
curl --request POST \
--url http://localhost:8000/students \
 --header 'content-type: application/json' \
 --data '{
  "name":"John Do",
  "email":"john@xyiz.com",
  "phone":"0123456799"
  }'
Here's a peek of what you get:
Student registration successful!
🎉 Woohoo! With a simple API call, you've crafted a test case with a mock! Dive into the Keploy directory and feast your eyes on the newly minted test-1.yml and mocks.yml
Time to perform more API magic! Follow the breadcrumbs... or Make more API Calls
curl --request GET \
--url http://localhost:8080/students
Or simply wander over to your browser and visit http://localhost:8000/students.
Did you spot the new test and mock scrolls in your project library? Awesome! 👏
Run Tests
Time to put things to the test 🧪
keploy test -c "docker compose up" --container-name "nodeMongoApp" --build-delay 50 --delay 10
The
--delayflag? Oh, that's just giving your app a little breather (in seconds) before the test cases come knocking.
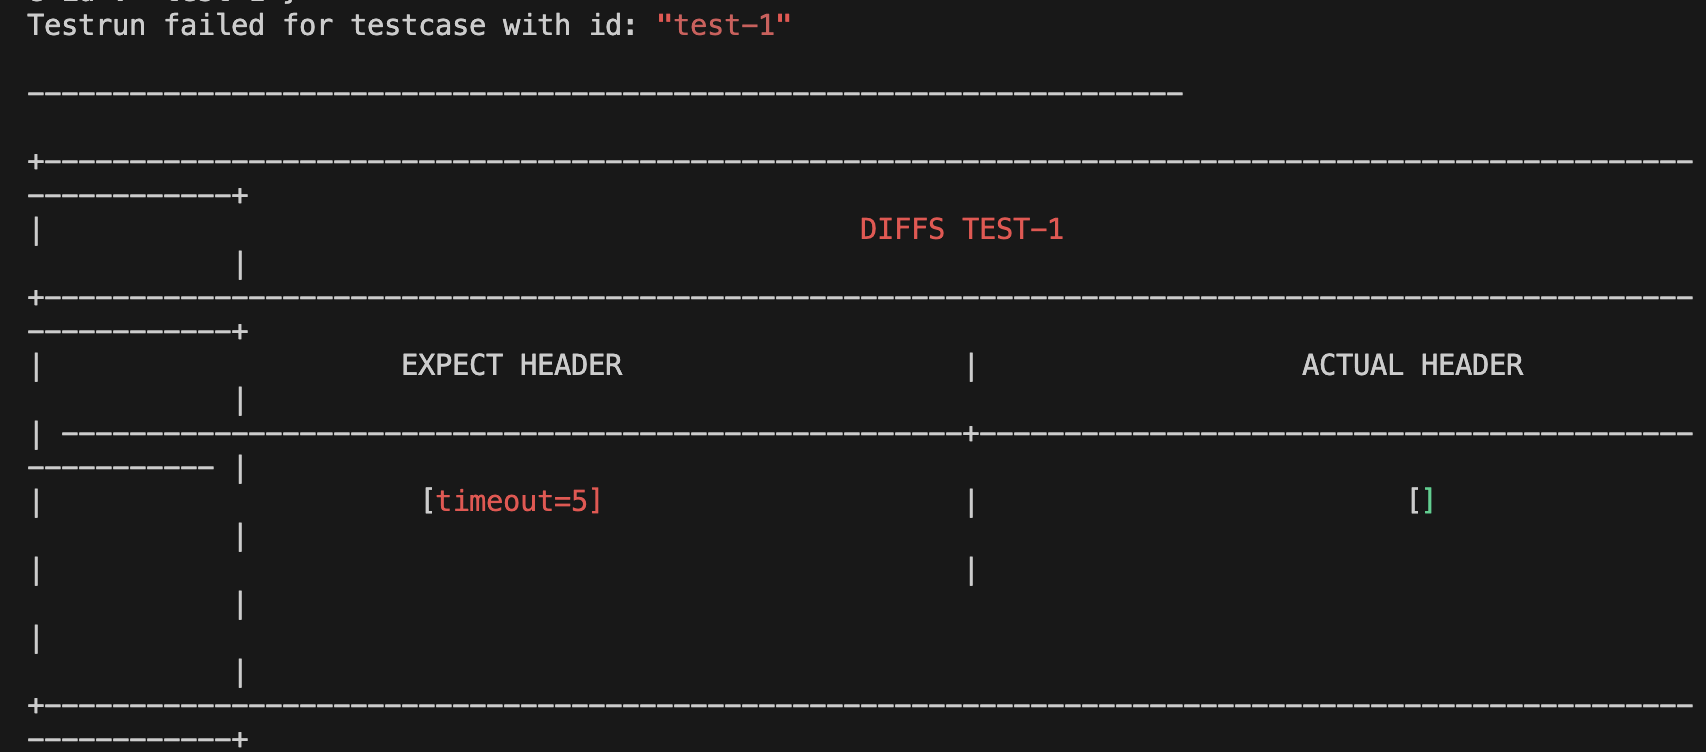
Your results should be looking all snazzy, like this:

Worry not, just add the ever-changing fields (like our ts here) to the noise parameter to dodge those assertions.

Wrapping it up 🎉
Congrats on the journey so far! You've seen Keploy's power, flexed your coding muscles, and had a bit of fun too! Now, go out there and keep exploring, innovating, and creating! Remember, with the right tools and a sprinkle of fun, anything's possible.😊🚀
Happy coding! ✨👩💻👨💻✨
**********************************___**********************************
Running App Locally on Linux/WSL 🐧
We'll be running our sample application right on Linux, but just to make things a tad more thrilling, we'll have the database (mongoDB) chill on Docker. Ready? Let's get the party started!🎉
If you are using WSL on windows then use below to start wsl in the user's home directory:
wsl ~
First things first, update the MongoDB URL on line 4, in db/connection.js, from mongodb://mongoDb:27017/keploy to mongodb://127.0.0.1:27017/keploy.
🍃 Kickstart MongoDB
We are going to run a mongo docker container which requires an existing docker network. We need to run the following command to create the required docker network:
docker network create keploy-network
Now, let's breathe life into your mongo container. A simple spell should do the trick:
docker compose up mongo
📼 Roll the Tape - Recording Time!
Ready, set, record! Here's how:
sudo -E env PATH=$PATH keploy record -c 'node src/app.js'
Keep an eye out for the -c flag! It's the command charm to run the app.
Alright, magician! With the app alive and kicking, let's weave some test cases. The spell? Making some API calls! Postman, Hoppscotch, or the classic curl - pick your wand.
Let's generate the testcases.
Make API Calls using Postman or cURL command. Keploy with capture those calls to generate the test-suites containing testcases and data mocks.
curl --request POST \
--url http://localhost:8000/students \
--header 'content-type: application/json' \
--data '{
  "name":"John Do",
  "email":"john@xyiz.com",
  "phone":"0123456799"
  }'
Here's a peek of what you get:
Student registration successful!
🎉 Woohoo! Give yourself a pat on the back! With that simple spell, you've conjured up a test case with a mock! Explore the Keploy directory and you'll discover your handiwork in test-1.yml and mocks.yml.

Now, the real fun begins. Let's weave more spells!
🚀 Follow the URL road...!
curl --request GET \ --url http://localhost:8080/students
Or simply wander over to your browser and visit http://localhost:8000/students.
Did you spot the new test and mock scrolls in your project library? Awesome! 👏
Run Tests 🏁
Ready to put your spells to the test?
sudo -E env PATH=$PATH keploy test -c "node src/app.js" --delay 10
Worry not, just add the ever-changing fields (like our ts here) to the noise parameter to dodge those assertions.

Wrapping it up 🎉
Congrats on the journey so far! You've seen Keploy's power, flexed your coding muscles, and had a bit of fun too! Now, go out there and keep exploring, innovating, and creating! Remember, with the right tools and a sprinkle of fun, anything's possible.😊🚀
Hope this helps you out, if you still have any questions, reach out to us .
Contact Us
If you have any questions or need help, please feel free to reach out to us at hello@keploy.io or reach out us on

