Version: 2.0.0

Rust CRUD REST API with MongoDB

Introduction

This is a sample CRUD REST API application to showcase Keploy integration capabilities using Rust and MongoDB. Let's get started! 🚀

🛠️ Platform-Specific Requirements for Keploy

Below is a table summarizing the tools needed for both native and Docker installations of Keploy on MacOS, Windows, and Linux:

Operating SystemWithout DockerDocker InstallationPrerequisites
MacOS MacOSNot SupportedSupported- Docker Desktop version must be 4.25.2 or above
- For running Keploy on MacOS natively, refer to Guide
Windows WindowsSupportedSupported- Use WSL wsl --install
- Windows 10 version 2004 and higher (Build 19041 and higher) or Windows 11
Linux LinuxSupportedSupportedLinux kernel 5.15 or higher

On MacOS and Windows, additional tools are required for Keploy due to the lack of native eBPF support.

Keploy Installation

Quick Installation Using CLI

Let's get started by setting up the Keploy alias with this command:

 curl --silent -O -L https://keploy.io/install.sh && source install.sh

You should see something like this:

       ▓██▓▄
▓▓▓▓██▓█▓▄
████████▓▒
▀▓▓███▄ ▄▄ ▄ ▌
▄▌▌▓▓████▄ ██ ▓█▀ ▄▌▀▄ ▓▓▌▄ ▓█ ▄▌▓▓▌▄ ▌▌ ▓
▓█████████▌▓▓ ██▓█▄ ▓█▄▓▓ ▐█▌ ██ ▓█ █▌ ██ █▌ █▓
▓▓▓▓▀▀▀▀▓▓▓▓▓▓▌ ██ █▓ ▓▌▄▄ ▐█▓▄▓█▀ █▓█ ▀█▄▄█▀ █▓█
▓▌ ▐█▌ █▌


Keploy CLI

Available Commands:
example Example to record and test via keploy
config --generate generate the keploy configuration file
record record the keploy testcases from the API calls
test run the recorded testcases and execute assertions
update Update Keploy

Flags:
--debug Run in debug mode
-h, --help help for keploy
-v, --version version for keploy

Use "keploy [command] --help" for more information about a command.

🎉 Wohoo! You are all set to use Keploy.

Other Installation Methods

Install using Docker

Downloading and running Keploy in Docker

On macOS

Note : Keploy is not supported natively on MacOS, so you can follow the below method to run with docker

  1. Open up a terminal window.

  2. Create a bridge network in Docker using the following docker network create command:

docker network create keploy-network
  1. Run the following command to start the Keploy container:
alias keploy="docker run --name keploy-v2 -p 16789:16789 --network keploy-network --privileged --pid=host -v $(pwd):$(pwd) -w $(pwd) -v /sys/fs/cgroup:/sys/fs/cgroup -v /sys/kernel/debug:/sys/kernel/debug -v /sys/fs/bpf:/sys/fs/bpf -v /var/run/docker.sock:/var/run/docker.sock --rm ghcr.io/keploy/keploy"
Downloading and running Keploy in Native

Downloading and running Keploy in Native

Prequisites:

  • Linux Kernel version 5.15 or higher
  • Run uname -a to verify the system architecture.
  • In case of Windows, use WSL with Ubuntu 20.04 LTS or higher.
Downloading and running Keploy On WSL/Linux AMD

On WSL/Linux AMD

  1. Open the terminal Session.
  2. Run the following command to download and install Keploy:
curl --silent --location "https://github.com/keploy/keploy/releases/latest/download/keploy_linux_amd64.tar.gz" | tar xz --overwrite -C /tmp
sudo mkdir -p /usr/local/bin && sudo mv /tmp/keploy /usr/local/bin/keploy

On WSL/Linux ARM

  1. Open the terminal Session
  2. Run the following command to download and install Keploy:
curl --silent --location "https://github.com/keploy/keploy/releases/latest/download/keploy_linux_arm64.tar.gz" | tar xz --overwrite -C /tmp
sudo mkdir -p /usr/local/bin && sudo mv /tmp/keploy /usr/local/bin/keploy

Note: Keploy is not supported on MacOS natively.

Setting up the Docker Desktop for WSL 2

  1. Install Docker Desktop for Windows from here.

When developing on Windows with Docker Desktop and WSL 2, it's crucial to configure Docker Desktop to allow WSL 2 distributions to access the Docker daemon. This setup enables seamless integration between your Windows environment, WSL 2 Linux distros, and Docker.

By default, Docker Desktop may not be configured to work with all WSL 2 distros out of the box. Proper configuration ensures that you can run Docker commands from within your WSL 2 environment, allowing for a more native Linux development experience while leveraging the power of Windows.

This setup is essential for Keploy to function correctly in a WSL 2 environment, as it needs to interact with the Docker daemon to manage containers and networks effectively. For detailed instructions on how to configure Docker Desktop for WSL 2, please refer to the official Docker documentation.

With Arkade

With Arkade

  1. Installing Arkade
# Note: you can also run without `sudo` and move the binary yourself
curl -sLS https://get.arkade.dev | sudo sh

arkade --help
ark --help # a handy alias

# Windows users with Git Bash
curl -sLS https://get.arkade.dev | sh
  1. Install Keploy
arkade get keploy

Or you can also download specific version of Keploy using the following command:

arkade get keploy@2.2.0-alpha23

Get Started! 🎬

Setup app

Now that we have Keploy installed, let's set up our application.

git clone https://github.com/keploy/samples-rust
cd samples-rust/CRUD-rust-mongo

Running App Locally on Linux/WSL 🐧

We will be using Docker compose to run Mongo on Docker container.

Let's start the MongoDB Instance

Open the root directory path in your terminal and then execute the following command:

docker-compose up -d

Run the app

cargo r -r

The app will be running on port 8000.

Capture testcase

On same terminal execute the following command:

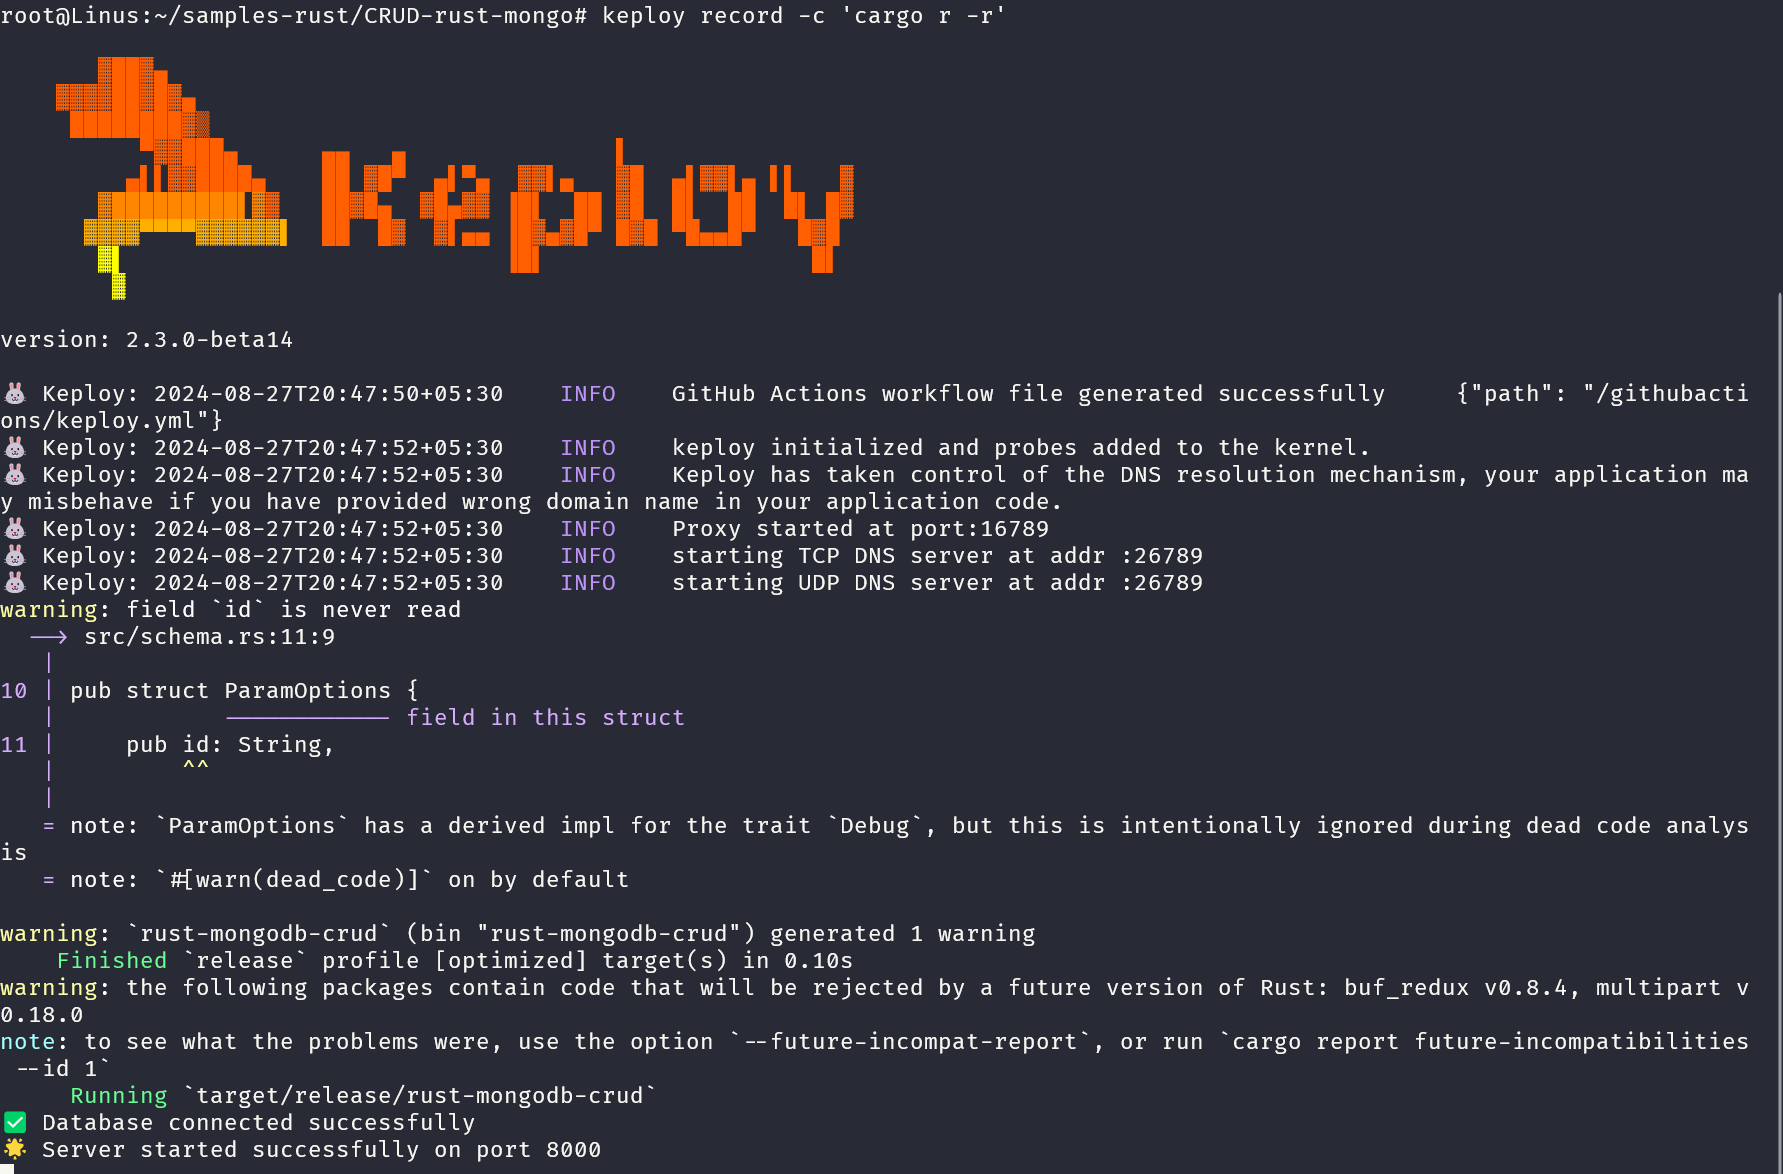
keploy record -c 'cargo r -r'

The output will be as follows: RecordRun

Generate testcase

Open Postman or any other tool, or utilize the Postman VSCode extension. Click on the import icon (shown below):

TestRun

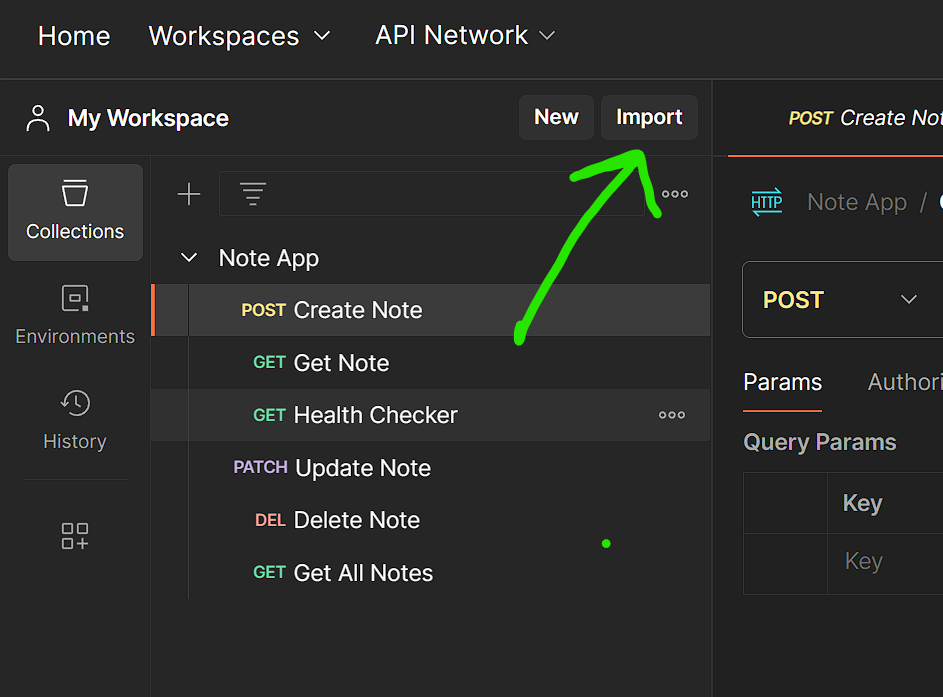
Import the file named: Note App.postman_collection.json

After that, Postman will display a similar window:

TestRun

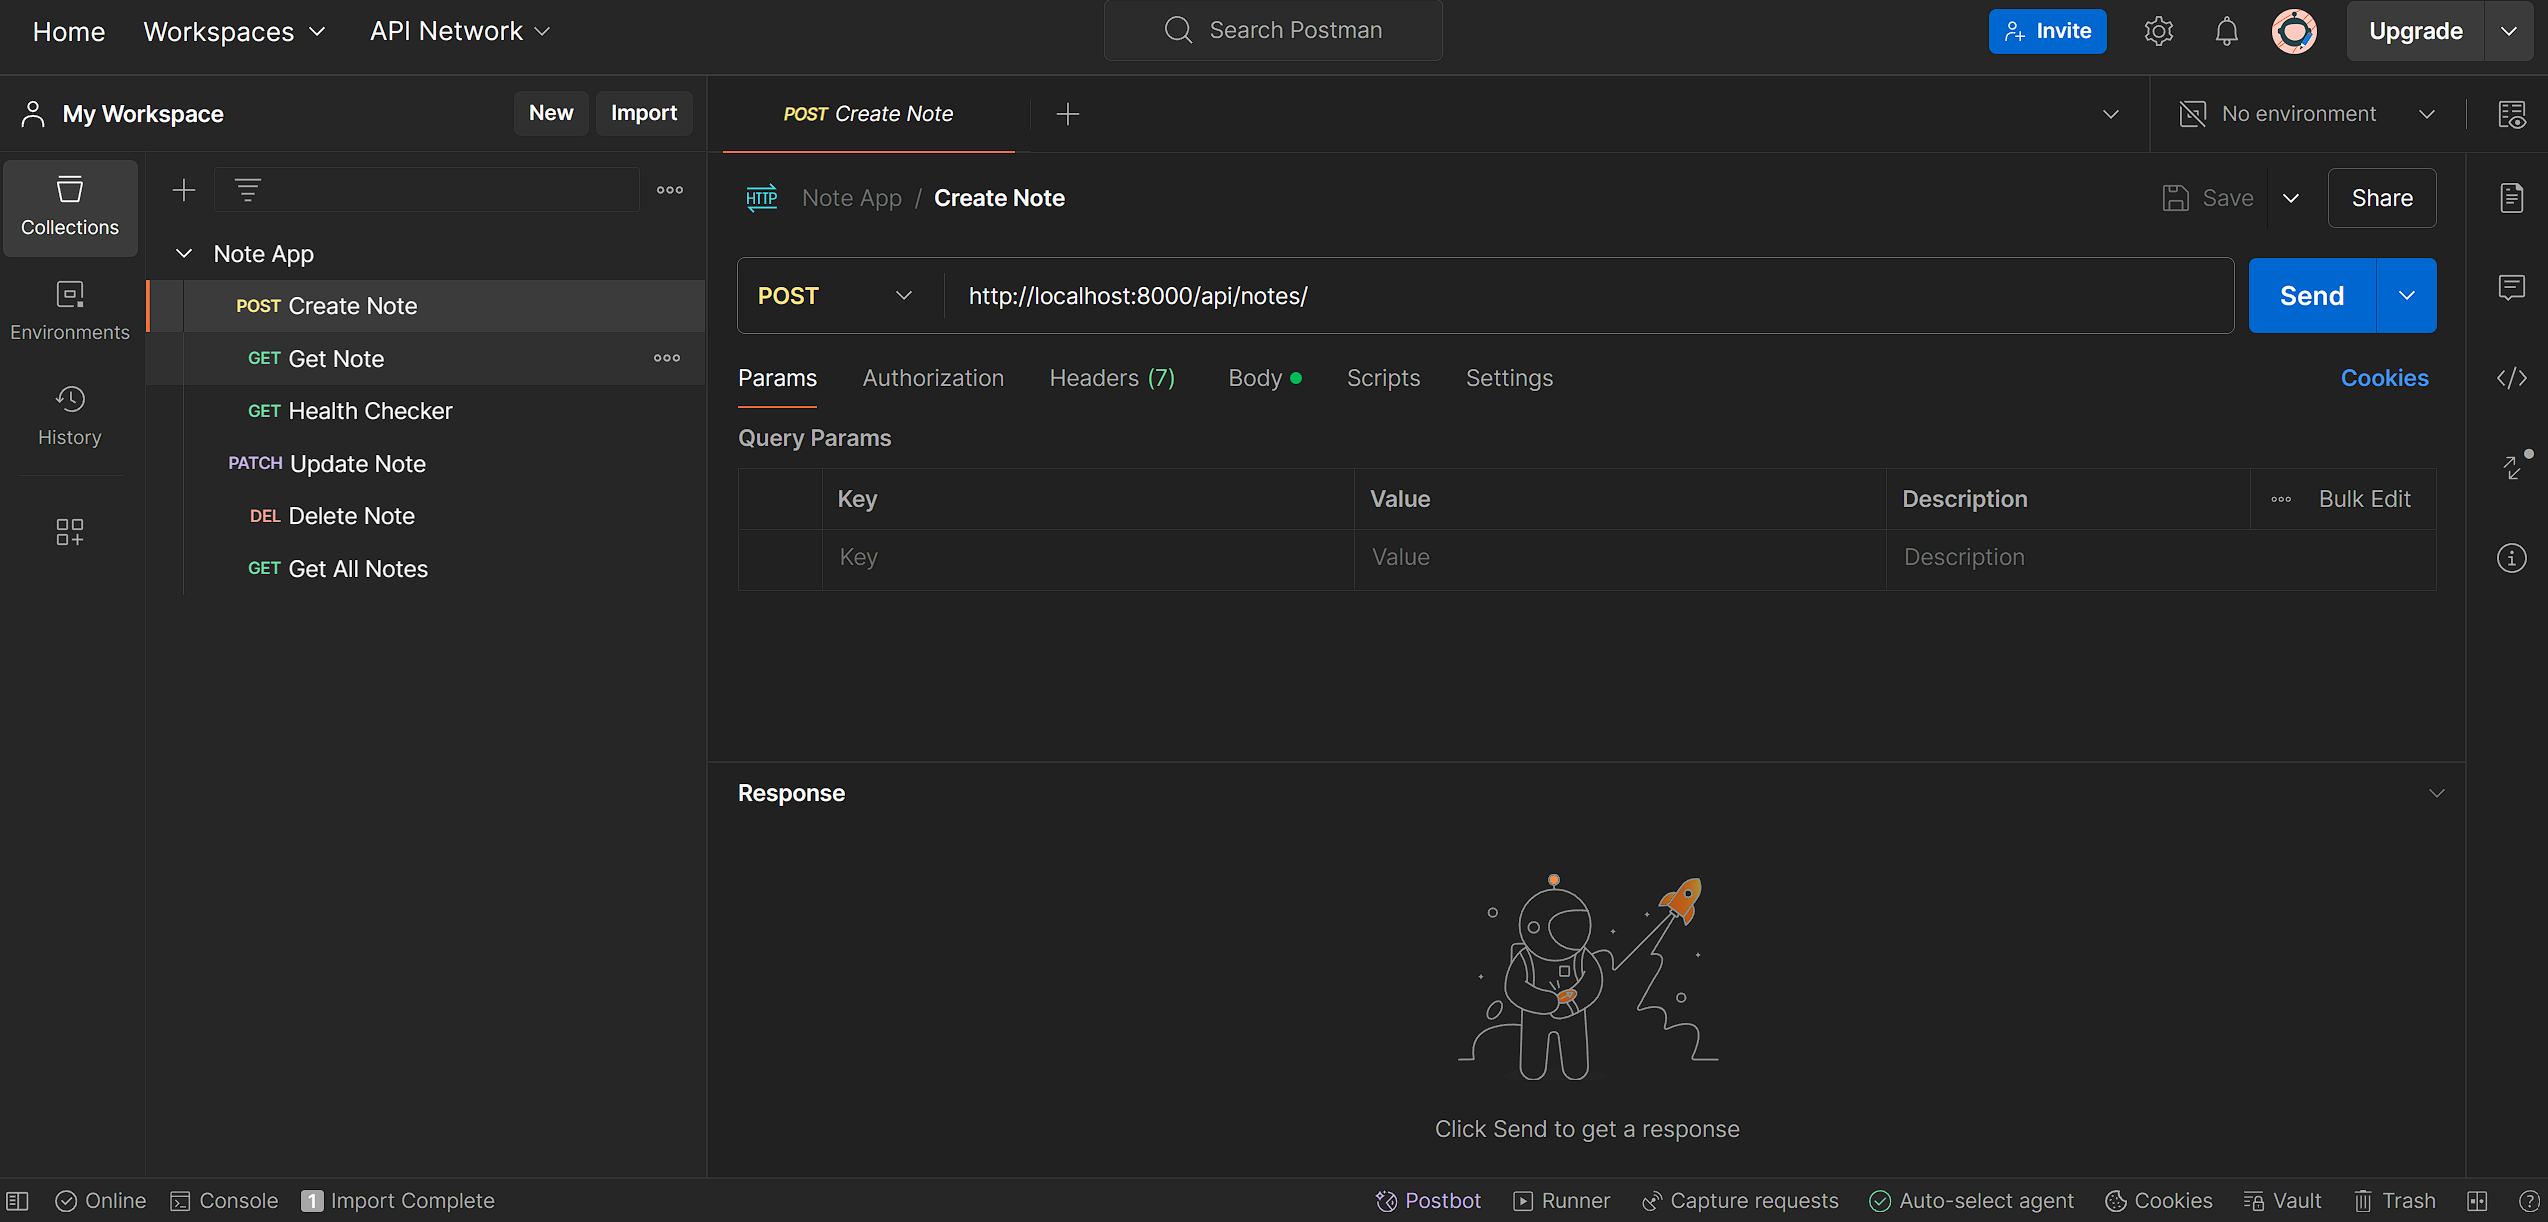
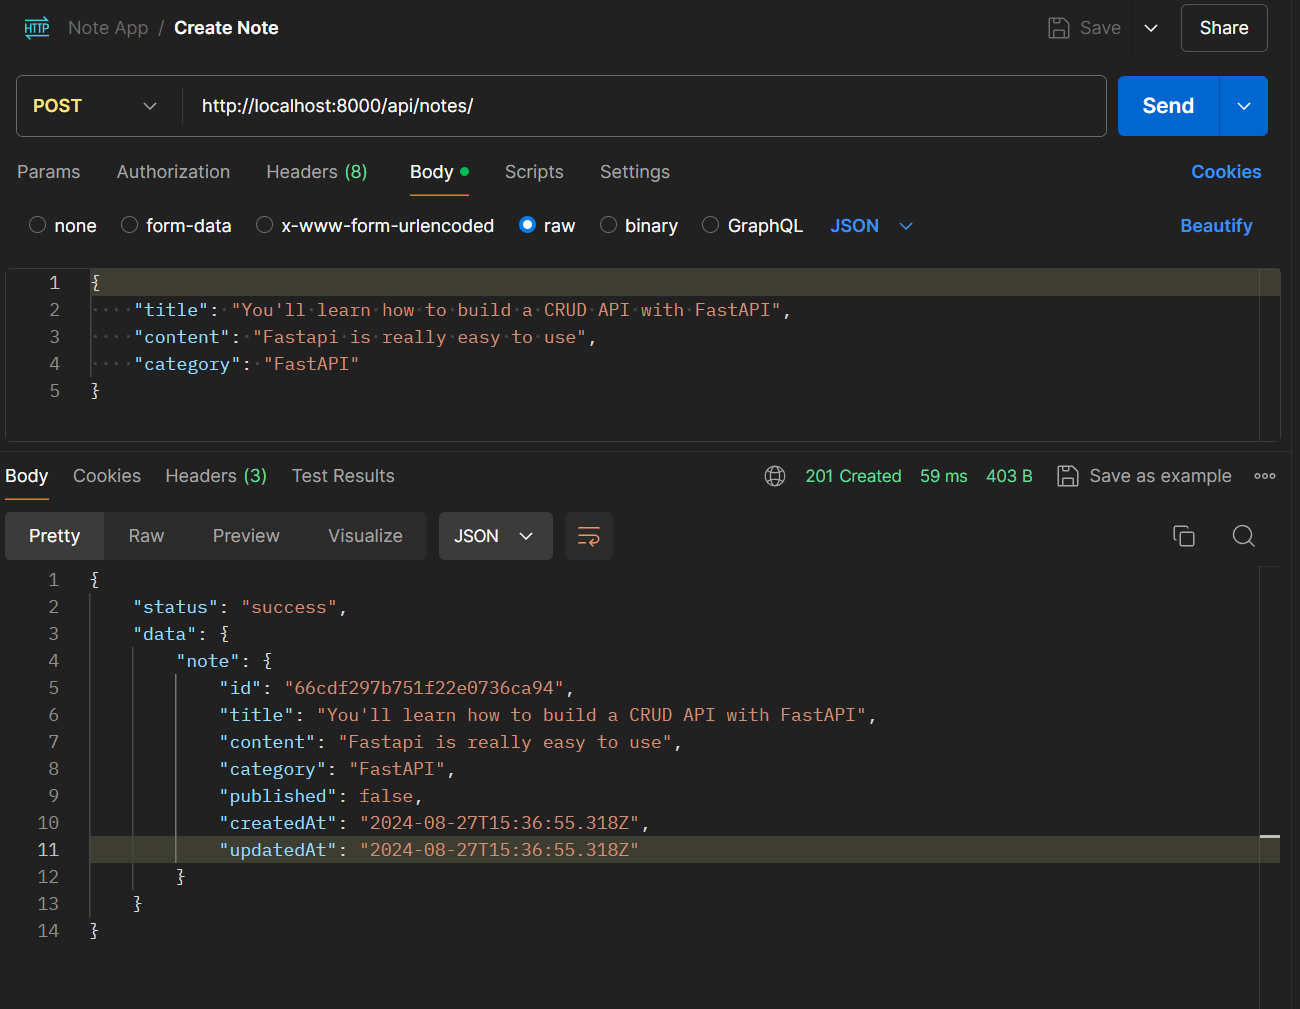
Hit the Create Note Request with the available data and you will get the following output in your terminal:

🐰 Keploy: 2024-08-27T21:06:57+05:30 t 8INFO
🟠 Keploy has captured test cases for the user's application. {"path": "/root/samples-rust/CRUD-rust-mongo/keploy/test-set-3/tests", "testcase name": "test-1"}

TestRun

Afterward, create a GET all request, and you will get the following output in your terminal:

🐰 Keploy: 2024-08-27T21:13:41+05:30    INFO    🟠 Keploy has captured test cases for the user's application.   {"path": "/root/samples-rust/CRUD-rust-mongo/keploy/test-set-3/tests", "testcase name": "test-3"}

Test-case

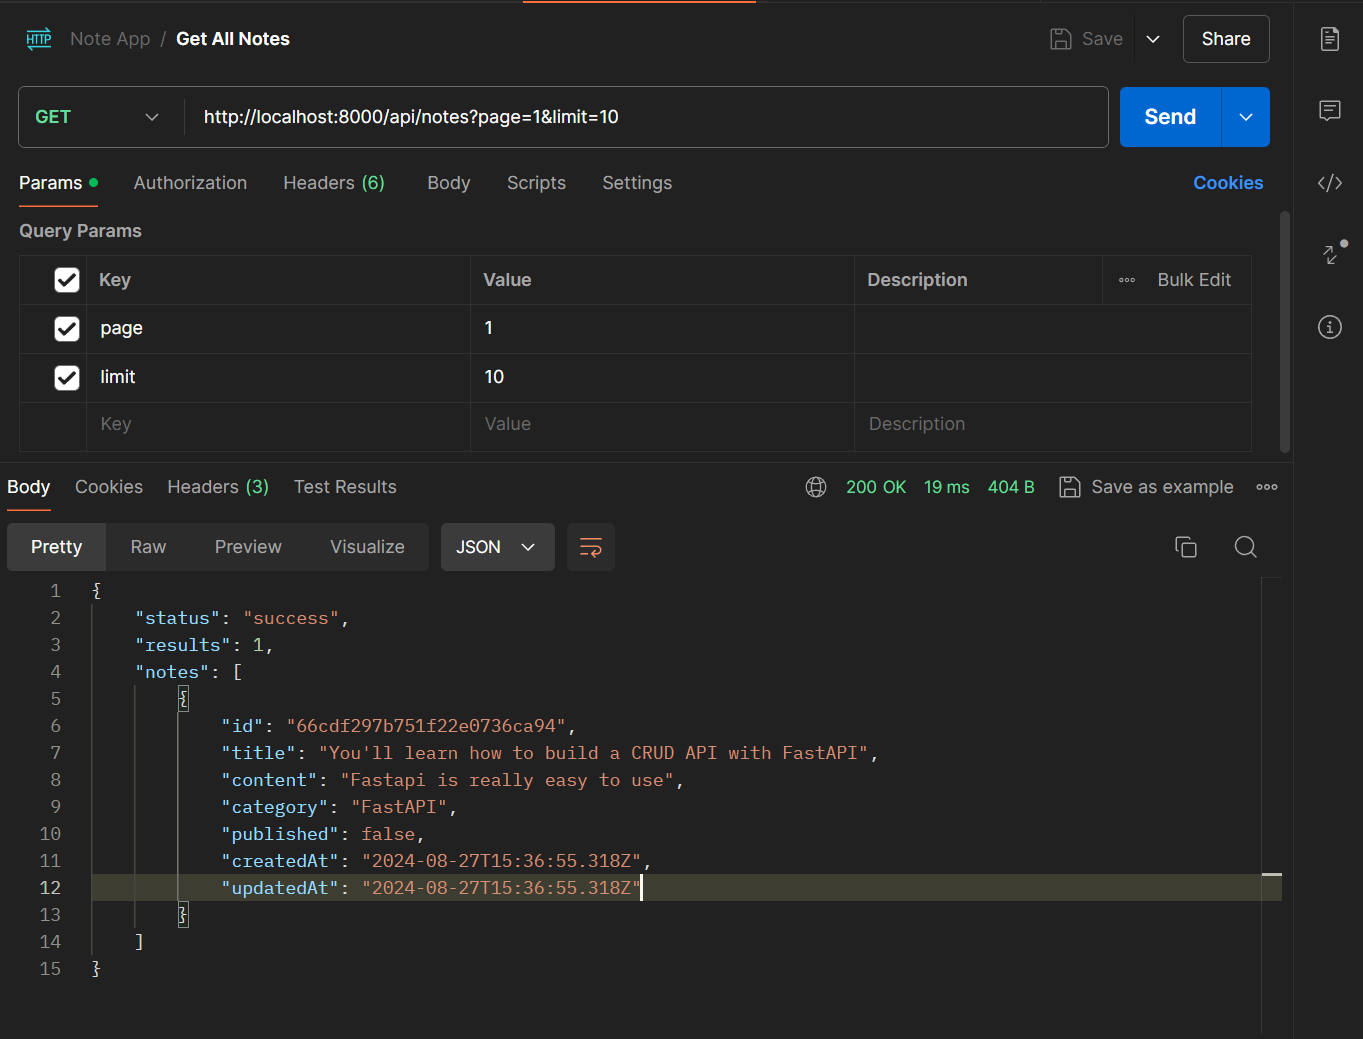
We peformed two requests, one to create a note and one to get all notes. These requests are captured as testcases by Keploy.

Run the testcases

Now, let's start keploy in test mode to run our test cases :

keploy test -c 'cargo r -r'

We get the following output in the terminal -

TestRun 
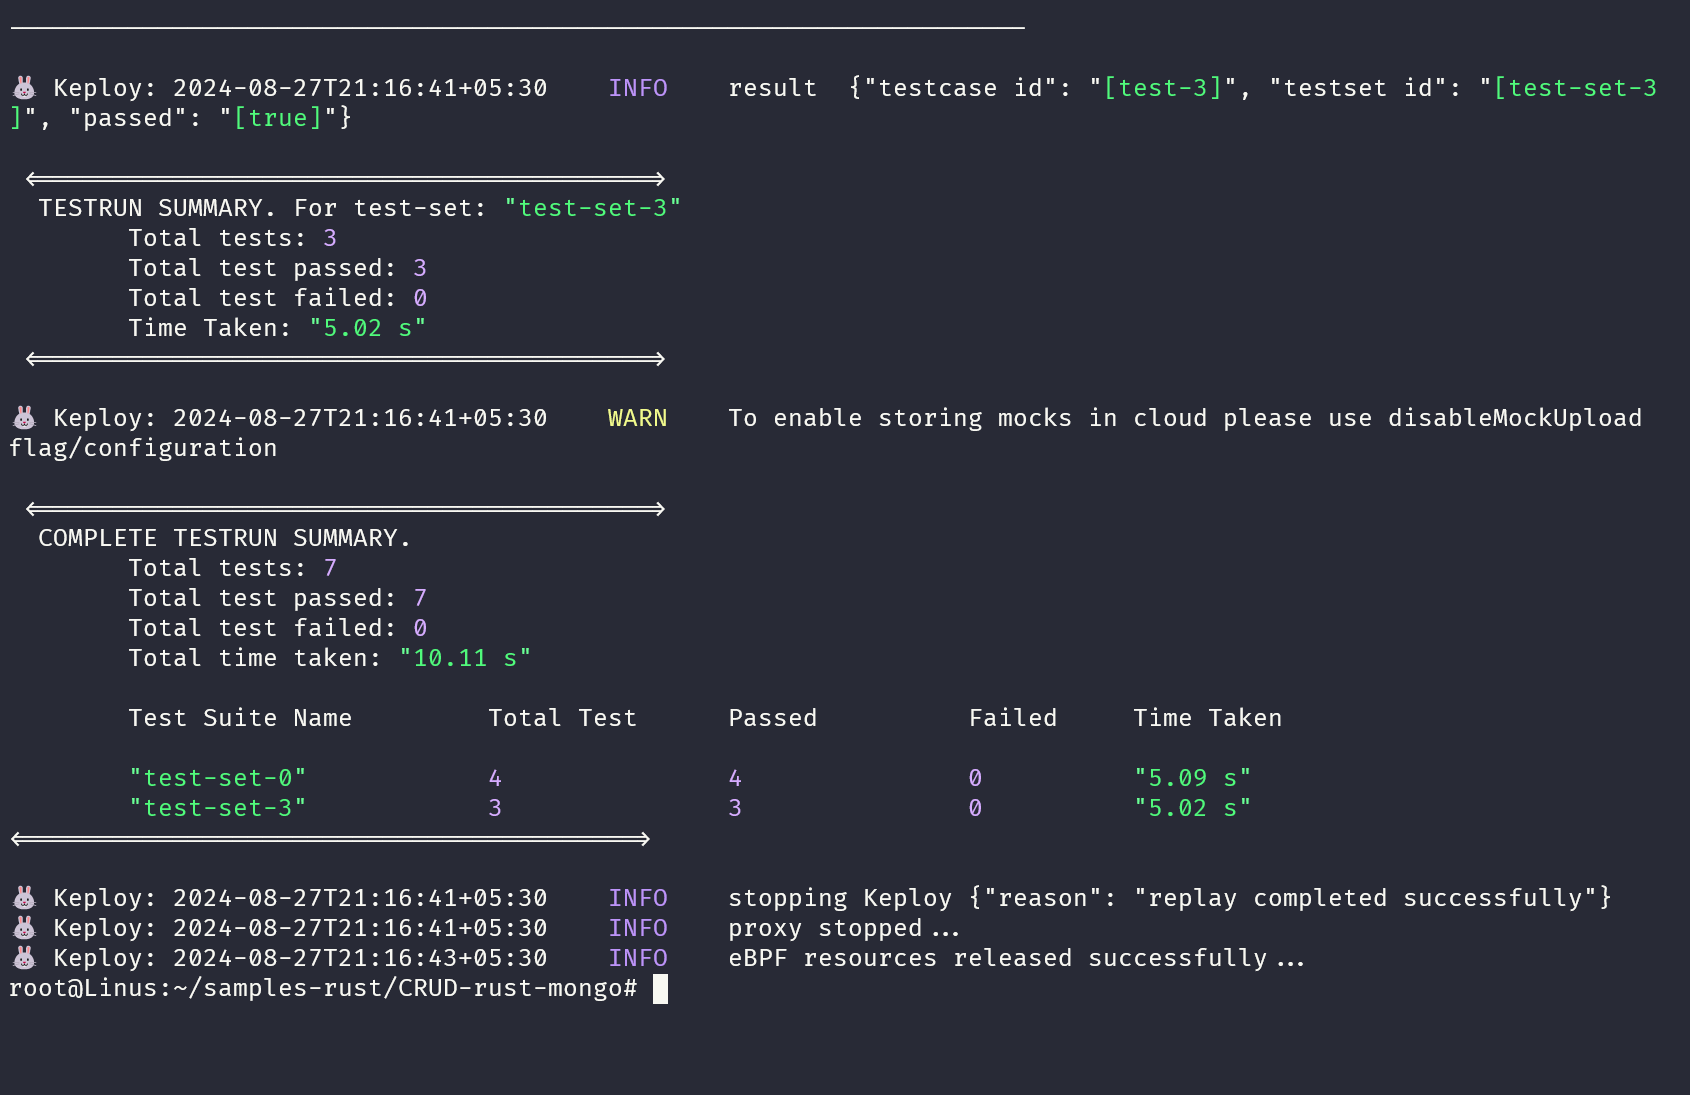
Voila!! Our testcases has passed 🌟