Example Employee-Manager App
A sample Employee-Manager app to test Keploy integration capabilities using SpringBoot and PostgreSQL.
Don’t have Keploy installed yet?
Before running this sample, make sure Keploy is installed on your system.
👉 Go to Installation GuideSetup Employee-Manager App
Application Pre-Requisites
- Java 1.8+ or <17 ☕
- Maven 🛠️
Clone the repository and install the dependencies
git clone https://github.com/keploy/samples-java && cd samples-java/employee-manager
mvn clean install -Dmaven.test.skip=true
Instructions For Starting Using Binary
Setup the backend
You need to update the postgresql properties, go to
employee-manager/src/main/resources/application-postgresql.properties
and change
spring.datasource.url=jdbc:postgresql://postgres:5432/keploy-test/
to
spring.datasource.url=jdbc:postgresql://localhost:5432/keploy-test/
and then build the jar using:
mvn clean install -Dmaven.test.skip=true
Start the Postgres DB 🐳
docker run -e POSTGRES_USER=keploy-user -e POSTGRES_PASSWORD=keploy -e POSTGRES_DB=postgres -p 5432:5432 --name postgres postgres:15.2
Note: You may have to use sudo if you are not part of the docker group.
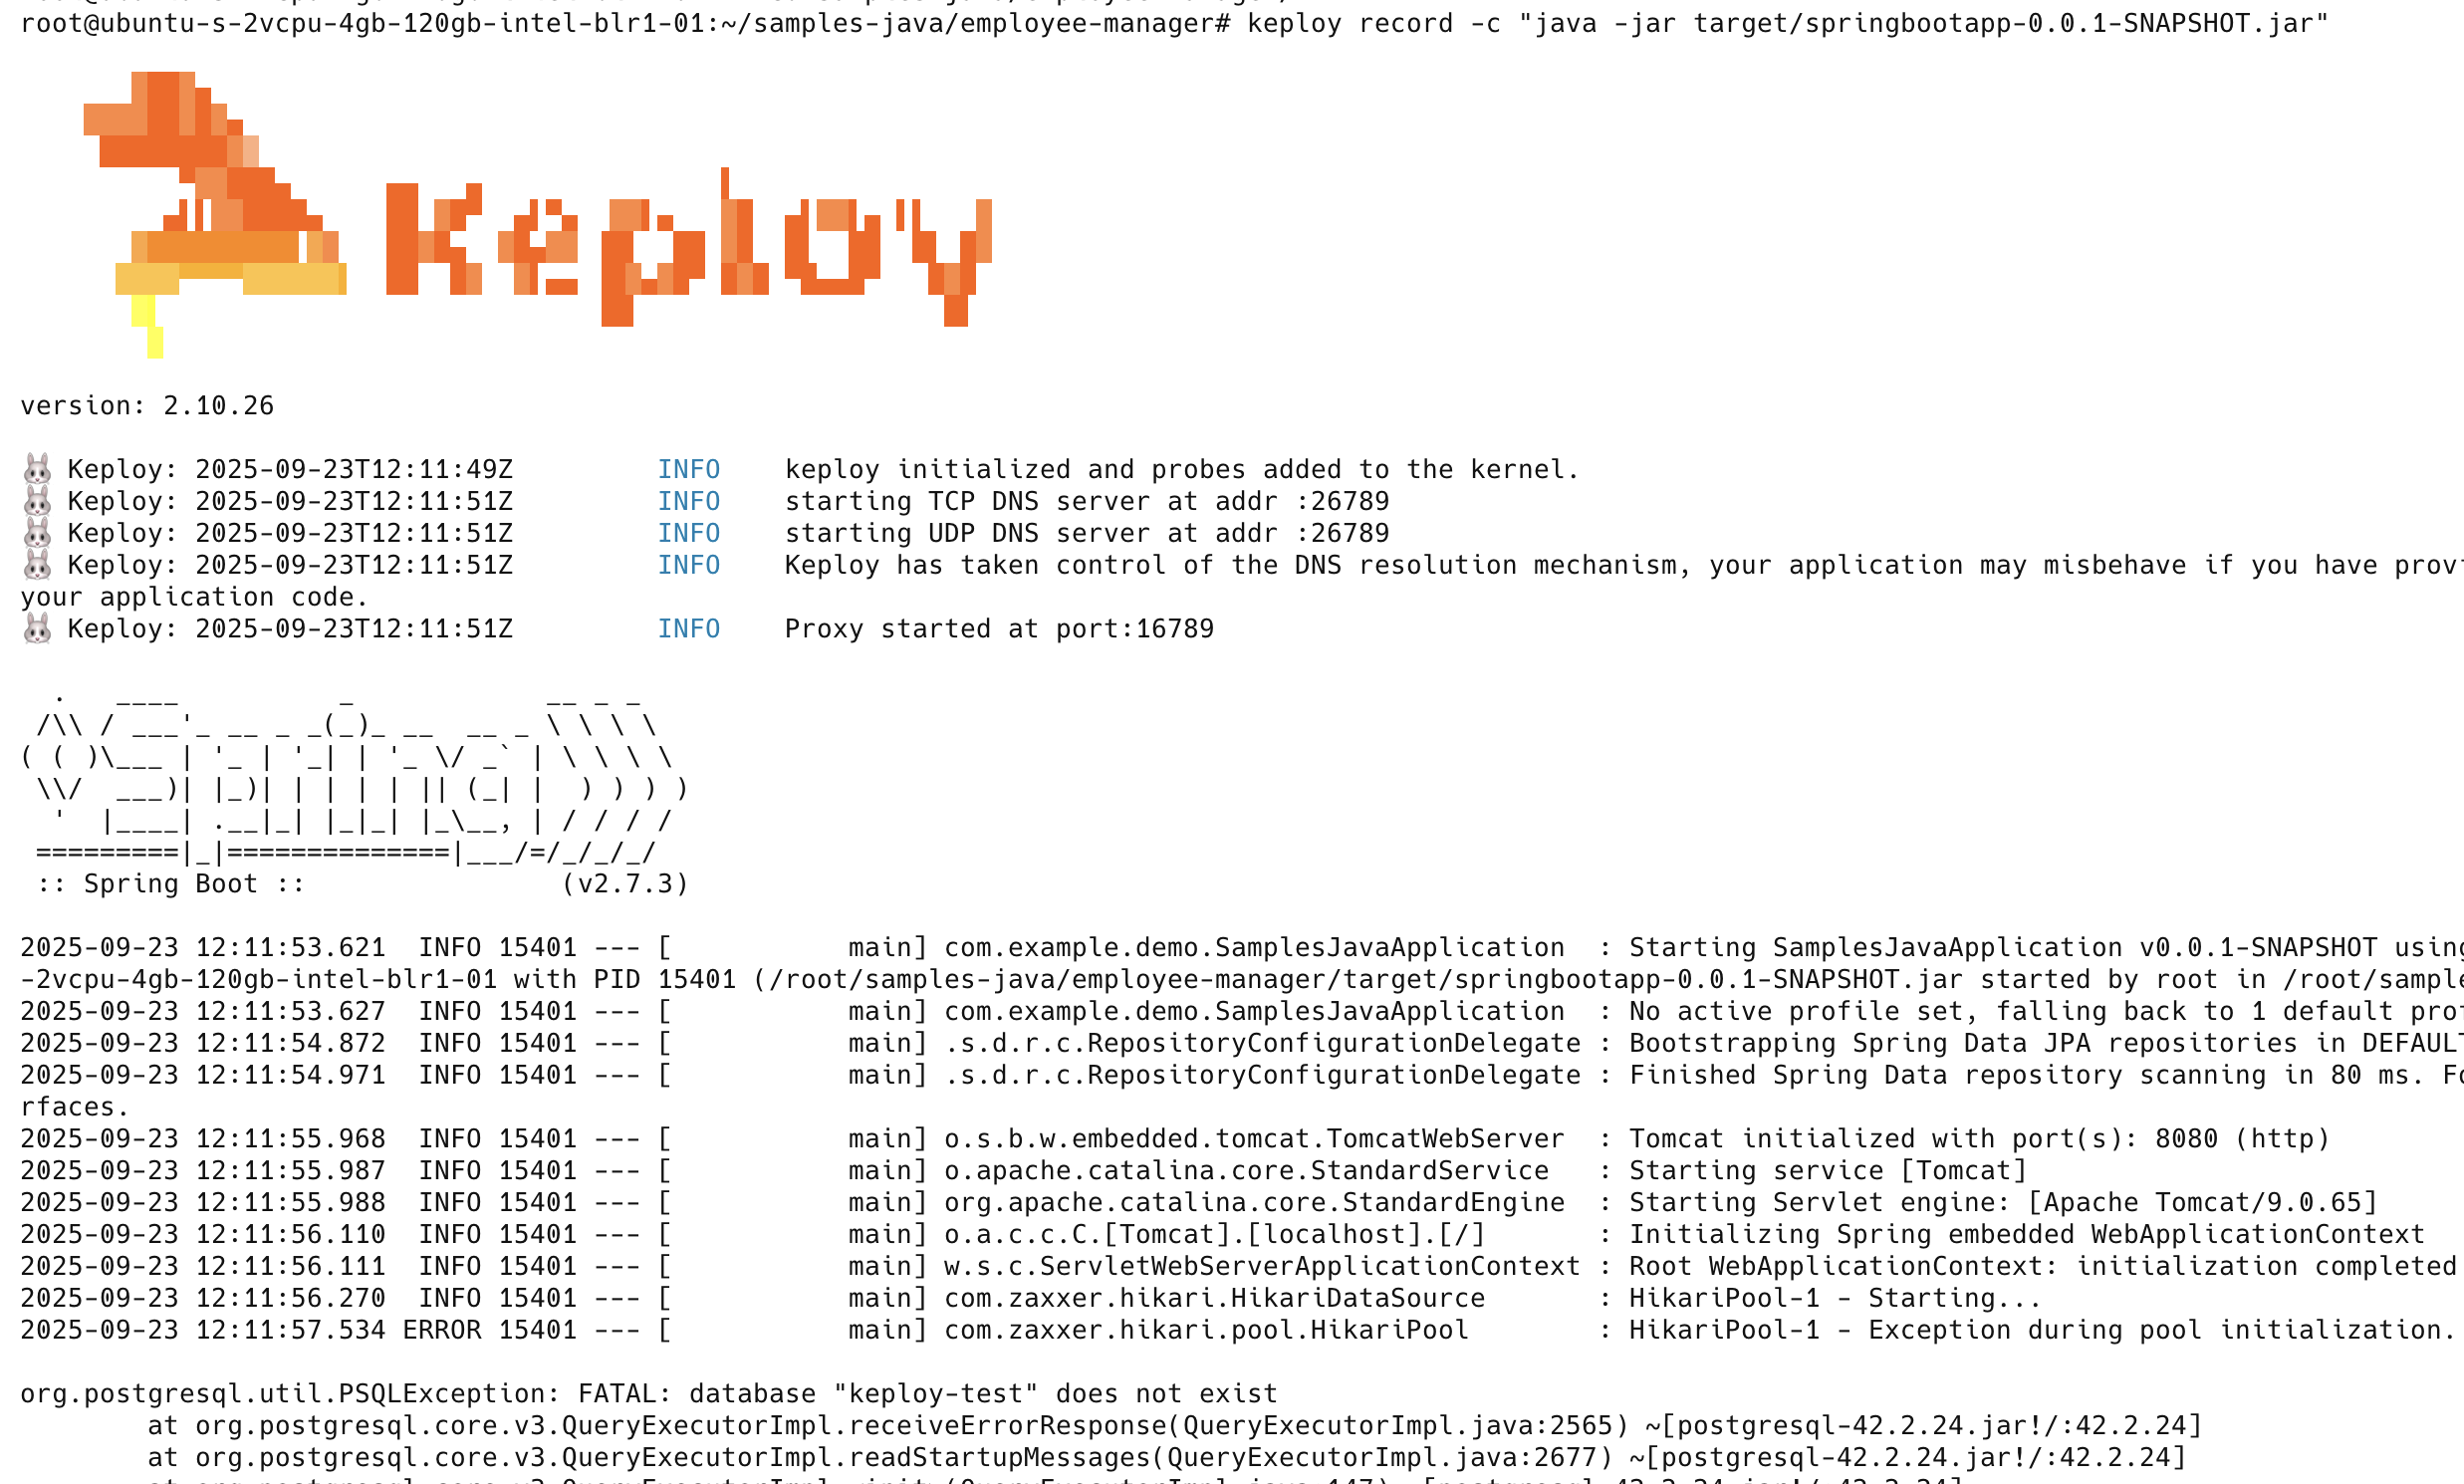
Capture the testcases 🎬
keploy record -c "java -jar target/springbootapp-0.0.1-SNAPSHOT.jar"
Now let's run a few tests to capture some more scenarios:
Generate testcases 📝
To generate testcases we just need to make some API calls. You can use Postman or simply curl
- Make an employee entry 📥
curl --location --request POST 'http://localhost:8080/api/employees' \
--header 'Content-Type: application/json' \
--data-raw '{
    "firstName": "Myke",
    "lastName": "Tyson",
    "email": "mt@gmail.com",
    "timestamp":1
}'
this will return the response or an entry. The timestamp would automatically be ignored during testing because it'll always be different.
{
    "id": 1,
    "firstName": "Myke",
    "lastName": "Tyson",
    "email": "mt@gmail.com",
    "timestamp": 1661493301
}
- Fetch recorded info about employees
curl --location --request GET 'http://localhost:8080/api/employees/1'
or by querying through the browser http://localhost:8080/api/employees/1
Now both these API calls were captured as editable testcases and written to keploy/test folder. The keploy
directory would also have mock.yml file.
Now, let's see the magic! 🪄💫
Run the test cases
First lets shutdown the database to verify that keploy's magic is taking care of the database mocking. No need to worry about the database anymore! 🎉
docker-compose down
Now, let's run the keploy in test mode: -
keploy test -c "java -jar target/springbootapp-0.0.1-SNAPSHOT.jar" --delay 10
This will run the testcases and generate the report in keploy/reports folder. You will see the following output:-
🐰 Keploy: 2025-04-17T13:30:11+05:30    INFO    starting test for of    {"test case": "[test-1]", "test set": "[test-set-0]"}
2025-04-17 13:30:11.410  INFO 28035 --- [nio-8080-exec-1] o.a.c.c.C.[Tomcat].[localhost].[/]       : Initializing Spring DispatcherServlet 'dispatcherServlet'
2025-04-17 13:30:11.410  INFO 28035 --- [nio-8080-exec-1] o.s.web.servlet.DispatcherServlet        : Initializing Servlet 'dispatcherServlet'
2025-04-17 13:30:11.410  INFO 28035 --- [nio-8080-exec-1] o.s.web.servlet.DispatcherServlet        : Completed initialization in 0 ms
Testrun failed for testcase with id: "test-1"

--------------------------------------------------------------------

+-------------------------------------------------------------------------------------------------------------+
|                                                DIFFS TEST-1                                                 |
+-------------------------------------------------------------------------------------------------------------+
|                     EXPECT HEADER                    |                   ACTUAL HEADER                      |
| -----------------------------------------------------+----------------------------------------------------- |
|                                                      |                                                      |
|                                                                                                             |
|                      EXPECT BODY                     |                    ACTUAL BODY                       |
| -----------------------------------------------------+----------------------------------------------------- |
|   {                                                  | {                                                    |
|    "timestamp": "1744871332" ,                       |  "timestamp": "1744876811" ,                         |
|   lastName:Tyson                                     | lastName:Tyson                                       |
|    }                                                 |  }                                                   |
|                                                      |                                                      |
|                                                                                                             |
+-------------------------------------------------------------------------------------------------------------+
🐰 Keploy: 2025-04-17T13:30:11+05:30    INFO    result  {"testcase id": "[test-1]", "testset id": "[test-set-0]", "passed": "[false]"}
🐰 Keploy: 2025-04-17T13:30:11+05:30    INFO    starting test for of    {"test case": "[test-2]", "test set": "[test-set-0]"}
Testrun passed for testcase with id: "test-2"

--------------------------------------------------------------------

🐰 Keploy: 2025-04-17T13:30:11+05:30    INFO    result  {"testcase id": "[test-2]", "testset id": "[test-set-0]", "passed": "[true]"}

 <=========================================>
  TESTRUN SUMMARY. For test-set: "test-set-0"
        Total tests: 2
        Total test passed: 1
        Total test failed: 1
        Time Taken: "10.37 s"
 <=========================================>
<=========================================>```
Did you spot that the timestamp is showing some differences? Yep, time has a way of doing that! 🕰️
Worry not, just add the ever-changing fields (like our ts here) to the noise parameter to dodge those assertions.
Pro tip: Add
body.timestampto noise inkeploy.yml.
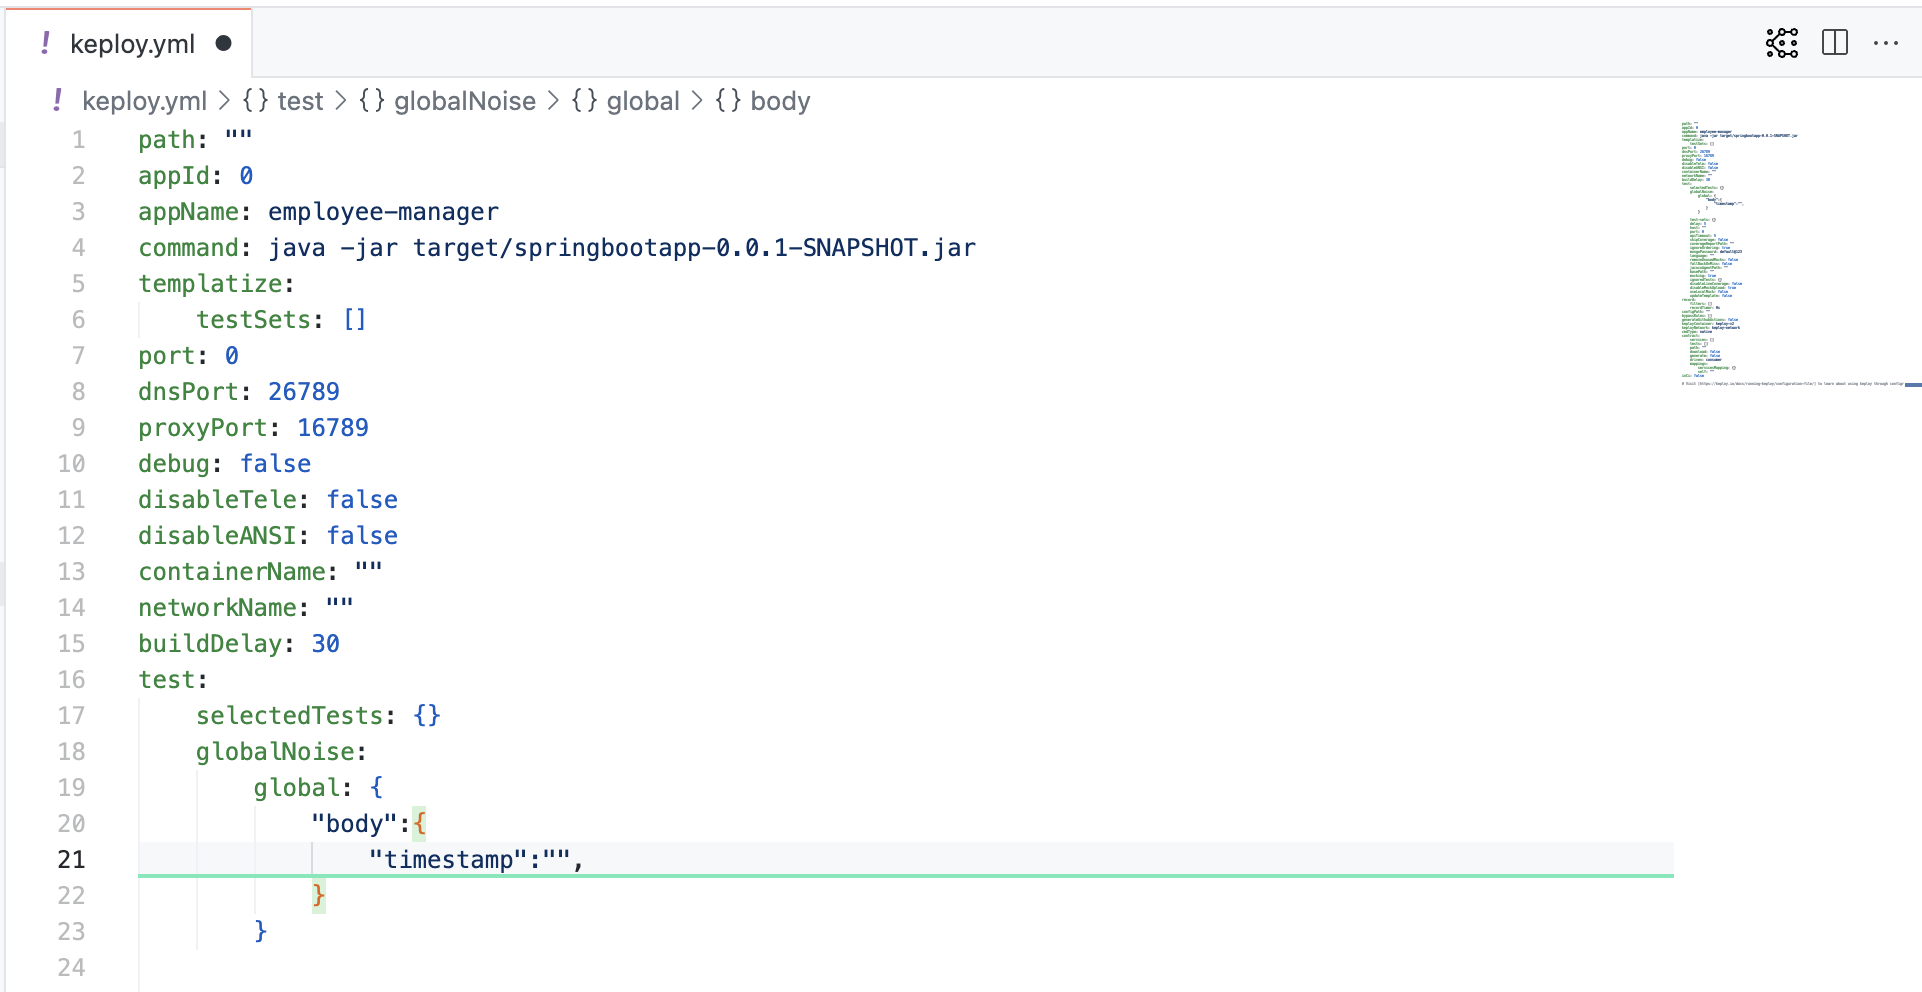
Run that keploy test command once more and watch as everything falls into place with all tests passing! 🌟
Final thoughts? Dive deeper! Try different API calls, tweak the DB response in the mocks.yml, or fiddle with the request or response in test-x.yml. Run the tests again and see the magic unfold! ✨👩💻👨💻✨
Next we move on to the instructions to start the application using docker.
Instructions For Starting Using Docker
A sample Employee-Manager app to test Keploy integration capabilities using SpringBoot and PostgreSQL.
Don’t have Keploy installed yet?
Before running this sample, make sure Keploy is installed on your system.
👉 Go to Installation GuideApplication Pre-Requisites
- Java 1.8+ or <17 ☕
- Maven 🛠️
Clone the repository and install the dependencies
git clone https://github.com/keploy/samples-java && cd samples-java/employee-manager
mvn clean install -Dmaven.test.skip=true
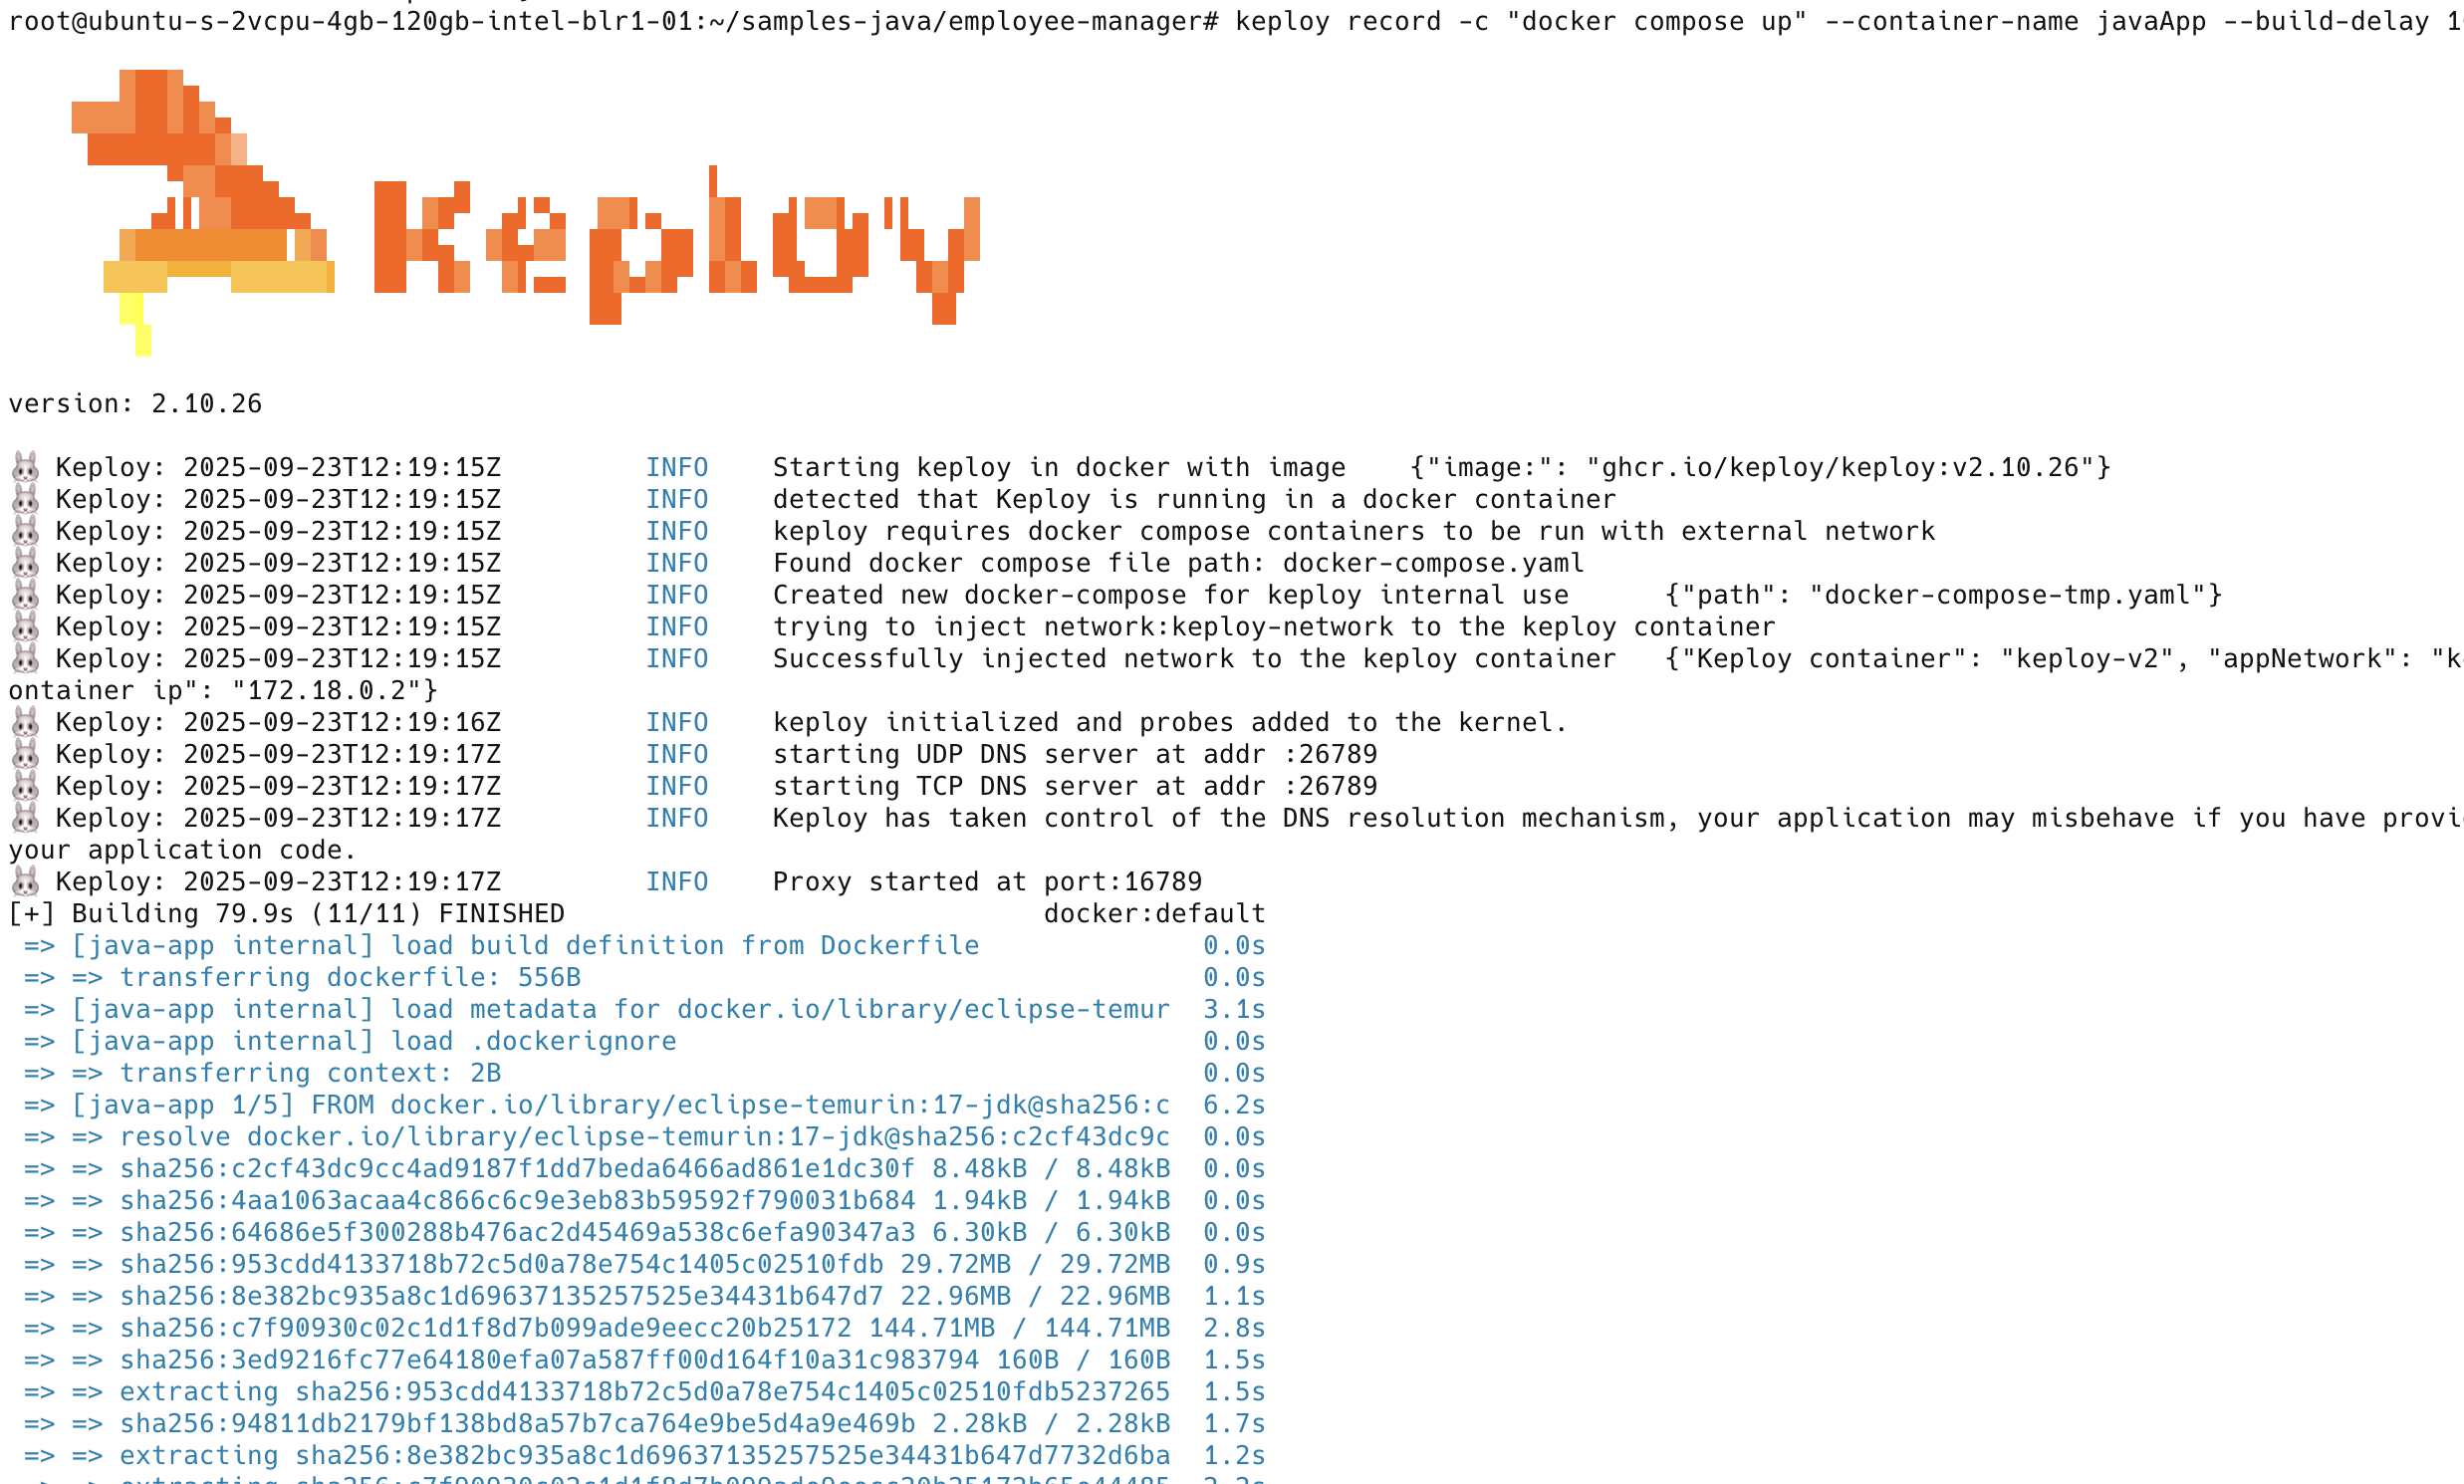
Capture the testcases 🎬
keploy record -c "docker compose up" --container-name javaApp --build-delay 100
Now let's run a few tests to capture some more scenarios:
Generate testcases 📝
To generate testcases we just need to make some API calls. You can use Postman or simply curl
- Make an employee entry 📥
curl --location --request POST 'http://localhost:8080/api/employees' \
--header 'Content-Type: application/json' \
--data-raw '{
    "firstName": "Myke",
    "lastName": "Tyson",
    "email": "mt@gmail.com",
    "timestamp":1
}'
this will return the response or an entry. The timestamp would automatically be ignored during testing because it'll always be different.
{
    "id": 1,
    "firstName": "Myke",
    "lastName": "Tyson",
    "email": "mt@gmail.com",
    "timestamp": 1661493301
}
- Fetch recorded info about employees
curl --location --request GET 'http://localhost:8080/api/employees/1'
or by querying through the browser http://localhost:8080/api/employees/1
Now both these API calls were captured as editable testcases and written to keploy/test folder. The keploy
directory would also have mock.yml file.
Now, let's see the magic! 🪄💫
Running the testcases using Keploy
keploy test -c "docker compose up" --container-name javaApp --build-delay 50 --delay 20
Your CLI should look something like this
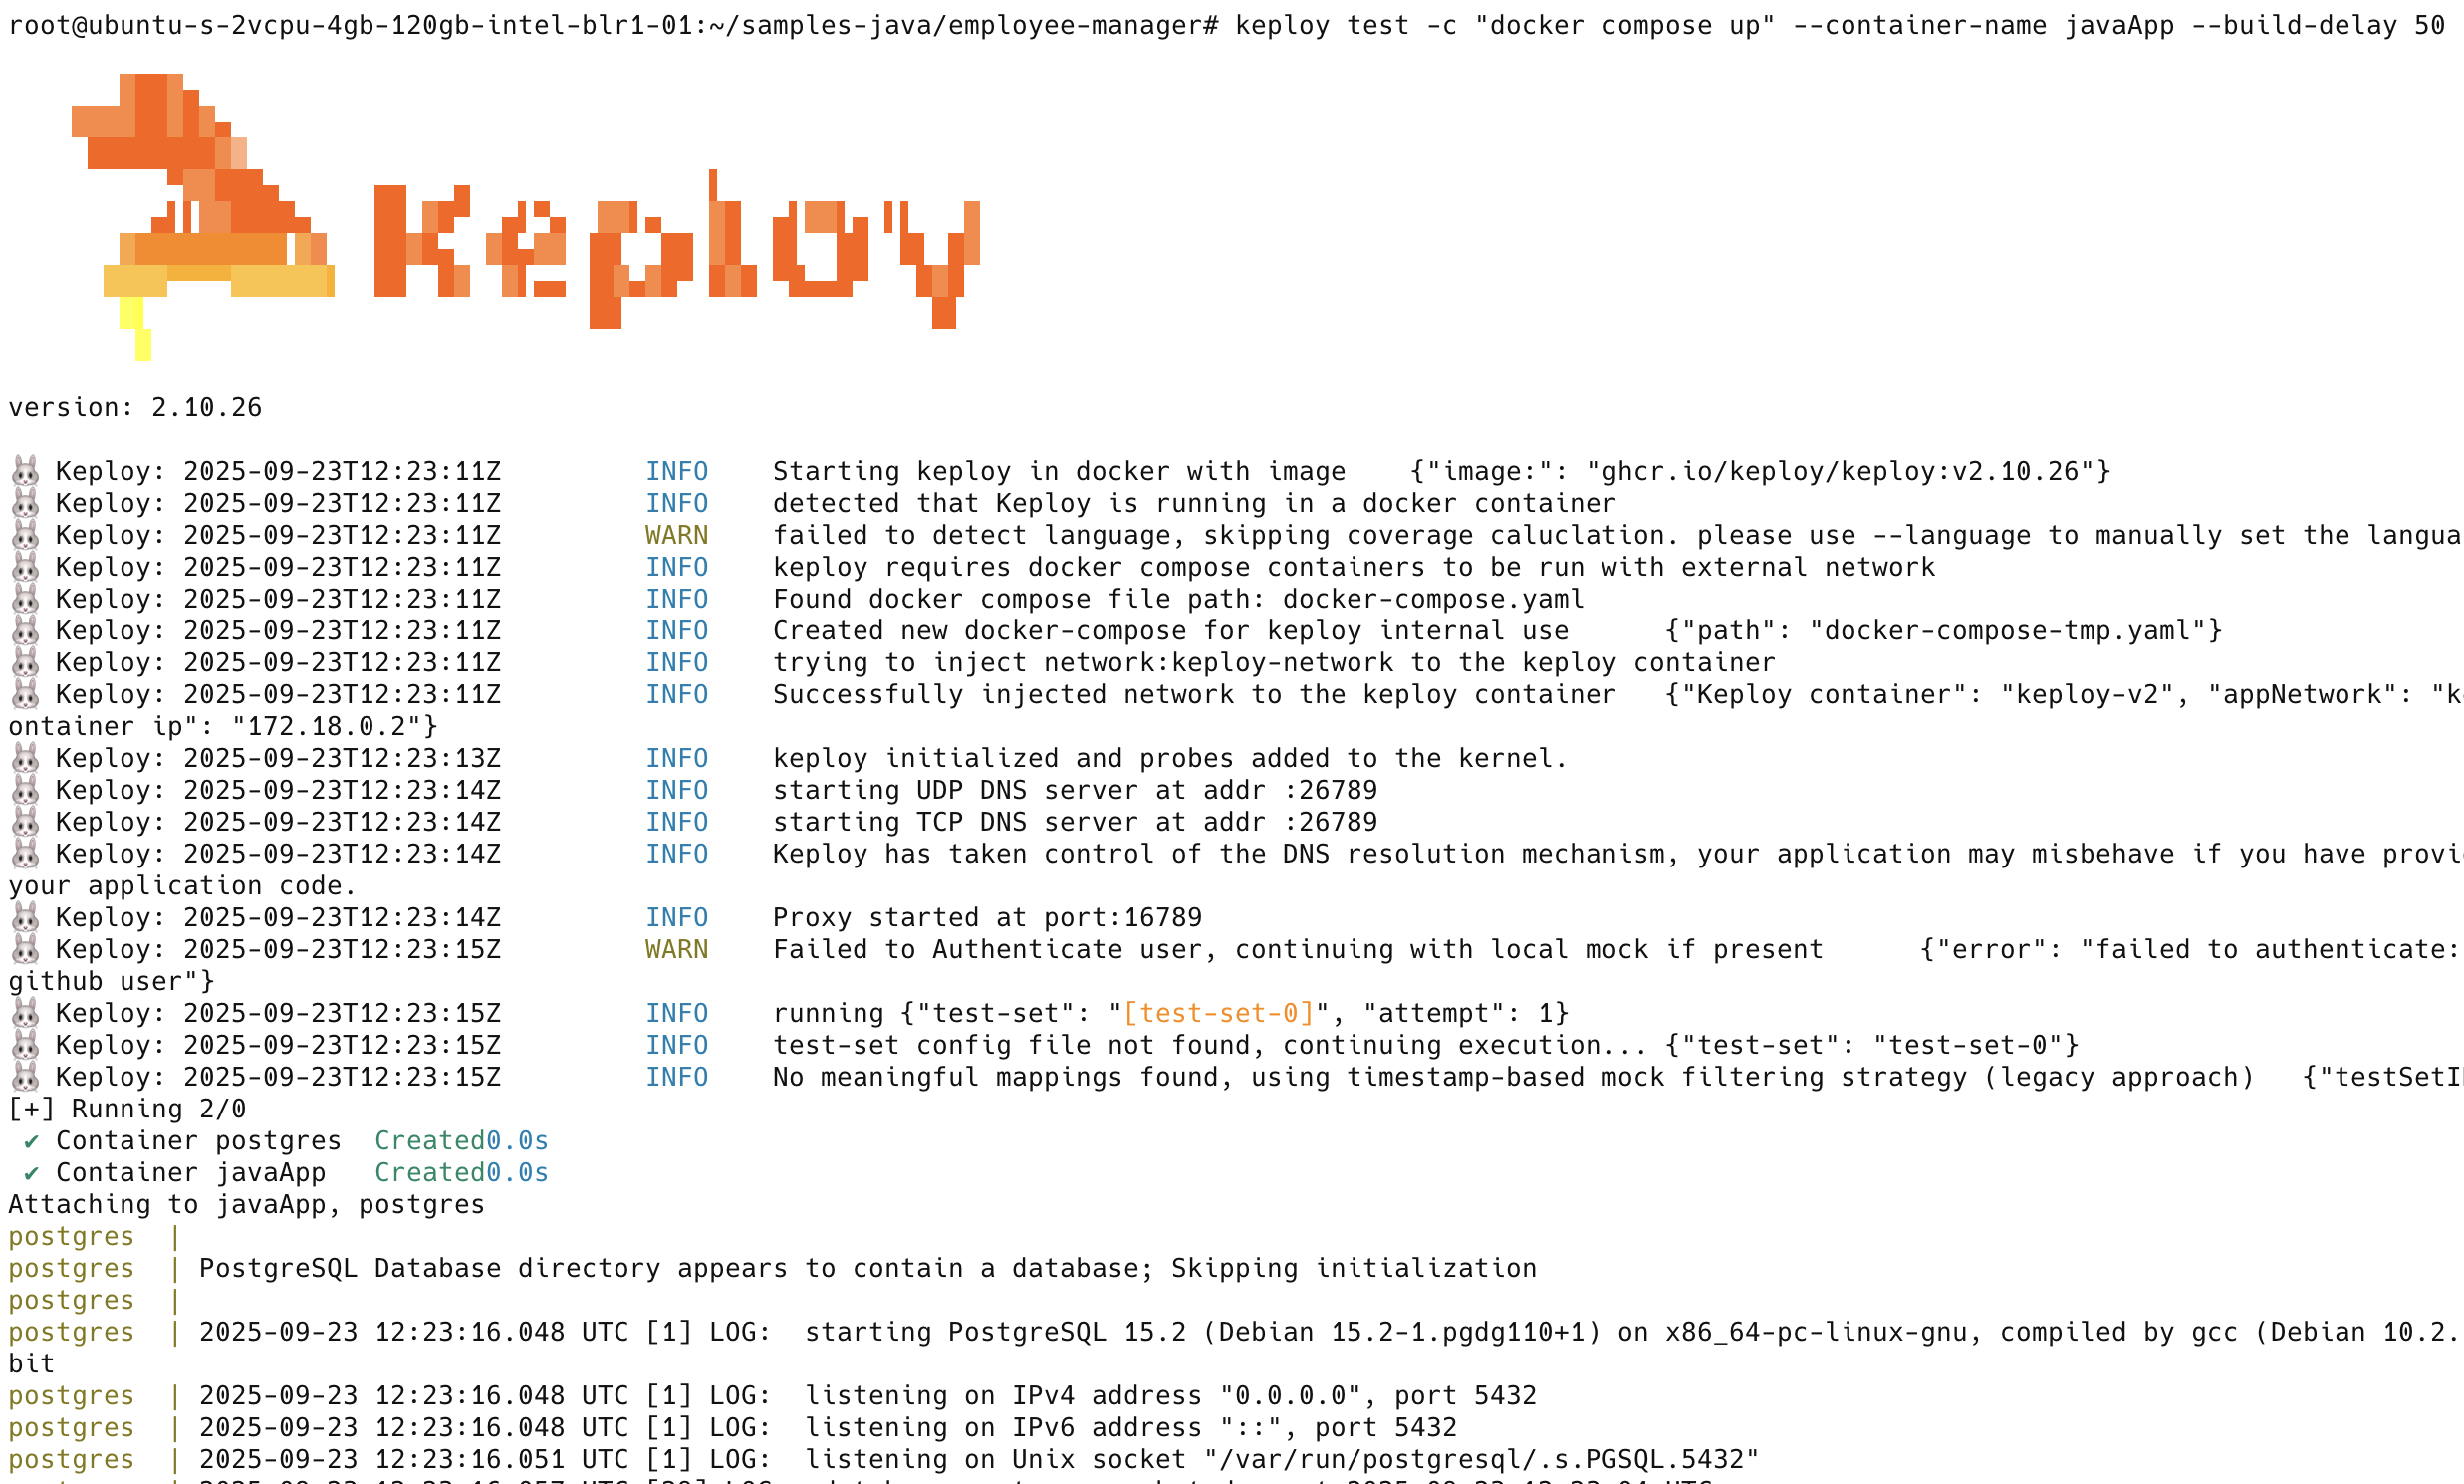
This is a summary of the test cases recorded
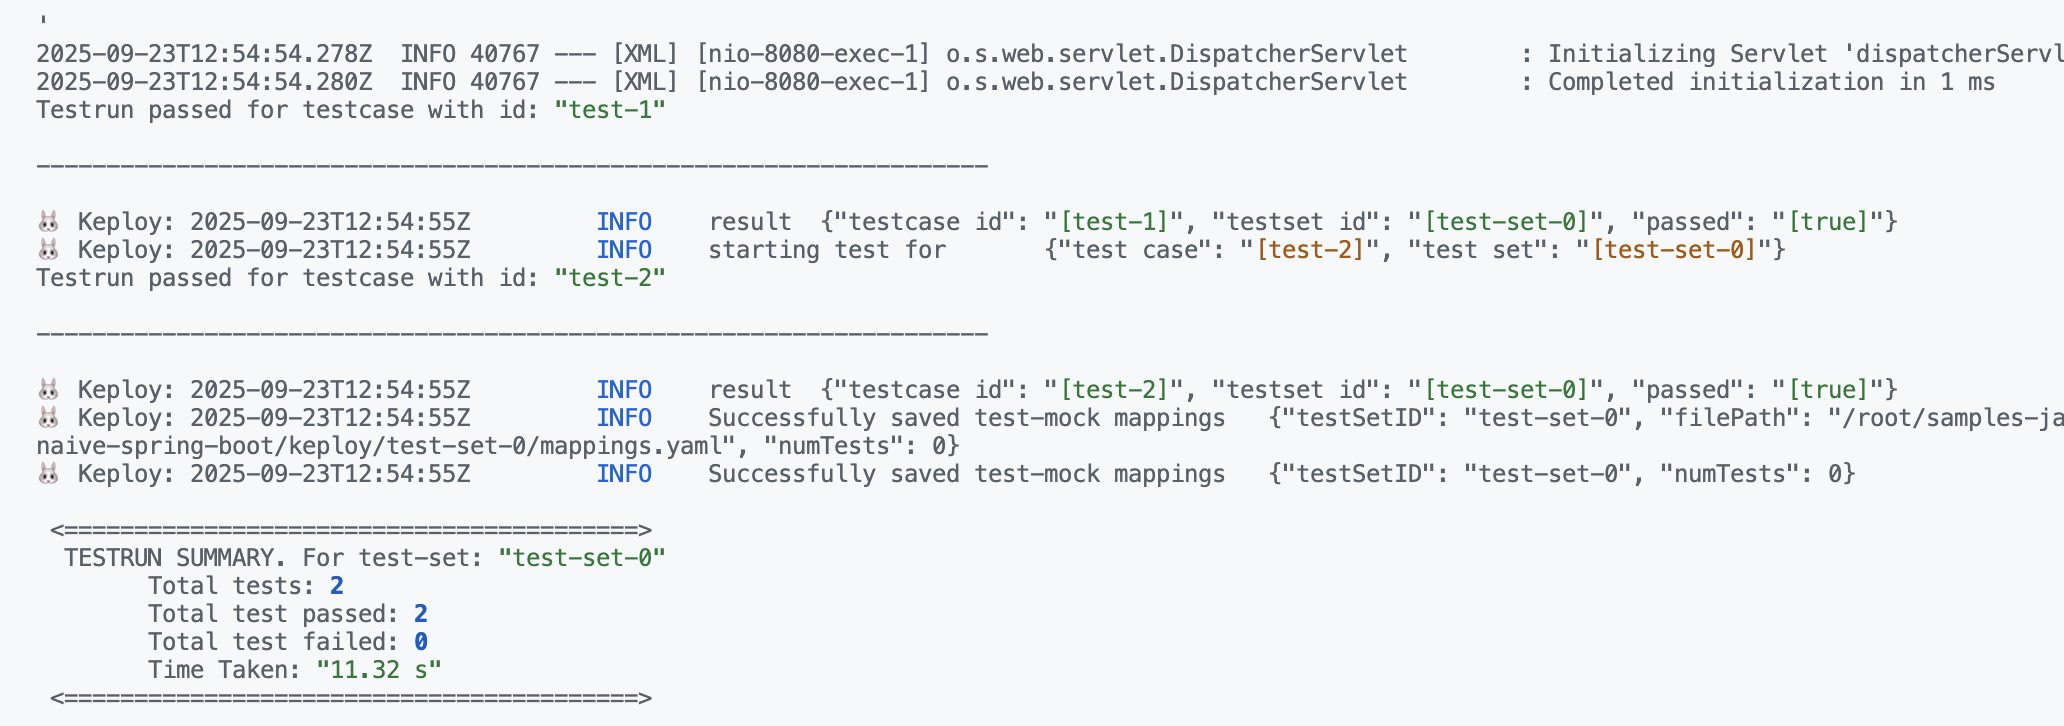
Here delay is the time it takes for your application to get started, after which Keploy will start running the testcases. If your application takes longer than 10s to get started, you can change the delay accordingly.
buildDelay is the time that it takes for the image to get built. This is useful when you are building the docker image from your docker compose file itself.
🎉 Wrapping it up
Congrats on the journey so far! You've seen Keploy's power, flexed your coding muscles, and had a bit of fun too! Now, go out there and keep exploring, innovating, and creating! Remember, with the right tools and a sprinkle of fun, anything's possible. 😊🚀