Typescript Sample Application
Running Natively on Linux/WSL
This is a sample app to test Keploy integration capabilities using Typescript and Nhost Let's get started without delaying any further! 🎢
Don’t have Keploy installed yet?
Before running this sample, make sure Keploy is installed on your system.
👉 Go to Installation GuideSetup app
Clone and install the necessary packages with the below command
git clone https://github.com/keploy/samples-typescript && cd samples-typescript/ts-nhost
npm install
Creating .env
Create a .env file which should contain HASURA_ADMIN_SECRETand GRAPHQL_ENDPOINT (as mentioned in ts-nhost/sample.env)
Steps on how to generate your HASURA_ADMIN_SECRET and GRAPHQL_ENDPOINT :
- Go to nhost
- Sign Up/Sign In and create new project
- Go to Hasura Console and open Hasura (Make sure to save your secret key before going to the next step)
- Get the
x-hasura-admin-secretandGraphQL Endpointand name them asHASURA_ADMIN_SECRETandGRAPHQL_ENDPOINTrespectively in .env
We're about to set up our sample application right on Linux, with a twist—our GraphQL backend will be powered by Hasura through Nhost. And to add a bit of flair, we’ll handle the database management with Nhost’s cloud-based service.
Ready to dive in? Let’s make this setup as smooth as a breeze! 🌟
Start recording tests:
sudo -E env "PATH=$PATH" keploy record -c 'ts-node src/app.ts'
sudo -E: Runs the command with elevated privileges while preserving the user environment.
env "PATH=$PATH": Ensures that the current PATH environment variable is preserved and used.
keploy record: Invokes Keploy in recording mode.
-c 'ts-node src/app.ts': Specifies the command to start your application (in this case, using ts-node to execute the TypeScript application entry point).
Generating the test cases
- Create User
curl --request POST \
      --url http://localhost:3000/users \
      --header 'Host: localhost:3000' \
      --header 'User-Agent: curl/8.6.0' \
      --header 'Accept: */*' \
      --header 'Content-Type: application/json' \
      --data '{
        "email": "a@gmail.com",
        "password": "123456789",
        "locale": "en",
        "displayName": "A"
      }'
- Get User
    curl --request GET \
      --url http://localhost:3000/users \
      --header 'User-Agent: curl/8.6.0' \
      --header 'Accept: */*' \
      --header 'Content-Type: application/json' \
      --header 'Host: localhost:3000'
- Delete User
    curl --request DELETE \
      --url http://localhost:3000/users/<ID> \
      --header 'Host: localhost:3000' \
      --header 'User-Agent: curl/8.6.0' \
      --header 'Accept: */*' \
      --header 'Content-Type: application/json'
Voila we have captured our api calls!
Explore the Keploy directory and you'll discover your handiwork in test-1.yml and mocks.yml.
This is a sample of what your yaml file would look like
version: api.keploy.io/v1beta1
kind: Http
name: test-1
spec:
    metadata: {}
    req:
        method: POST
        proto_major: 1
        proto_minor: 1
        url: http://localhost:3000/users
        header:
            Accept: '*/*'
            Content-Length: "113"
            Content-Type: application/json
            Host: localhost:3000
            User-Agent: curl/8.6.0
        body: |-
            {
                "email": "arpit@gmail.com",
                "password": "123456789",
                "locale": "en",
                "displayName": "Arpit"
              }
        timestamp: 2024-07-31T21:13:23.94427882Z
    resp:
        status_code: 200
        header:
            Access-Control-Allow-Origin: '*'
            Connection: keep-alive
            Content-Length: "142"
            Content-Type: application/json; charset=utf-8
            Date: Wed, 31 Jul 2024 21:13:24 GMT
            Etag: W/"8e-qRQmCOp8z1PPQCp1OFSshzkDzmQ"
            Keep-Alive: timeout=5
            X-Powered-By: Express
        body: '{"message":"Successfully created a user","user":{"id":"f14a7f34-c7c6-4c60-a81f-7ca895e08af0","displayName":"Arpit","email":"arpit@gmail.com"}}'
        status_message: OK
        proto_major: 0
        proto_minor: 0
        timestamp: 2024-07-31T21:13:27.09463946Z
    objects: []
    assertions:
        noise:
            header.Date: []
    created: 1722460407
curl: |-
    curl --request POST \
      --url http://localhost:3000/users \
      --header 'Host: localhost:3000' \
      --header 'User-Agent: curl/8.6.0' \
      --header 'Accept: */*' \
      --header 'Content-Type: application/json' \
      --data '{
        "email": "arpit@gmail.com",
        "password": "123456789",
        "locale": "en",
        "displayName": "Arpit"
      }'
Running the test cases
Now, let's put things to test and run the keploy in test mode again:-
sudo -E env "PATH=$PATH" keploy test -c 'ts-node src/app.ts' --delay 10
Voila!! Our test cases have passed 🌟
You will be able to see the summary of your test cases run in your terminal!
Now its time for you to experiment further with different API calls and tweak the responses accordingly!
Running the app using Docker
This is a sample app to test Keploy integration capabilities using Typescript and Nhost Let's get started without delaying any further! 🎢
Don’t have Keploy installed yet?
Before running this sample, make sure Keploy is installed on your system.
👉 Go to Installation GuideSetup app
Clone and install the necessary packages with the below command
git clone https://github.com/keploy/samples-typescript && cd samples-typescript/ts-nhost
npm install
Creating .env
Create a .env file which should contain HASURA_ADMIN_SECRETand GRAPHQL_ENDPOINT (as mentioned in ts-nhost/sample.env)
Steps on how to generate your HASURA_ADMIN_SECRET and GRAPHQL_ENDPOINT :
- Go to nhost
- Sign Up/Sign In and create new project
- Go to Hasura Console and open Hasura (Make sure to save your secret key before going to the next step)
- Get the
x-hasura-admin-secretandGraphQL Endpointand name them asHASURA_ADMIN_SECRETandGRAPHQL_ENDPOINTrespectively in .env
We're about to set up our sample application right on Linux, with a twist—our GraphQL backend will be powered by Hasura through Nhost. And to add a bit of flair, we’ll handle the database management with Nhost’s cloud-based service.
Ready to dive in? Let’s make this setup as smooth as a breeze! 🌟
We will be using Docker compose to run the application as well as GraphQL on Docker container.
Capture the testcases
We will run the keploy in record mode with docker-compose to start our application:-
keploy record -c "sudo docker compose up" --containerName "ts-nhost"

Generate the testcases
Let's generate the testcases.
Make API Calls using Hoppscotch, Postman or cURL command. Keploy will capture those calls to generate test suites containing test cases and data mocks.
- Create User
curl --request POST \
      --url http://localhost:3000/users \
      --header 'Host: localhost:3000' \
      --header 'User-Agent: curl/8.6.0' \
      --header 'Accept: */*' \
      --header 'Content-Type: application/json' \
      --data '{
        "email": "arpit@gmail.com",
        "password": "123456789",
        "locale": "en",
        "displayName": "Arpit"
      }'
- Get User
    curl --request GET \
      --url http://localhost:3000/users \
      --header 'User-Agent: curl/8.6.0' \
      --header 'Accept: */*' \
      --header 'Content-Type: application/json' \
      --header 'Host: localhost:3000'
- Delete User
    curl --request DELETE \
      --url http://localhost:3000/users/<ID> \
      --header 'Host: localhost:3000' \
      --header 'User-Agent: curl/8.6.0' \
      --header 'Accept: */*' \
      --header 'Content-Type: application/json'
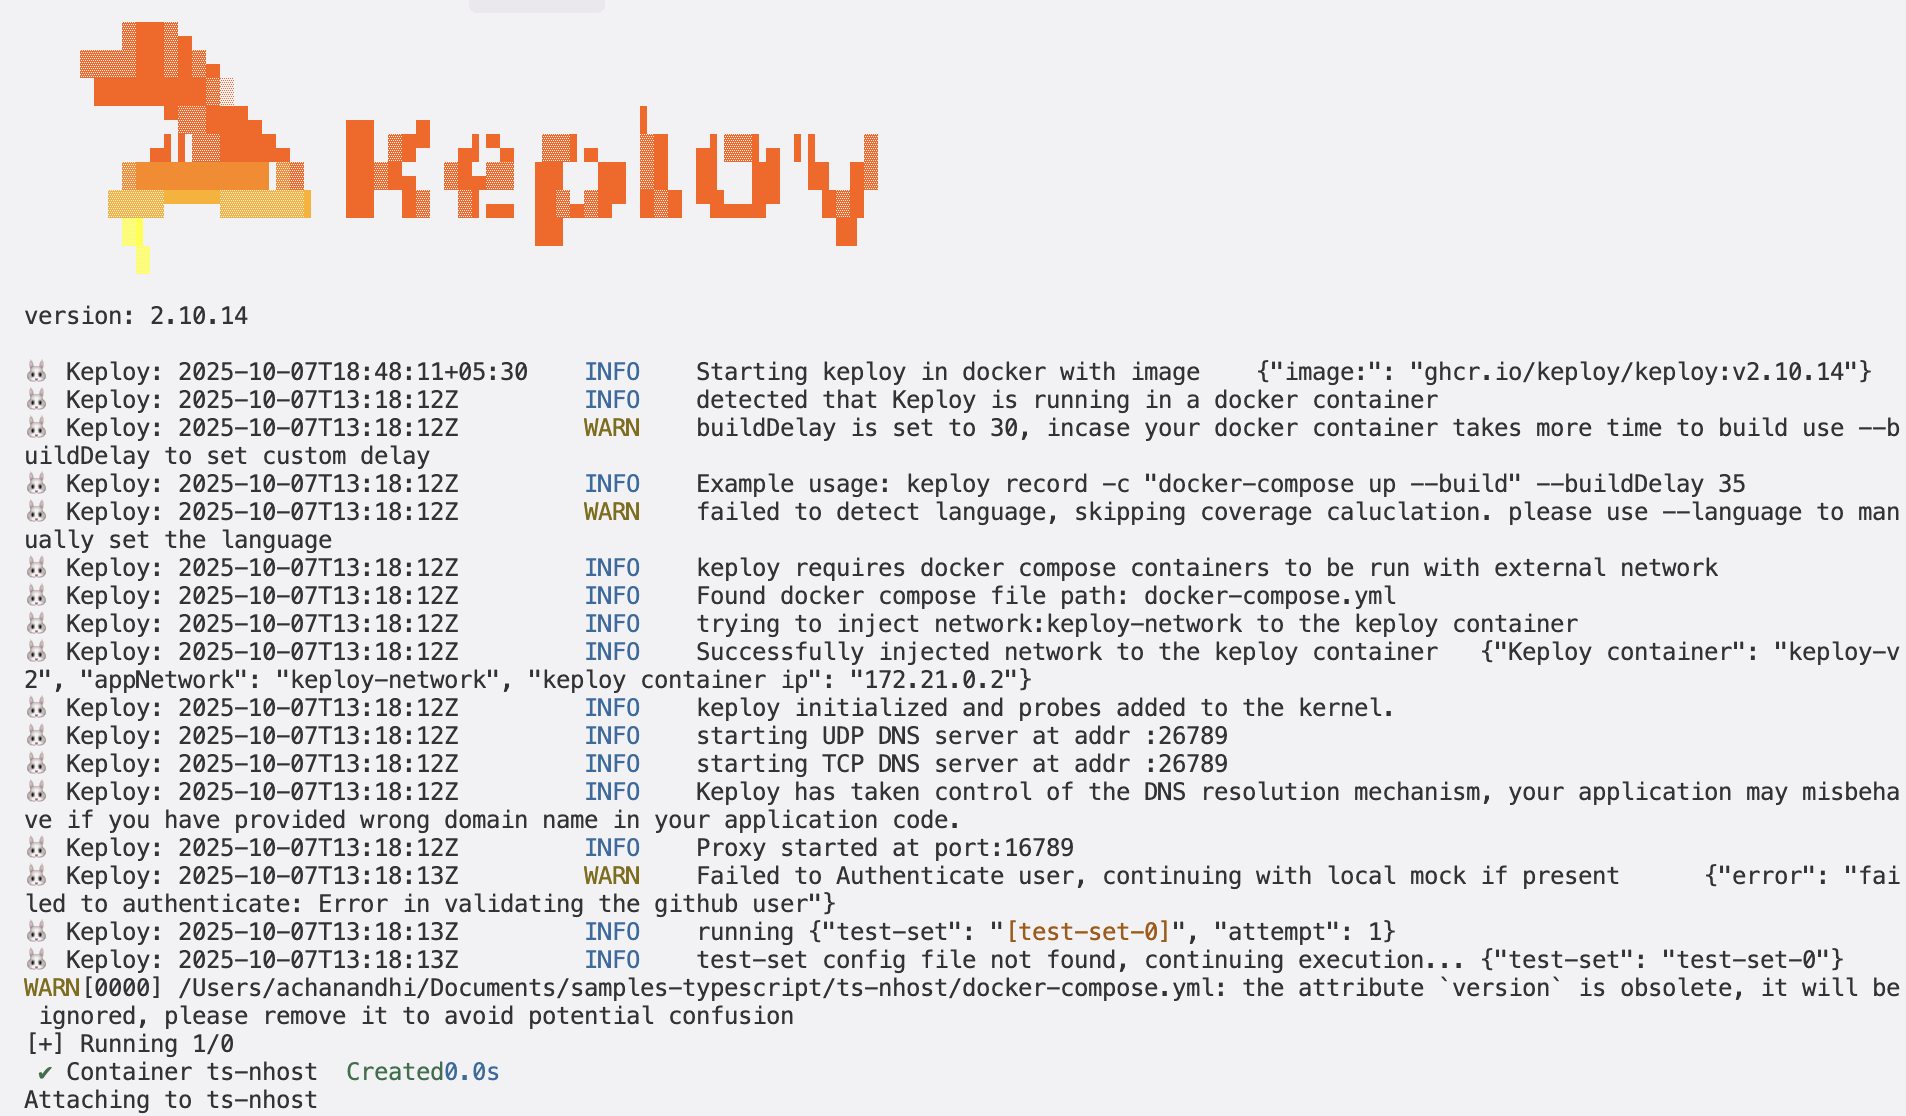
Running the testcases
Let's run our captured test cases
keploy test -c 'sudo docker compose up' --containerName "ts-nhost" --delay 10
This is what your response should look like!

Wrapping it up 🎉
🎉 Congratulations on Reaching This Milestone! 🎉
You've successfully tested the tool and created your mocks and test cases—fantastic work! Now that you've laid a solid foundation, it's time to elevate your achievements even further.