Instructions For Starting Using API backend Binary
This is a petclinic app where you can record testcases and mocks by interacting with the UI, and then test them using Keploy.
Don’t have Keploy installed yet?
Before running this sample, make sure Keploy is installed on your system.
👉 Go to Installation GuideThis project has two parts - the frontend and backend, since Keploy is a backend testing platform, we need to start the backend part of the project using Keploy and run the frontend as it is.
Setup the frontend
Prerequisites For Frontend:
- Node version 16.x and above
git clone https://github.com/keploy/samples-java.git
cd samples-java/spring-petclinic/spring-petclinic-angular
npm i --legacy-peer-deps
Start the frontend
npm run start
Now it's time to setup the backend of our application. Let's move to the backend directory and get started.
cd samples-java/spring-petclinic/spring-petclinic-rest
Prerequisites For API backend Binary:
- OpenJDK 17+
- MVN version 3.6+
Setup the backend
You need to update the postgresql properties, go to
spring-petclinic/spring-petclinic-rest/src/main/resources/application-postgresql.properties
and change
spring.datasource.url=jdbc:postgresql://mypostgres:5432/petclinic
to
spring.datasource.url=jdbc:postgresql://localhost:5432/petclinic
and then build the jar using:
mvn clean install -Dmaven.test.skip=true
Spin up the database
docker run -e POSTGRES_USER=petclinic -e POSTGRES_PASSWORD=petclinic -e POSTGRES_DB=petclinic -p 5432:5432 --name mypostgres postgres:15.2
Recording the testcases with Keploy
keploy record -c "java -jar target/spring-petclinic-rest-3.0.2.jar"
Now you can start interacting with the UI and Keploy will automatically create the testcases and mocks for it in a folder named 'keploy'.
Running the testcases using Keploy
keploy test -c "java -jar target/spring-petclinic-rest-3.0.2.jar" --delay 20
🎉 Hooray! You've made it to the end of the binary section! 🎉
Instructions For Starting Using Docker
This is a petclinic app where you can record testcases and mocks by interacting with the UI, and then test them using Keploy.
Don’t have Keploy installed yet?
Before running this sample, make sure Keploy is installed on your system.
👉 Go to Installation GuideSetup the frontend
Prerequisites For Frontend:
- Node version 16.x and above
git clone https://github.com/keploy/samples-java.git
cd samples-java/spring-petclinic/spring-petclinic-angular
npm i --legacy-peer-deps
Start the frontend
npm run start
Now it's time to setup the backend of our application. Let's move to the backend directory and get started.
cd samples-java/spring-petclinic/spring-petclinic-rest
Prerequisites For API backend Binary:
- OpenJDK 17+
- MVN version 3.6+
Recording the testcases with Keploy
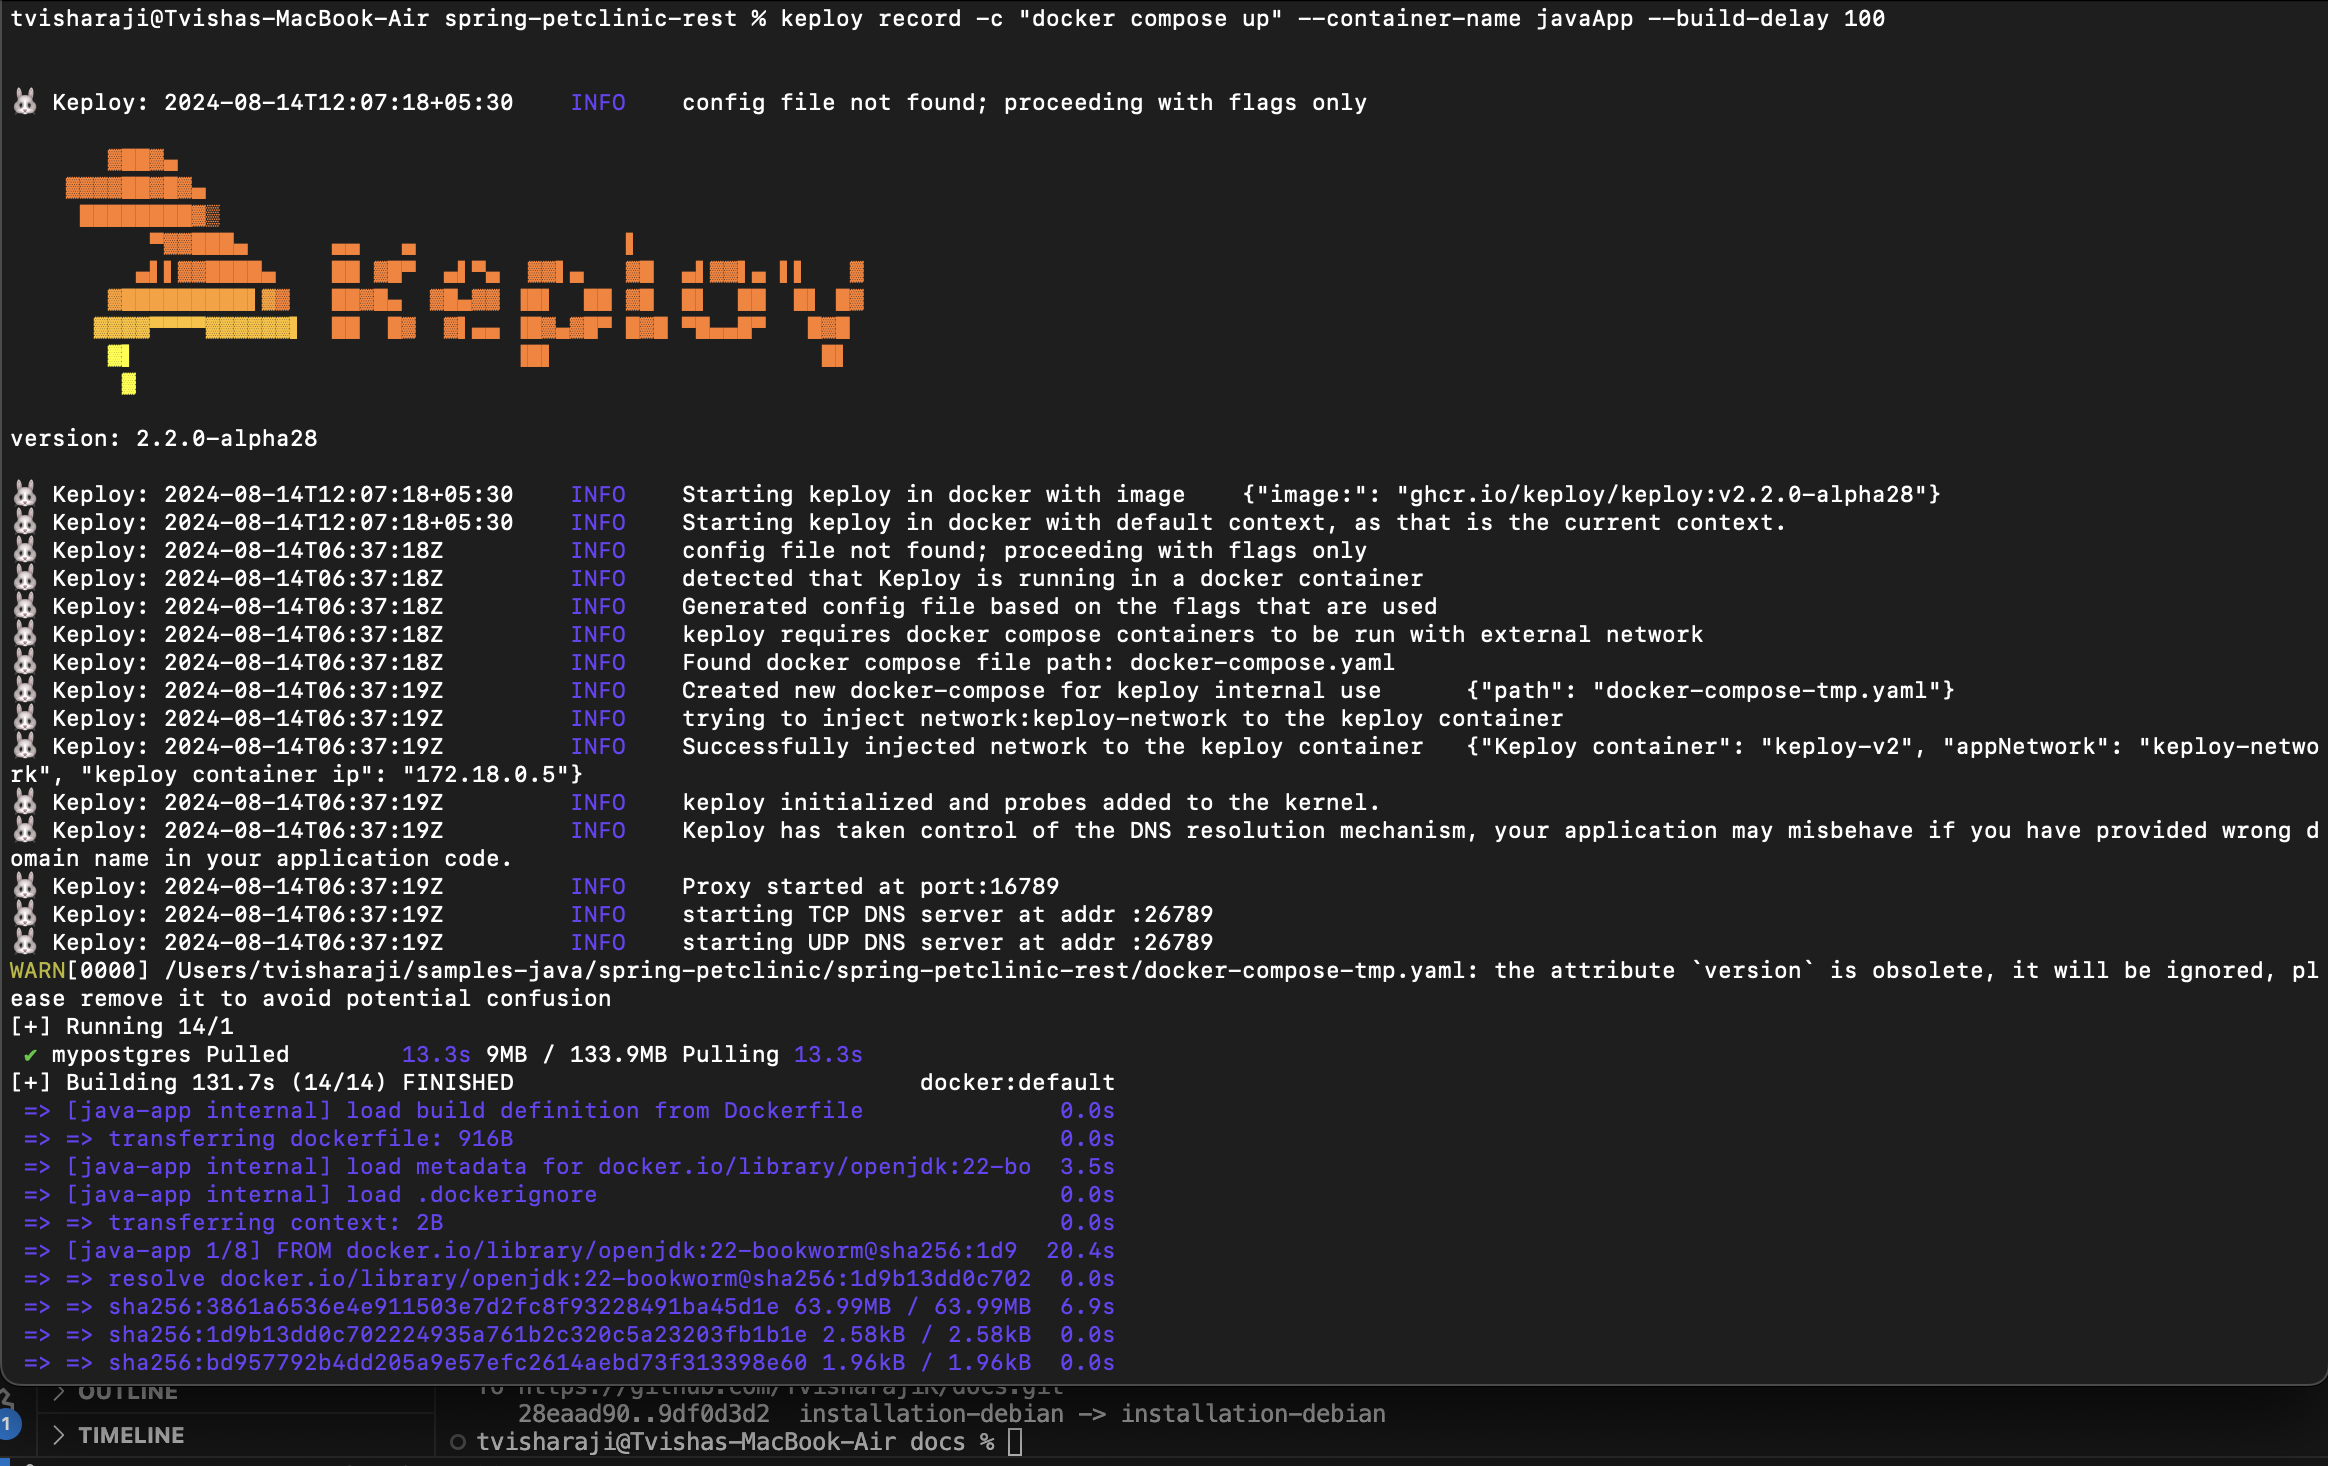
keploy record -c "docker compose up" --container-name javaApp --build-delay 100
Running the testcases using Keploy
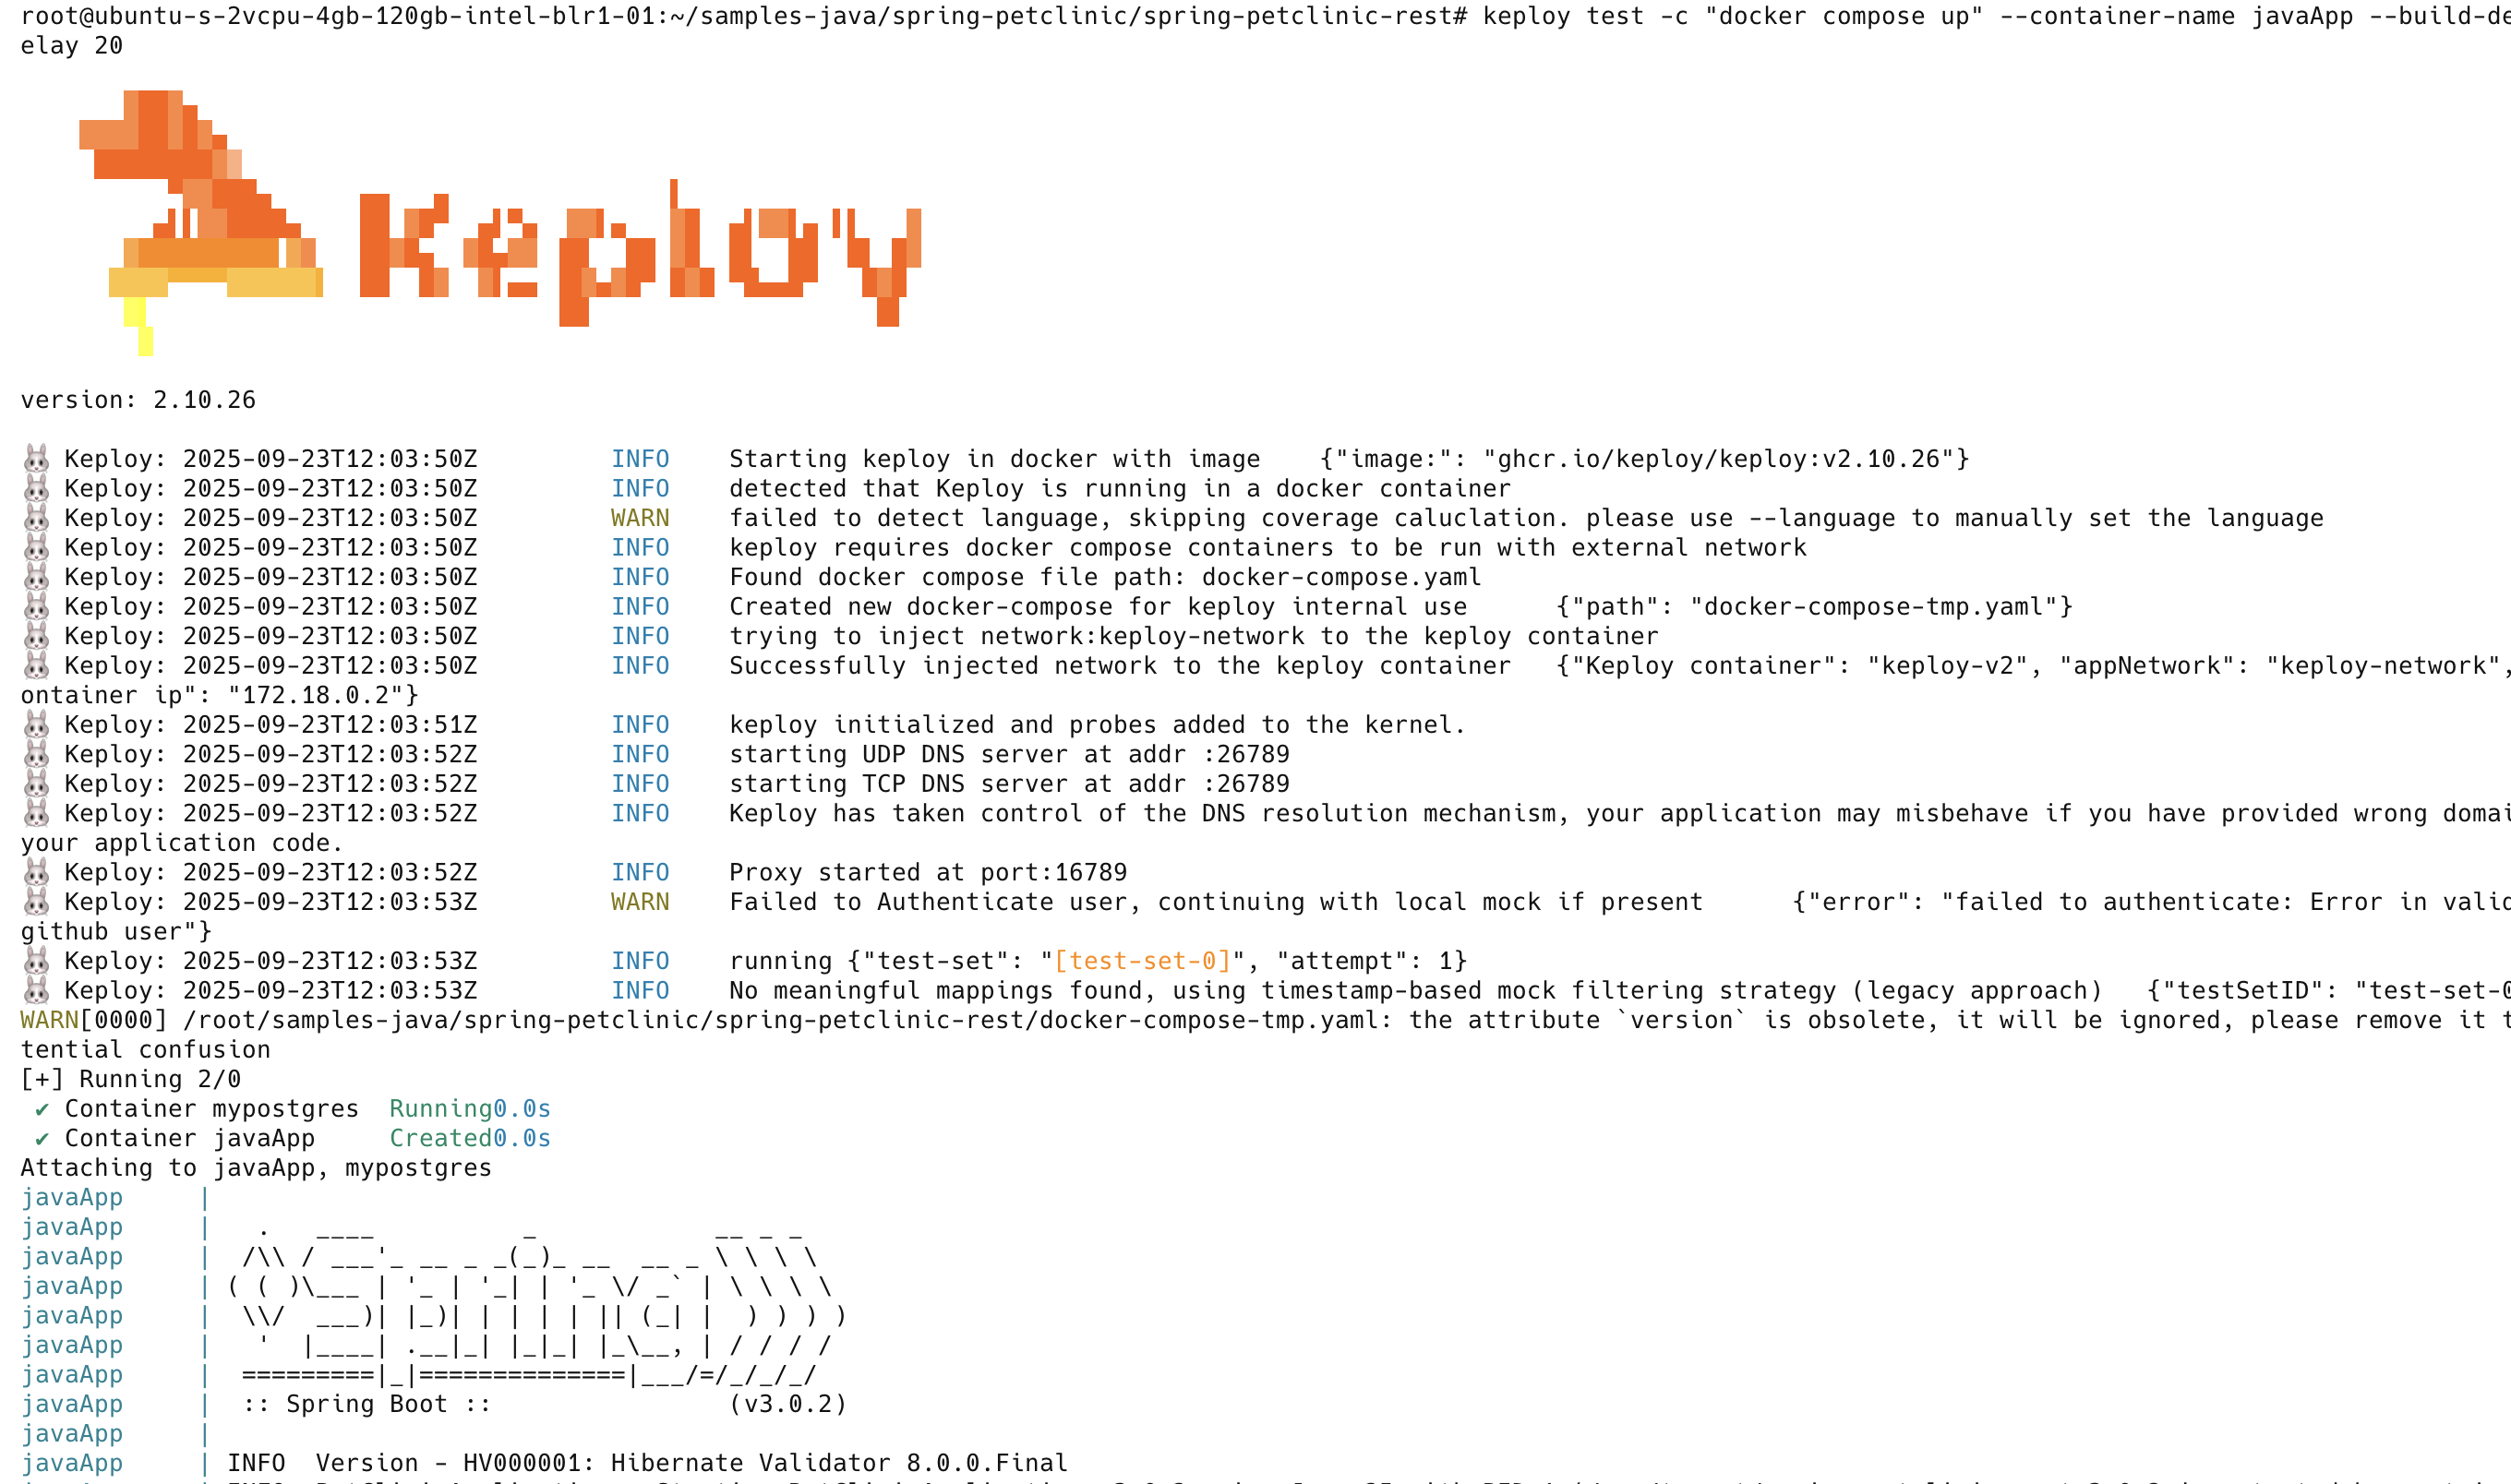
keploy test -c "docker compose up" --container-name javaApp --build-delay 50 --delay 20
Your CLI should look something like this
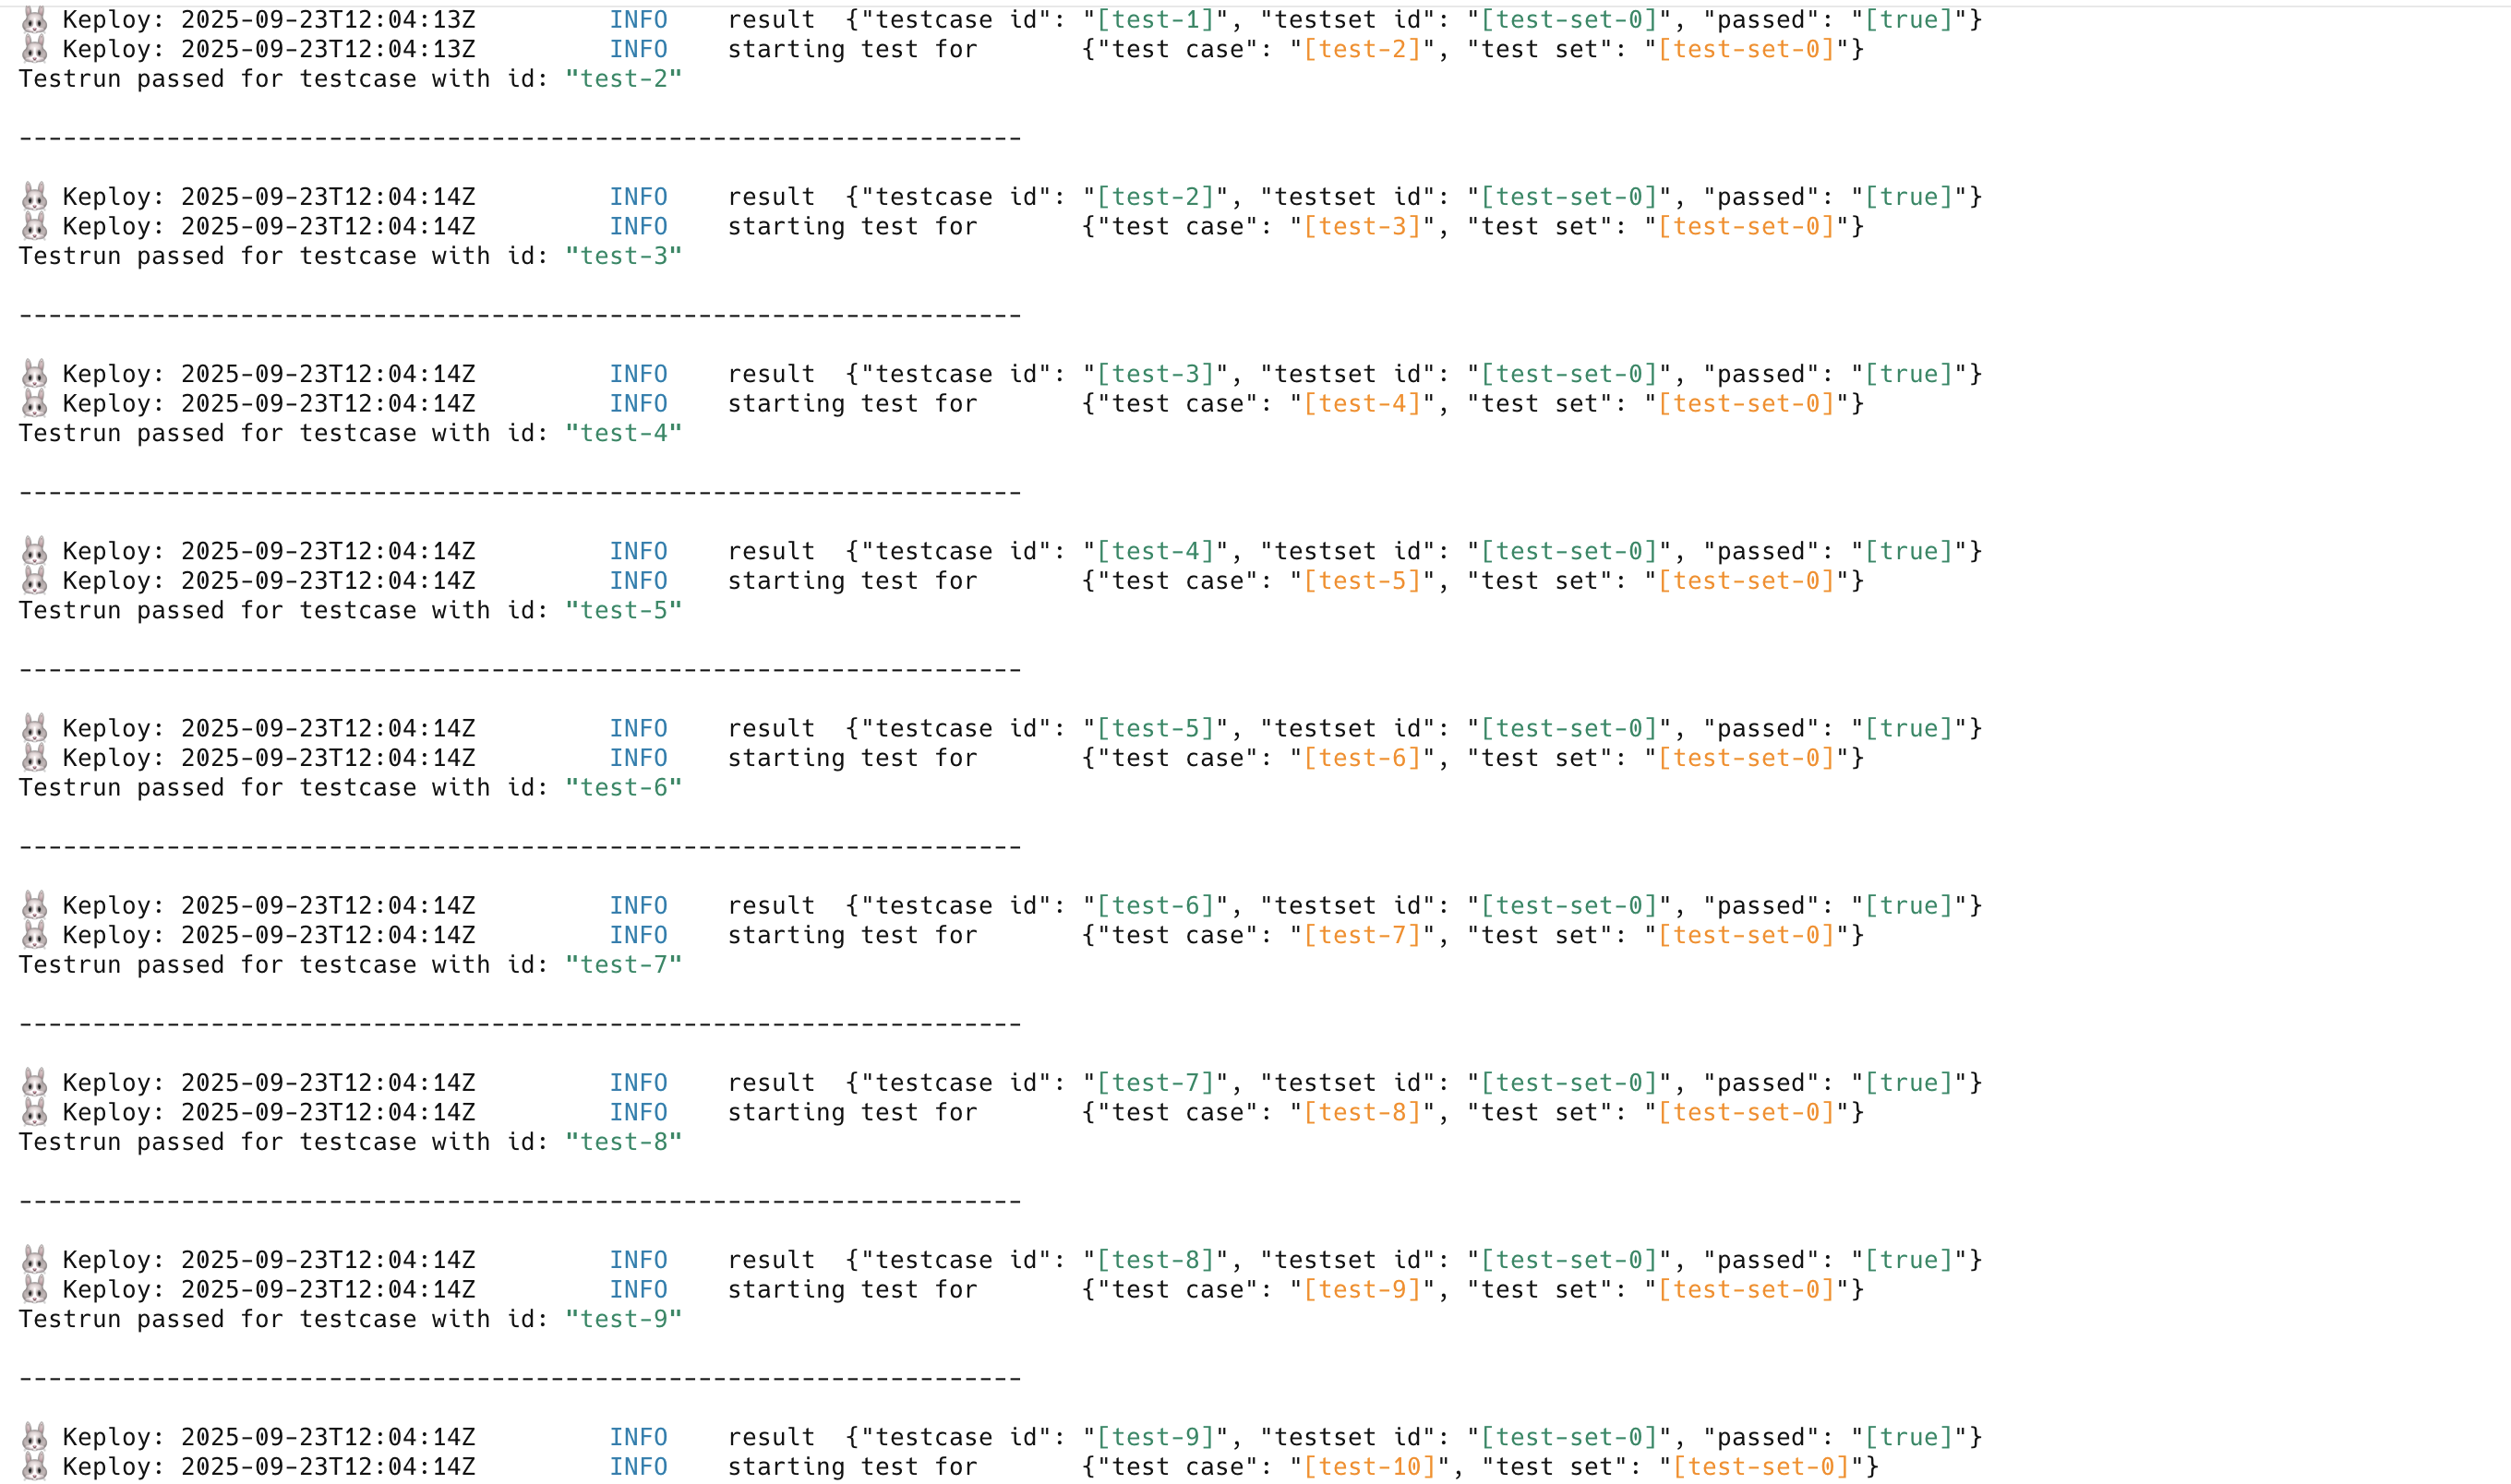
This is a summary of the test cases recorded
Here delay is the time it takes for your application to get started, after which Keploy will start running the testcases. If your application takes longer than 10s to get started, you can change the delay accordingly.
buildDelay is the time that it takes for the image to get built. This is useful when you are building the docker image from your docker compose file itself.
Hope this helps you out, if you still have any questions, reach out to us .