Fix failing tests
When a replay fails, find out why before you change anything. If your app regressed, fix the code. If the test data is wrong or out of date, change it on a Keploy branch.
Changes to test data, such as deleting or editing a test case, never go straight to main. As with a pull request, you make them on a branch, commit them, get them reviewed and merge them.
Find out why a test failed
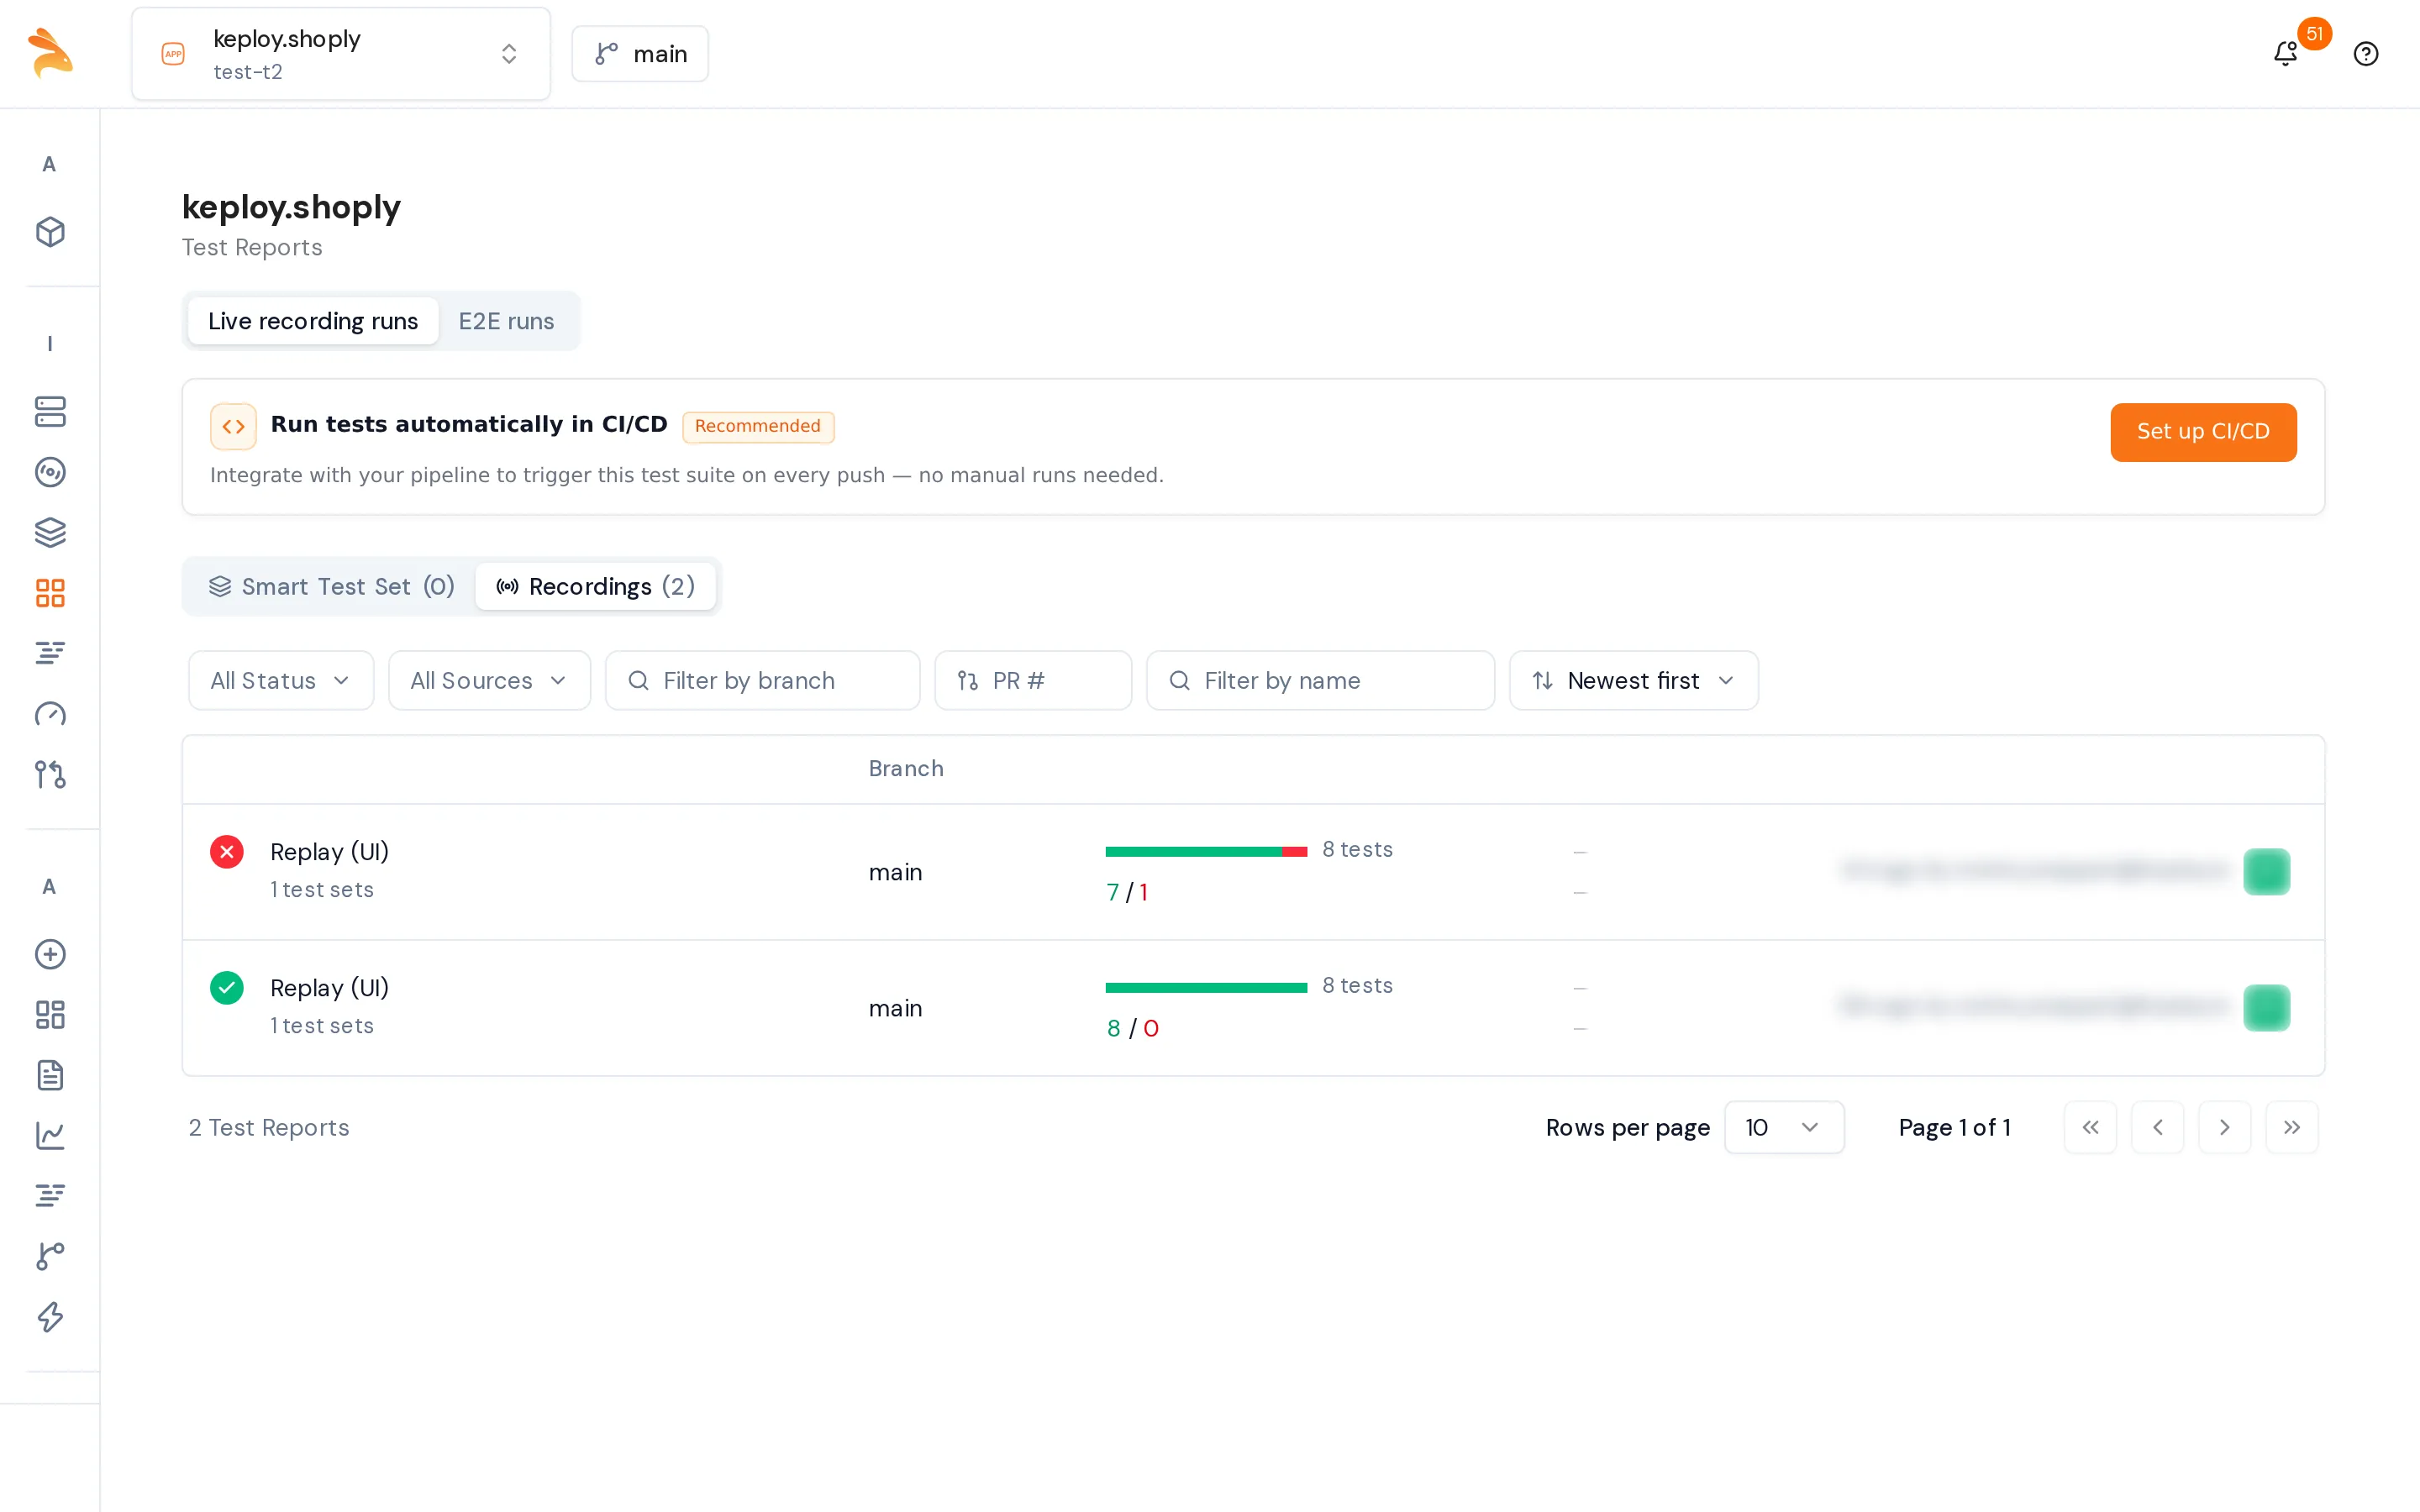
- Open Reports → Live recording runs → Recordings and click the run. A failed run shows its failed count in red.
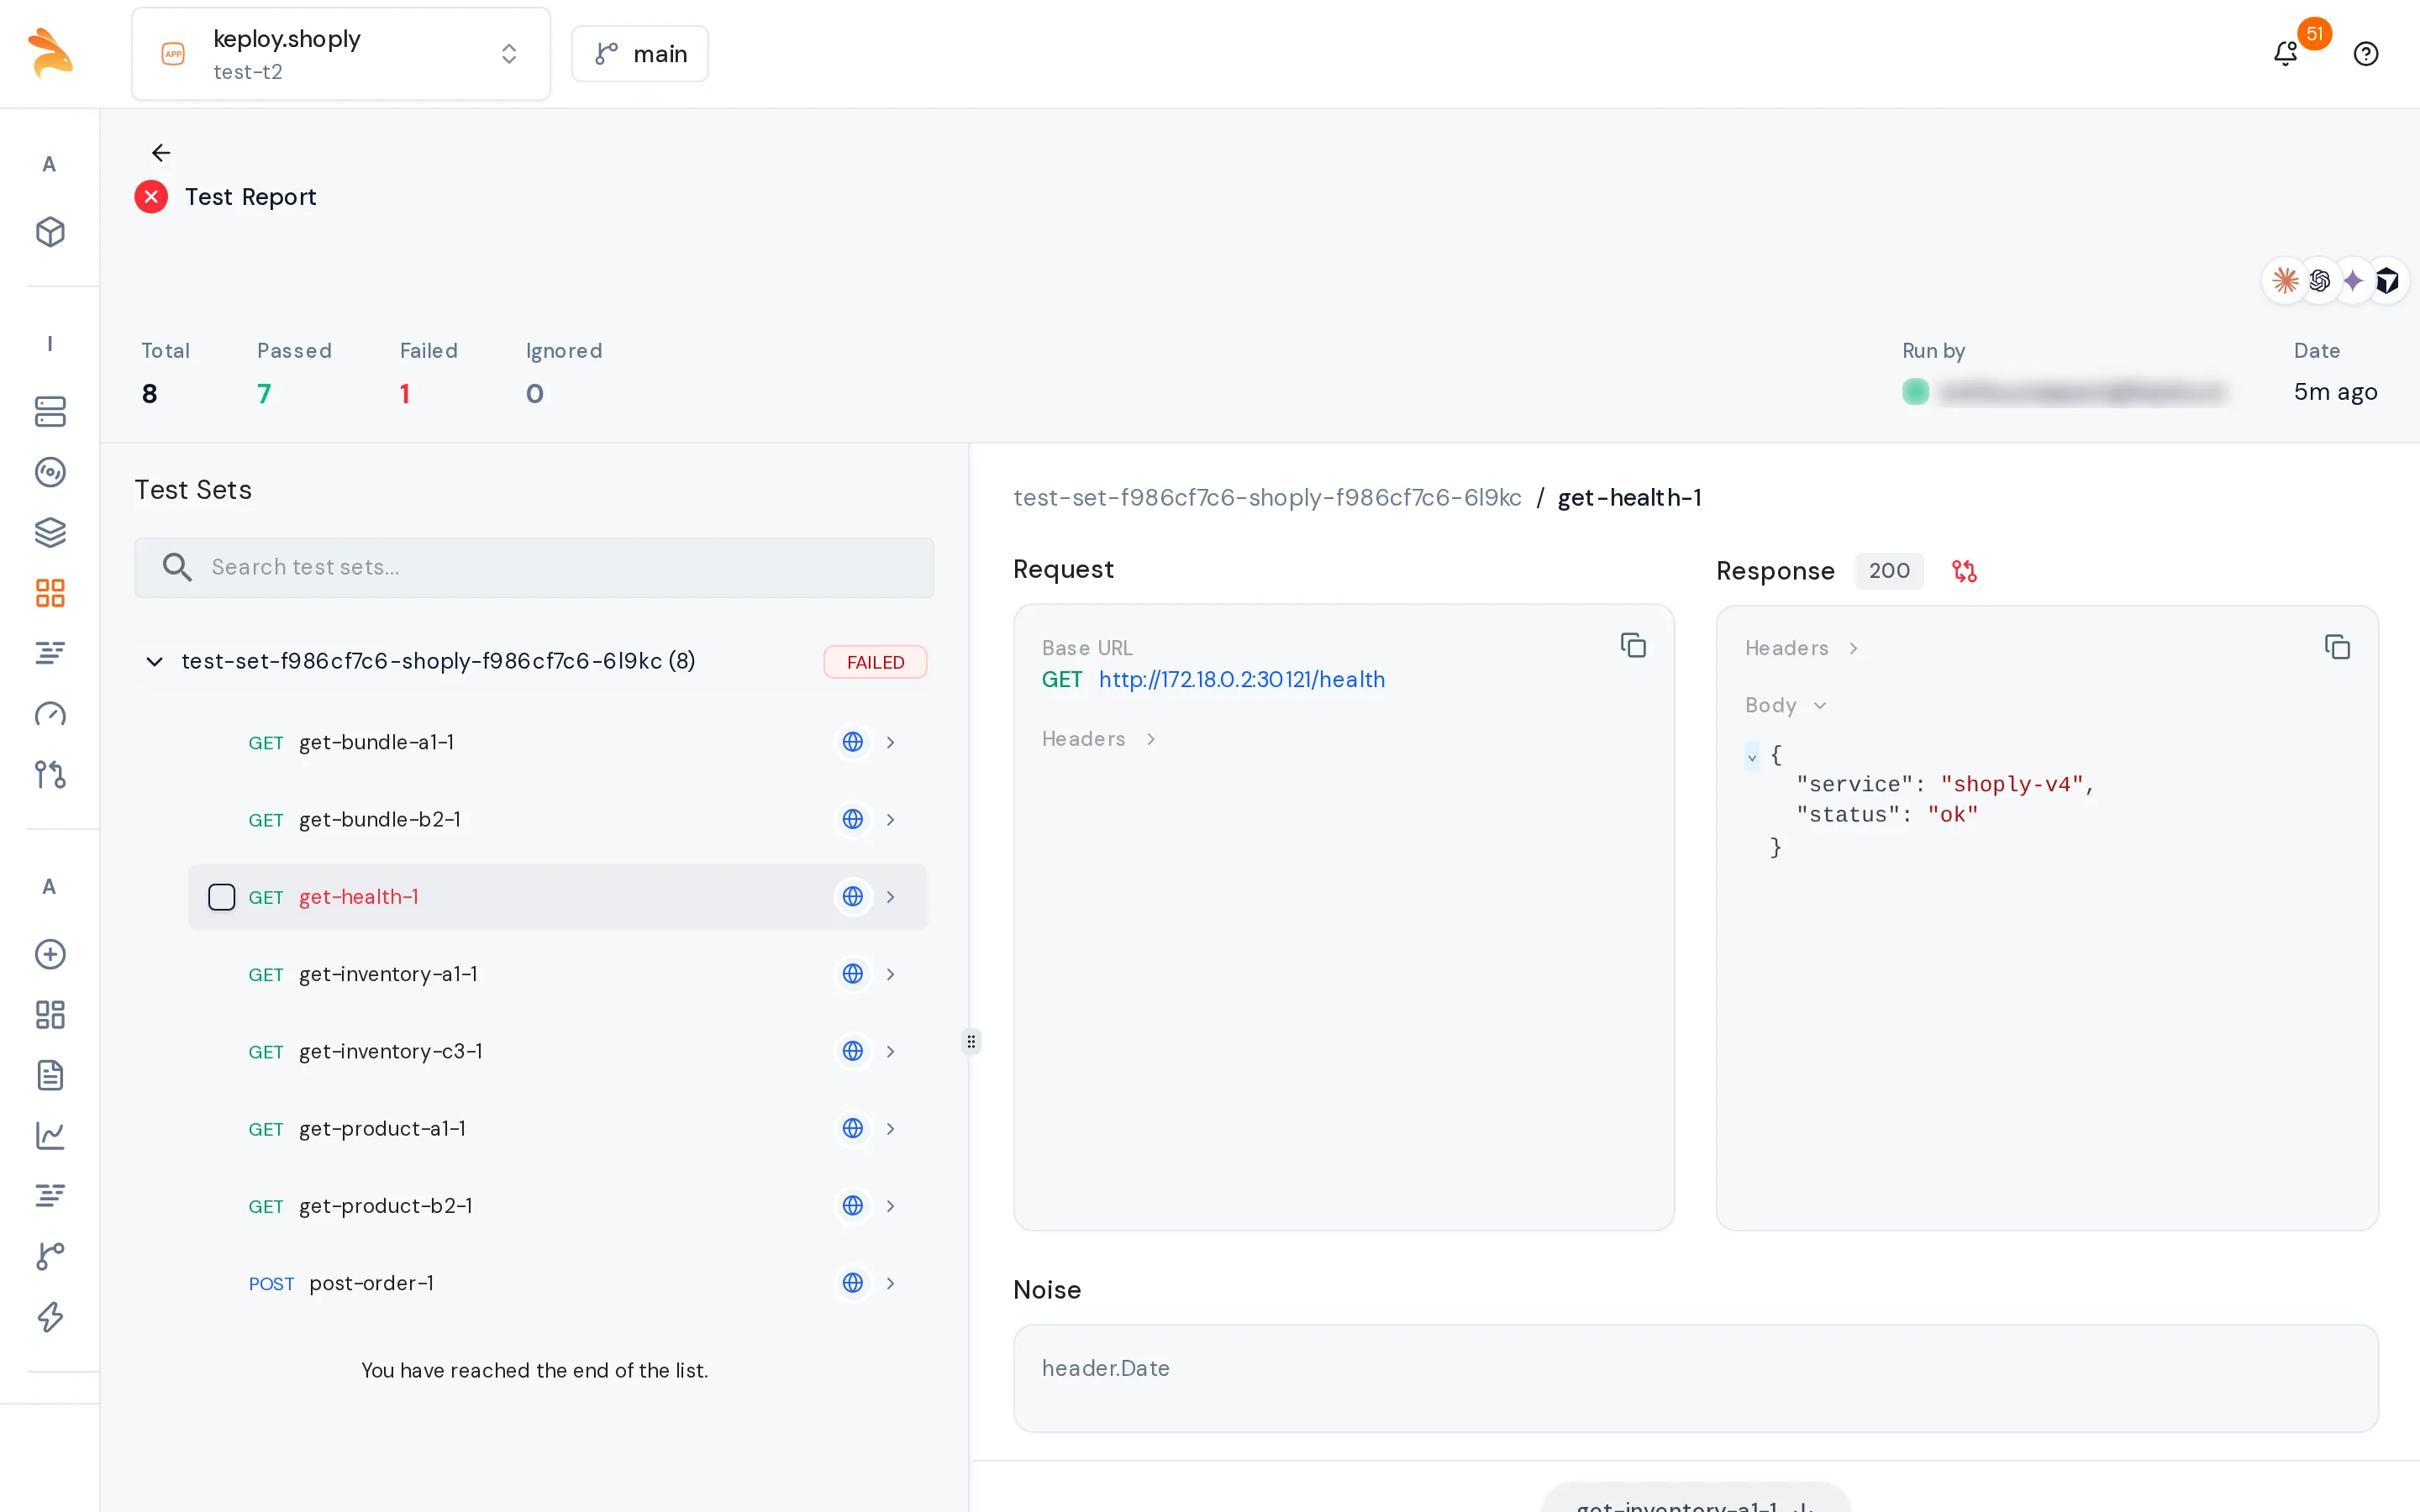
- Open a failed test. Failed tests are shown in red.
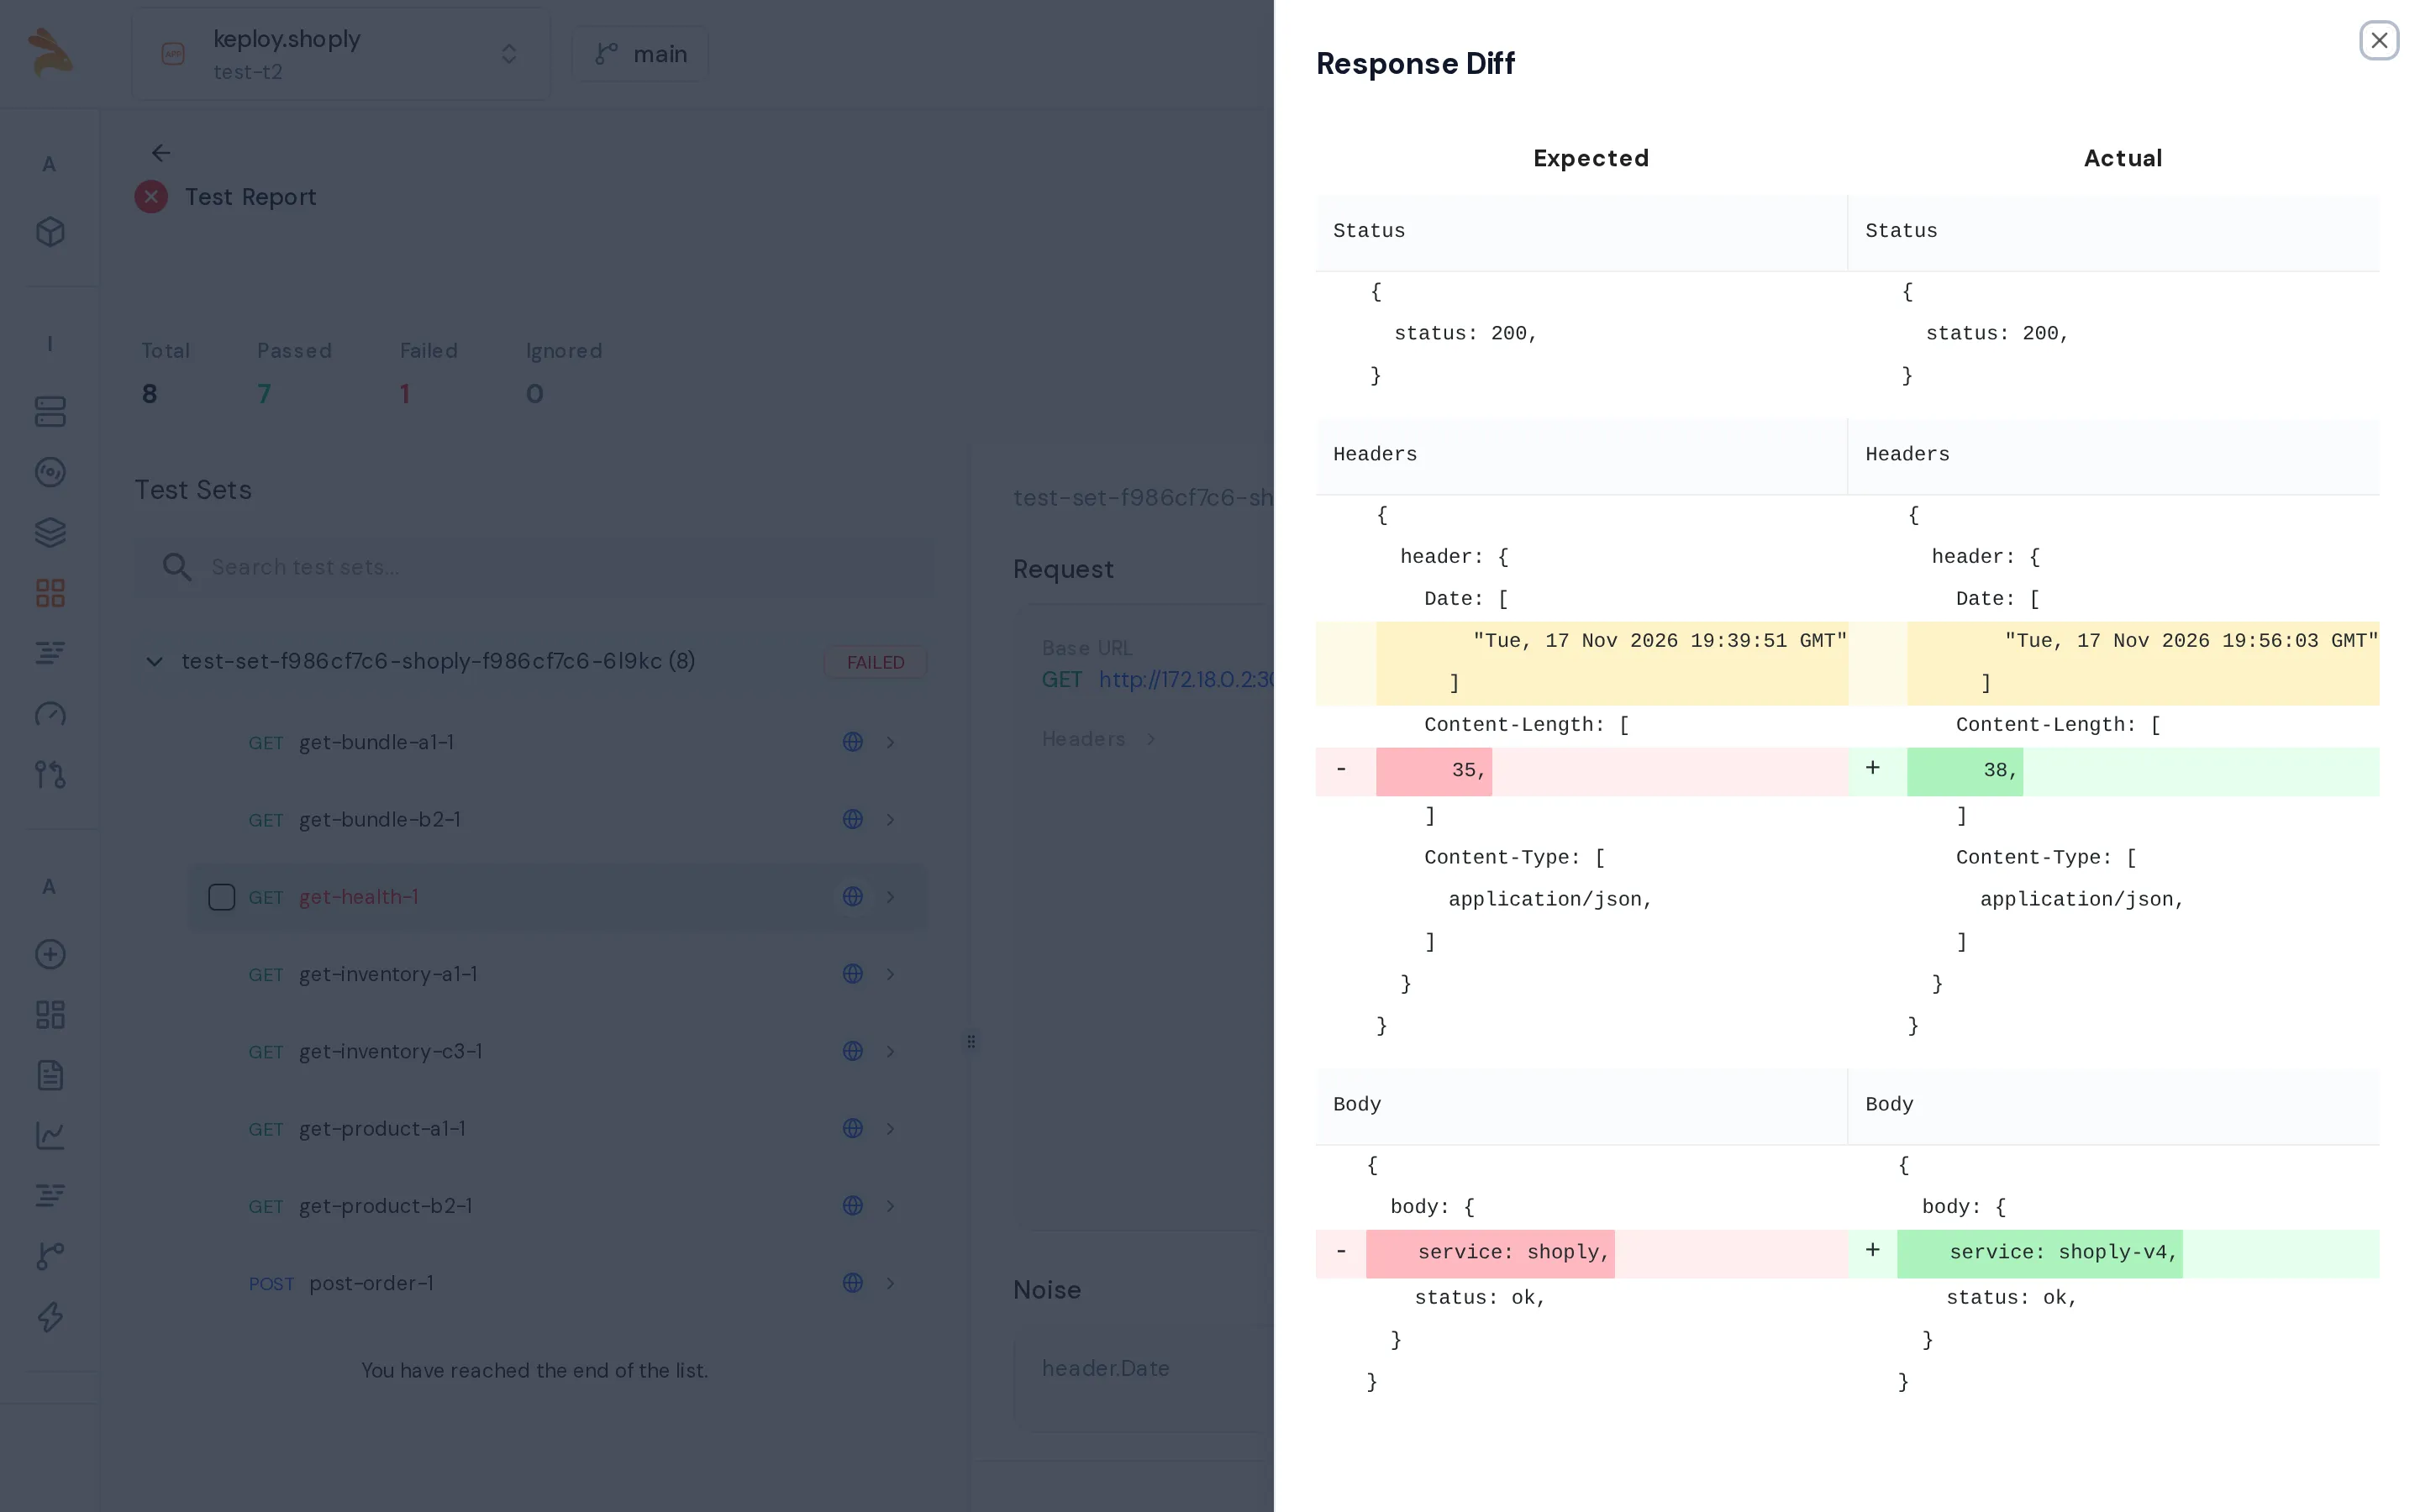
- Click the diff icon next to Response (View response diff) to compare the Expected and Actual status, headers and body. In this example, a new build returns a different
servicevalue, so itsContent-Lengthchanged too.
- Check the mock badge on the test. A note such as N calls matched no mock means your app made an outgoing call that the recording doesn't cover.
Then decide what kind of failure it is:
| What you see | Cause | What to do |
|---|---|---|
| The response changed in a way your users would notice | Your app regressed | Fix the code and replay again. Keep the test case. |
| Only a timestamp, ID or token differs | Noise | Mark the field as noise. |
| The endpoint or its behavior changed on purpose, or was removed | Obsolete test case | Delete the test case. |
To have an AI coding assistant diagnose the failures, click Copy prompt and triage this run and paste the prompt into the assistant. It runs keploy cloud triage.
Delete a test case
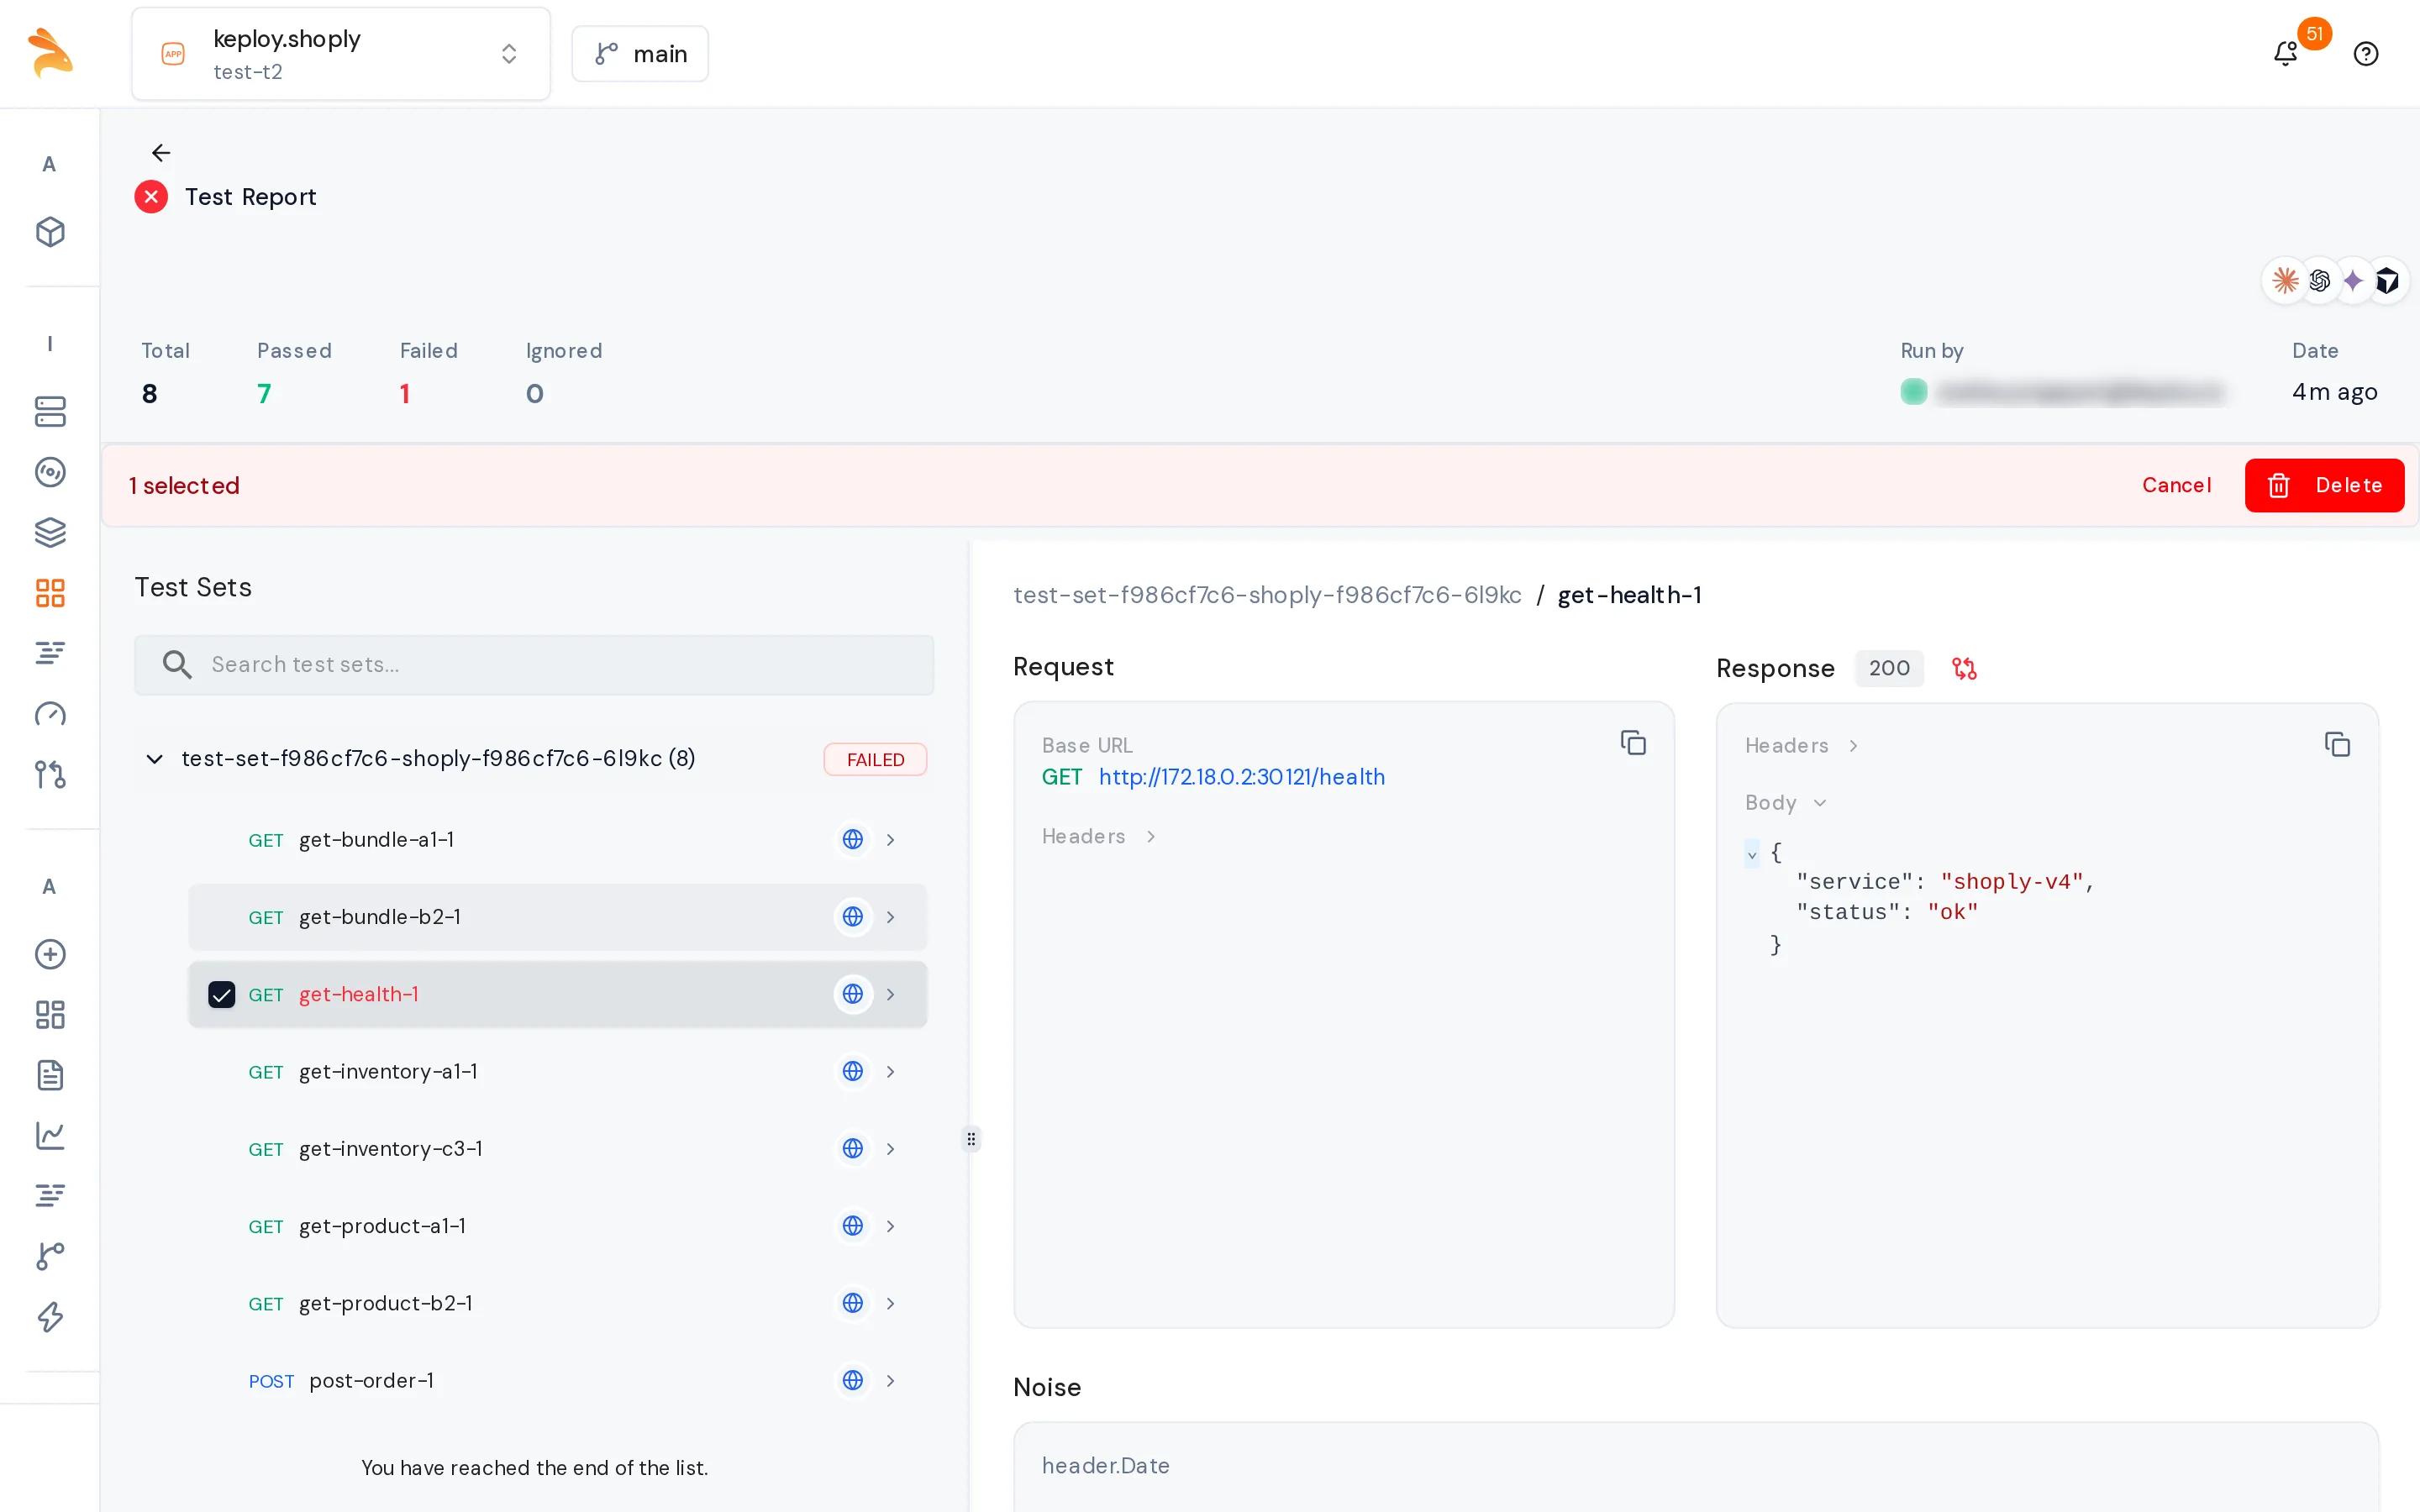
- On the Test Report, select the checkbox of each failed test case you want to remove. Only failed test cases have a checkbox.
- In the bar that appears, click Delete.
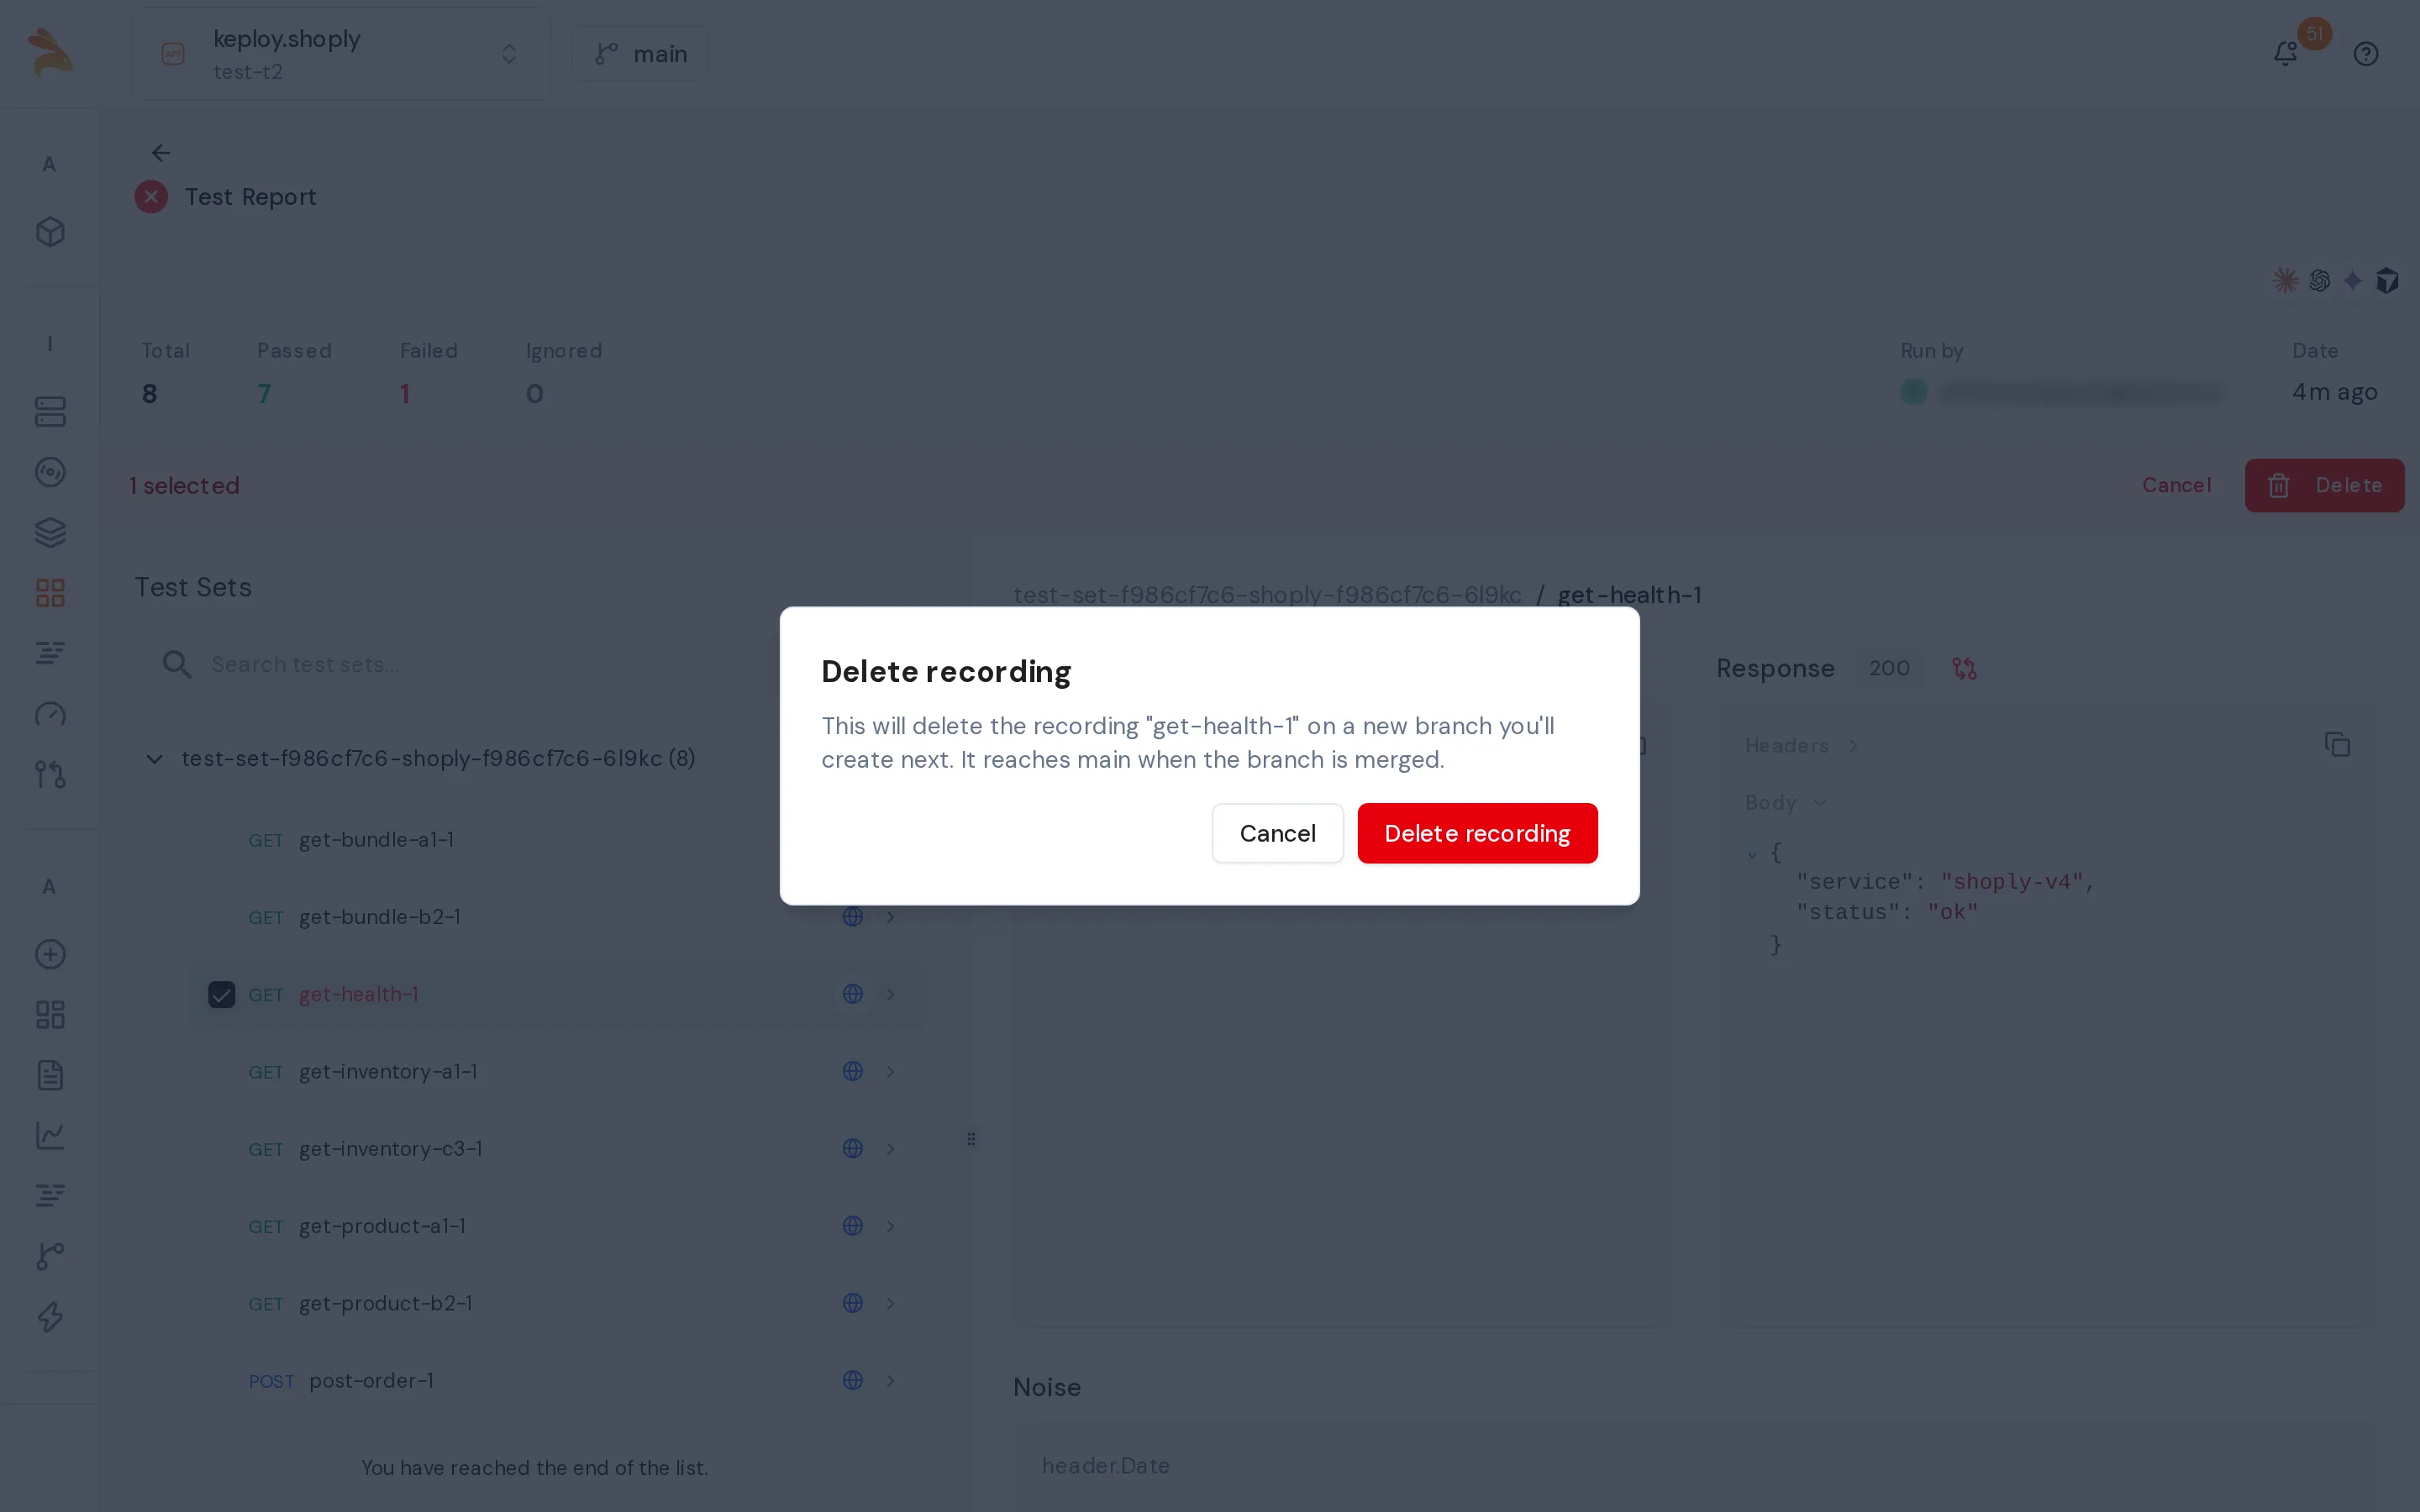
- Click Delete recording to confirm. The dialog explains that the delete happens on a branch.
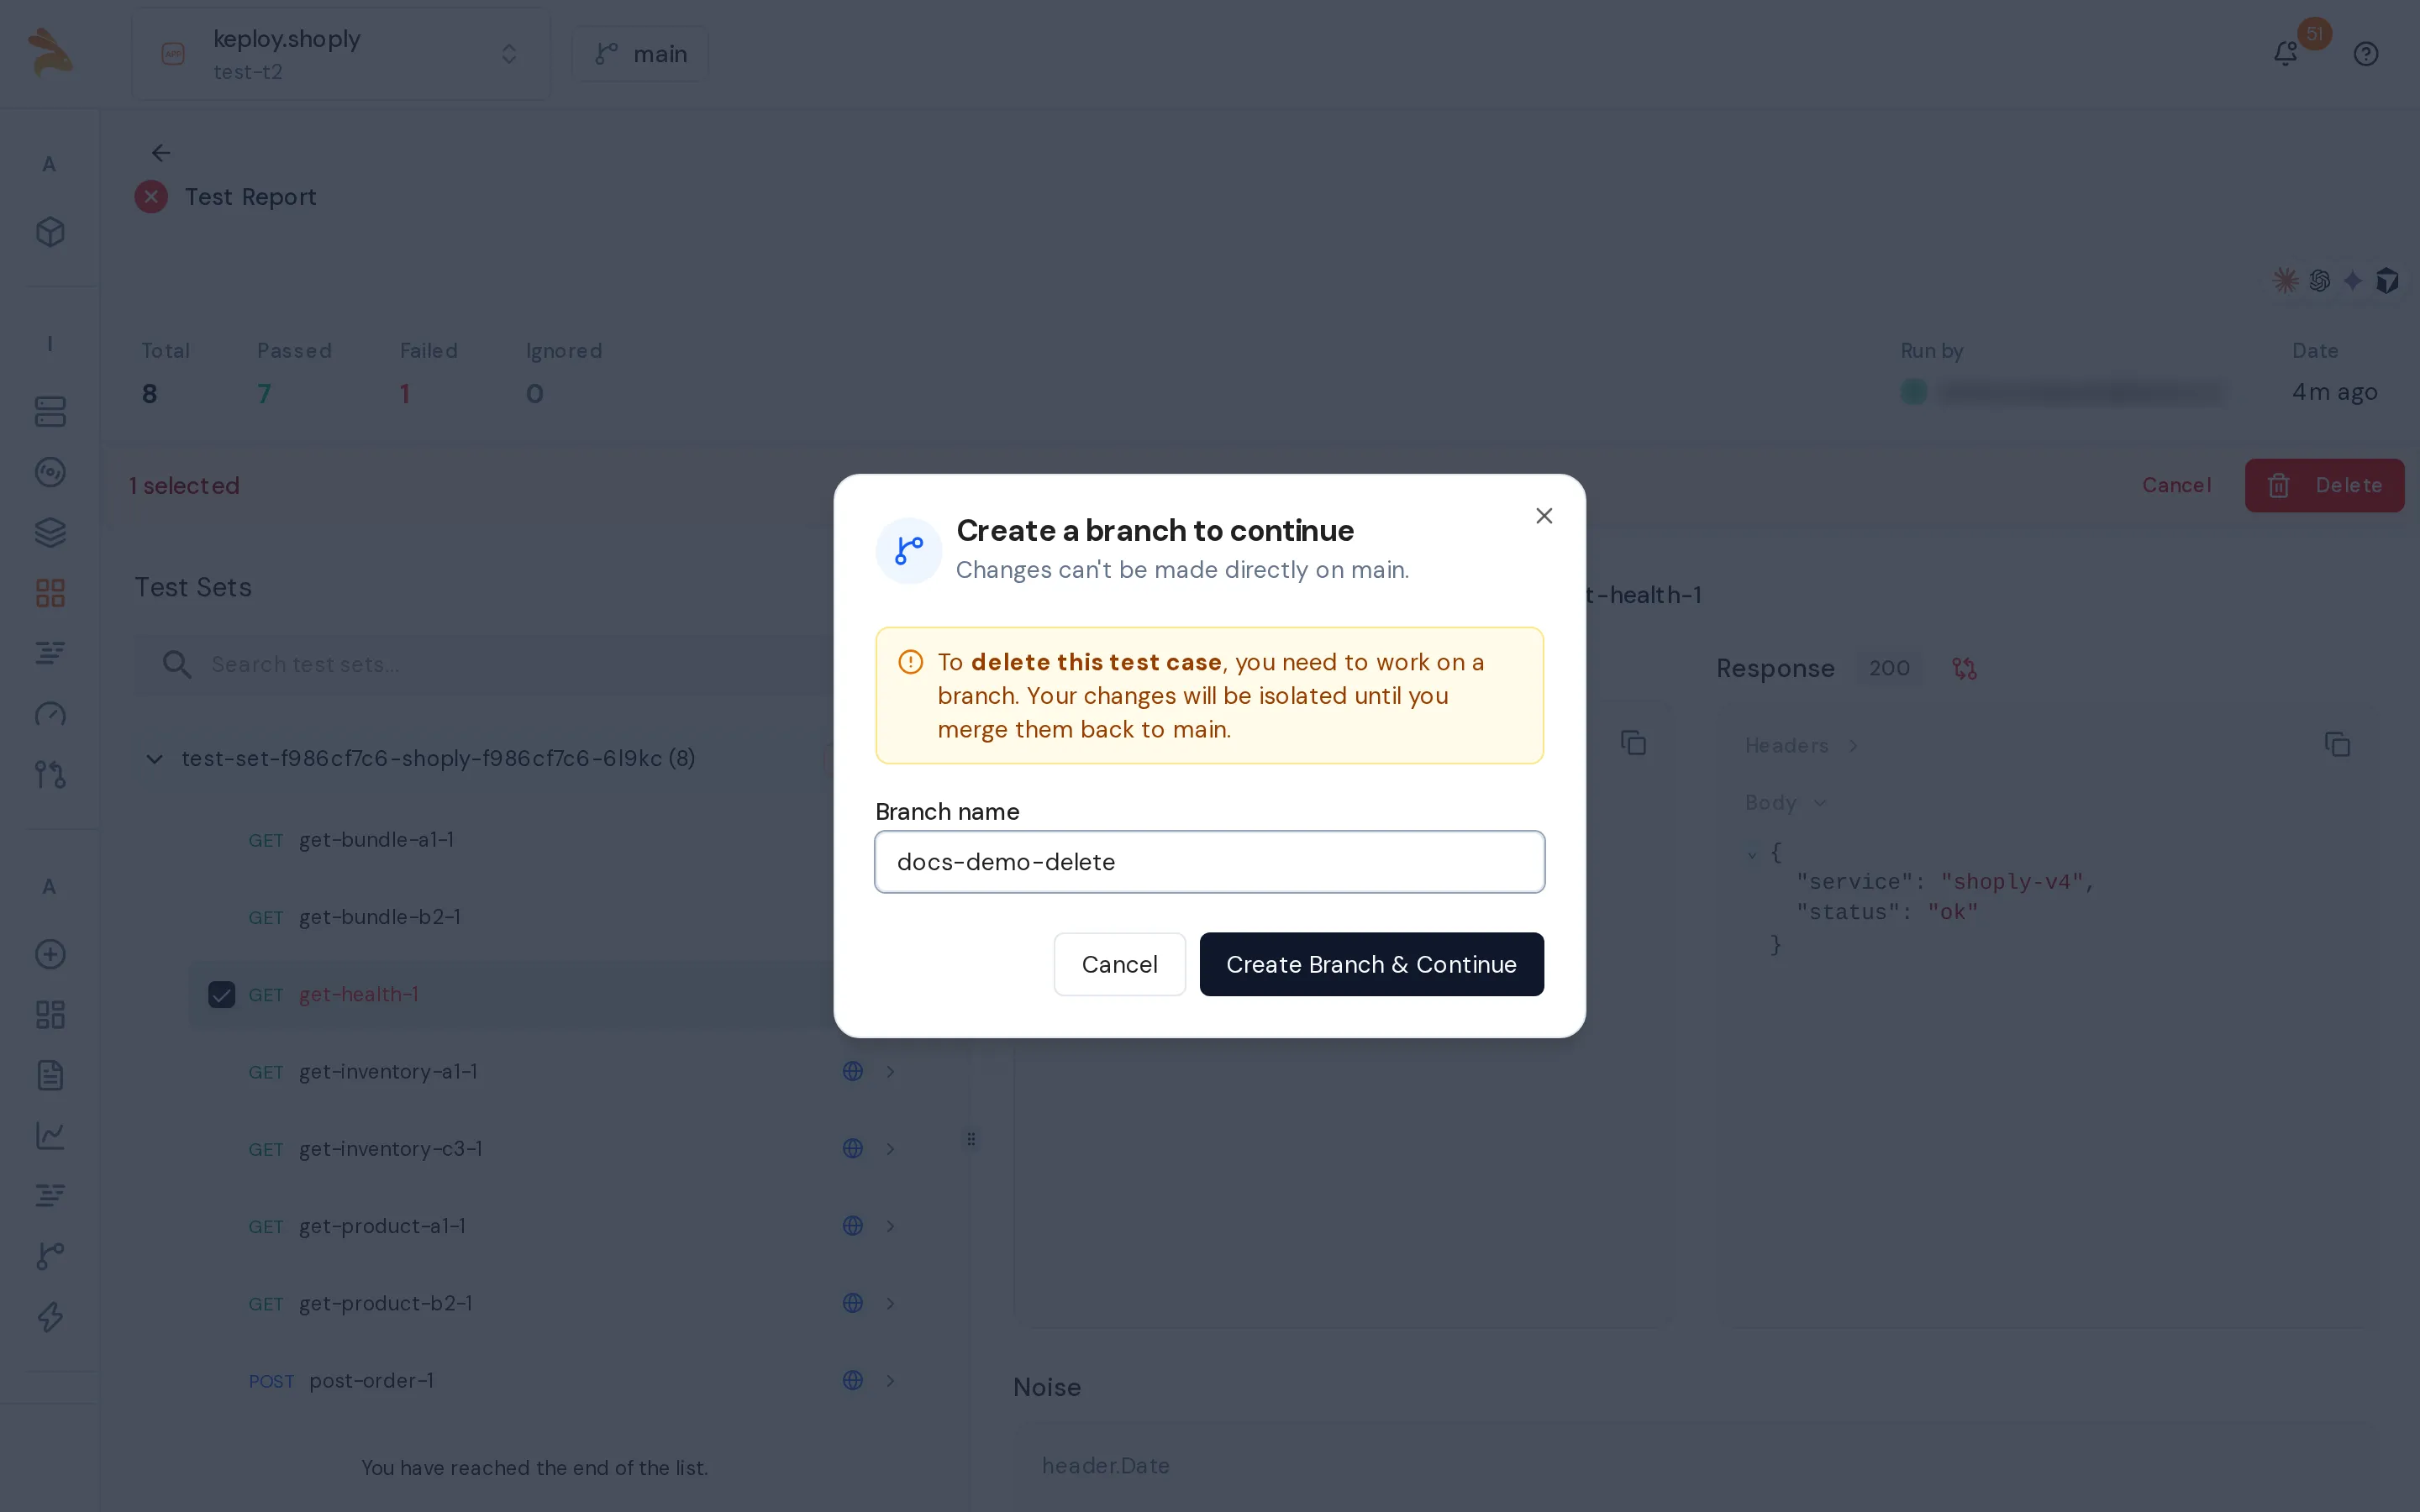
- If you're on main, the Create a branch to continue dialog opens. Enter a branch name and click Create Branch & Continue.
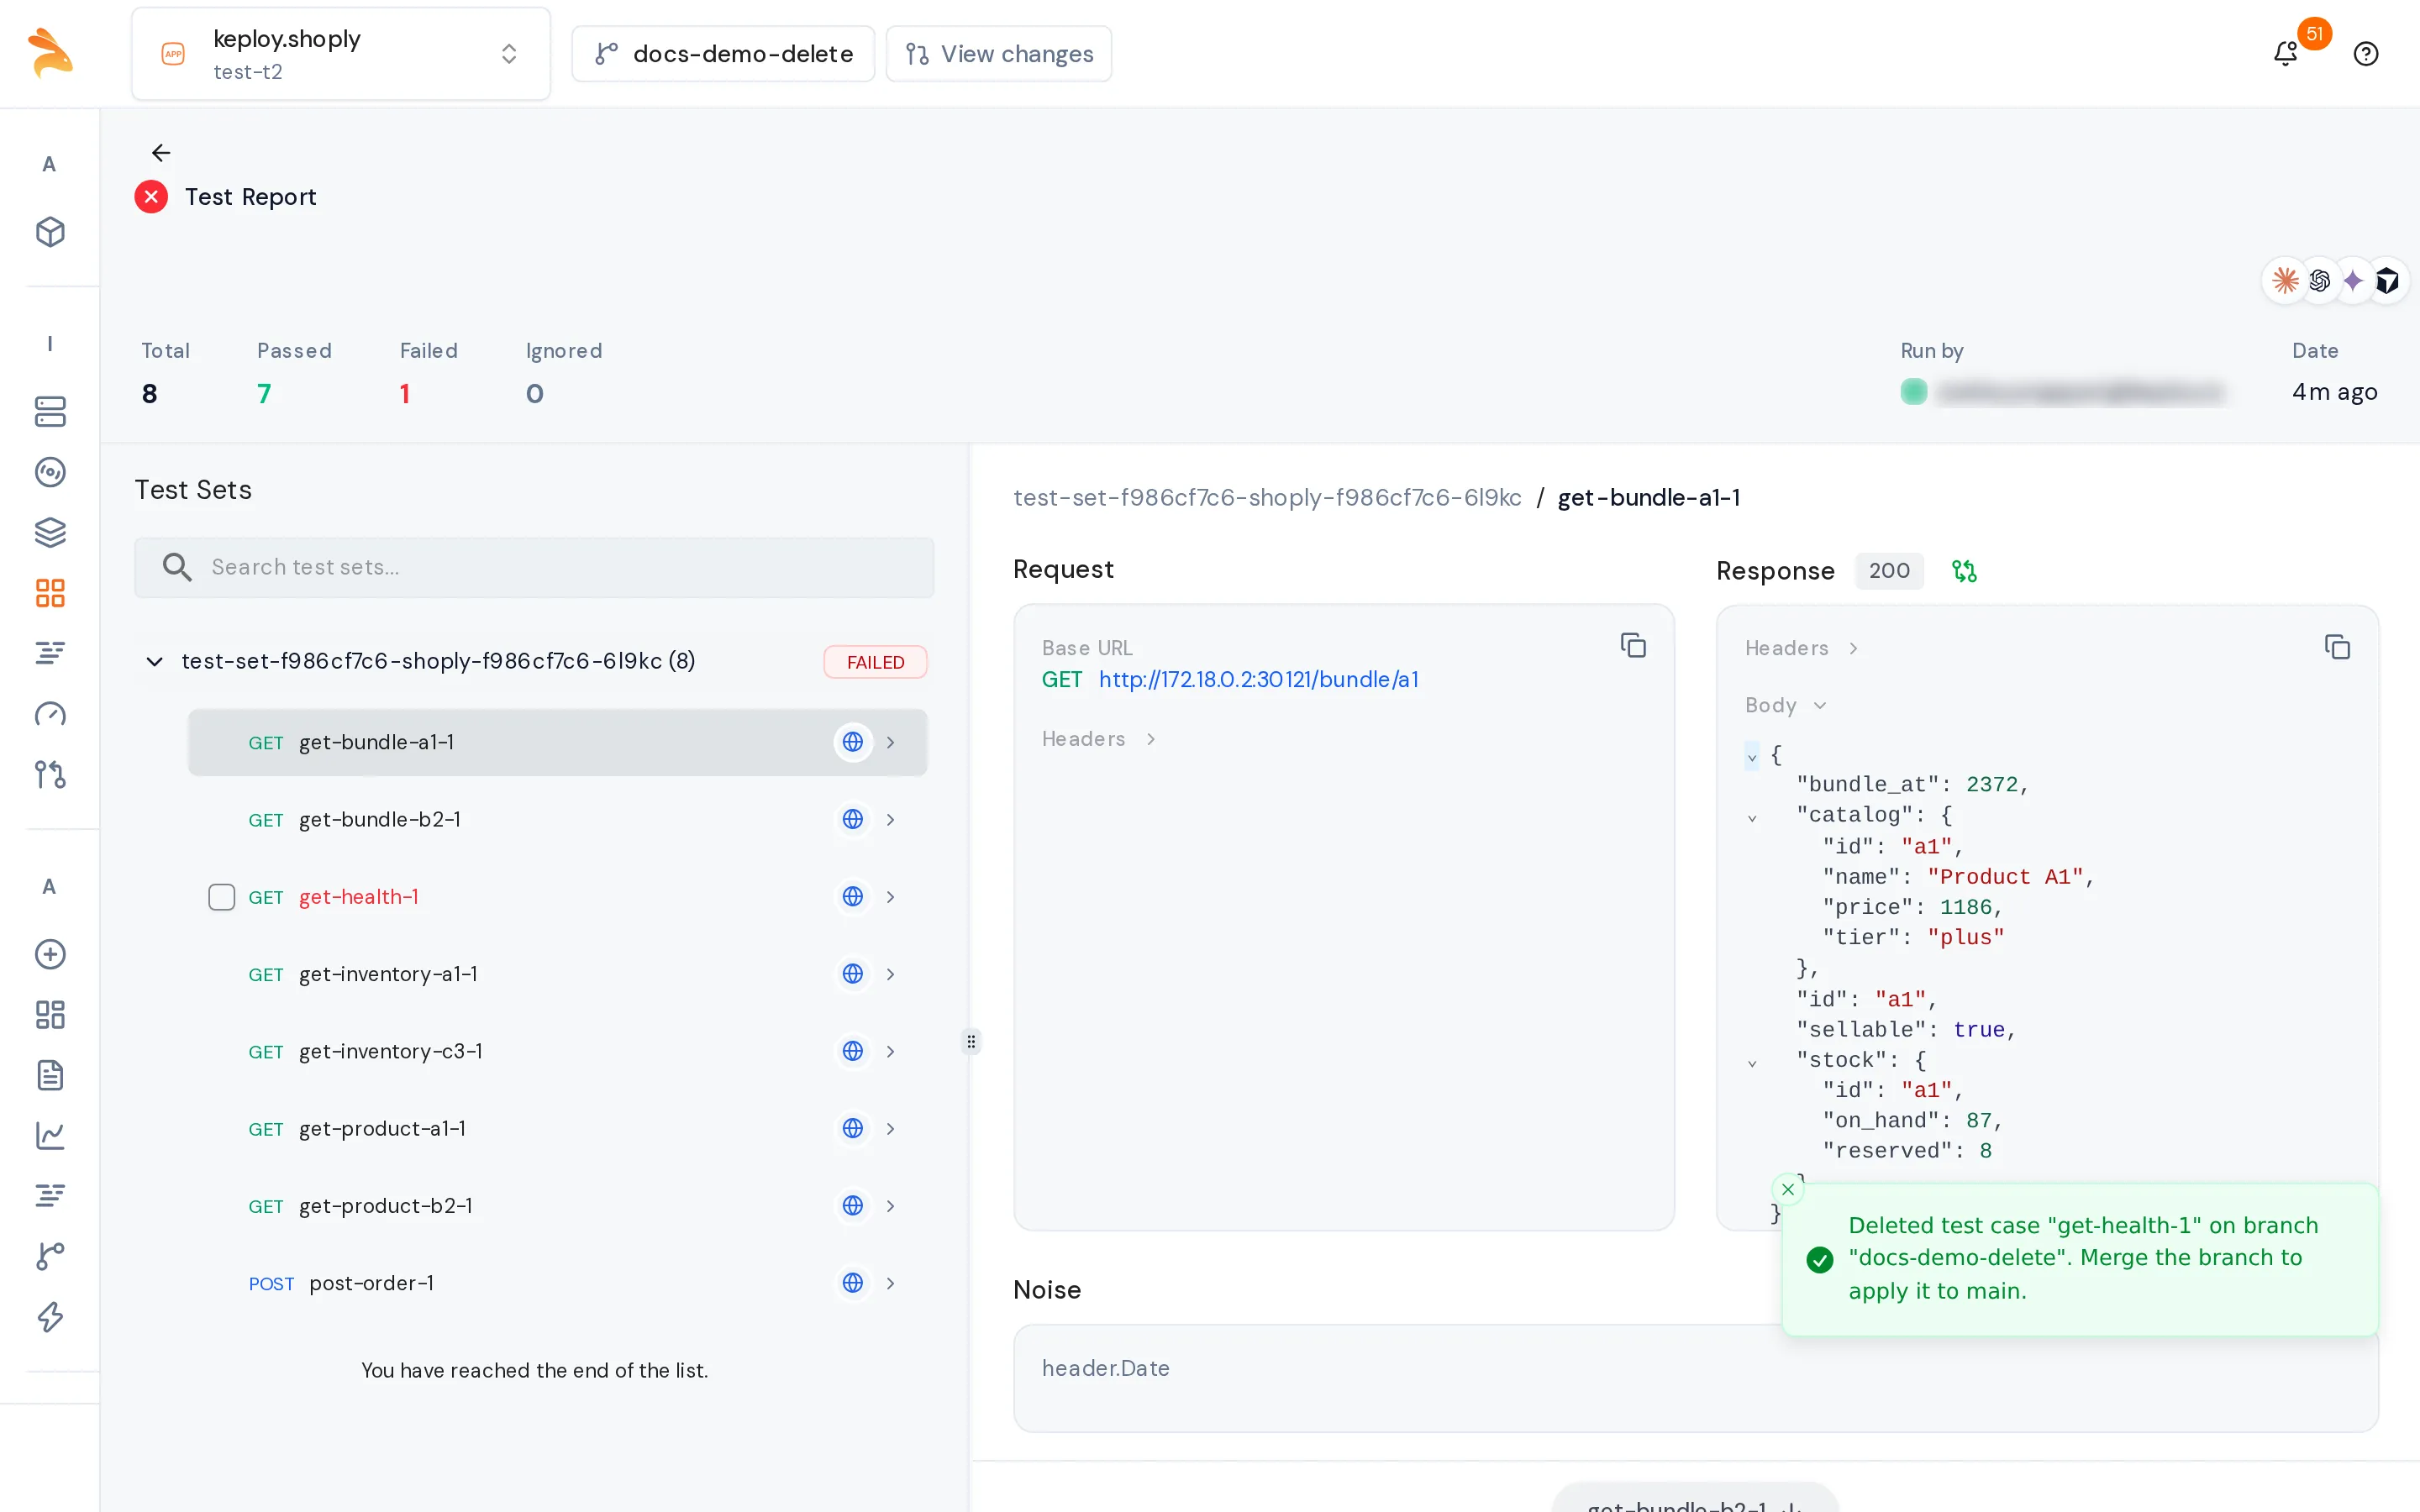
Keploy deletes the test case on the branch and switches the dashboard to that branch. A message confirms it: Deleted test case "…" on branch "…". Merge the branch to apply it to main.
To apply the delete to main, commit, review and merge the branch.
- Delete a whole test set: when every test case in a set failed in the run, the set's row shows Delete test set. After the merge, the set's test cases, mappings and mocks are removed from main.
- Mocks: deleting a single test case removes only the test case. Its mocks stay.
- Which branch: if you're already on a branch, the delete goes there. If the report came from a pull-request pipeline and the pull request has a Keploy branch, the delete goes straight to that branch, without the Create a branch to continue dialog. See Replay in CI.
Work on a branch
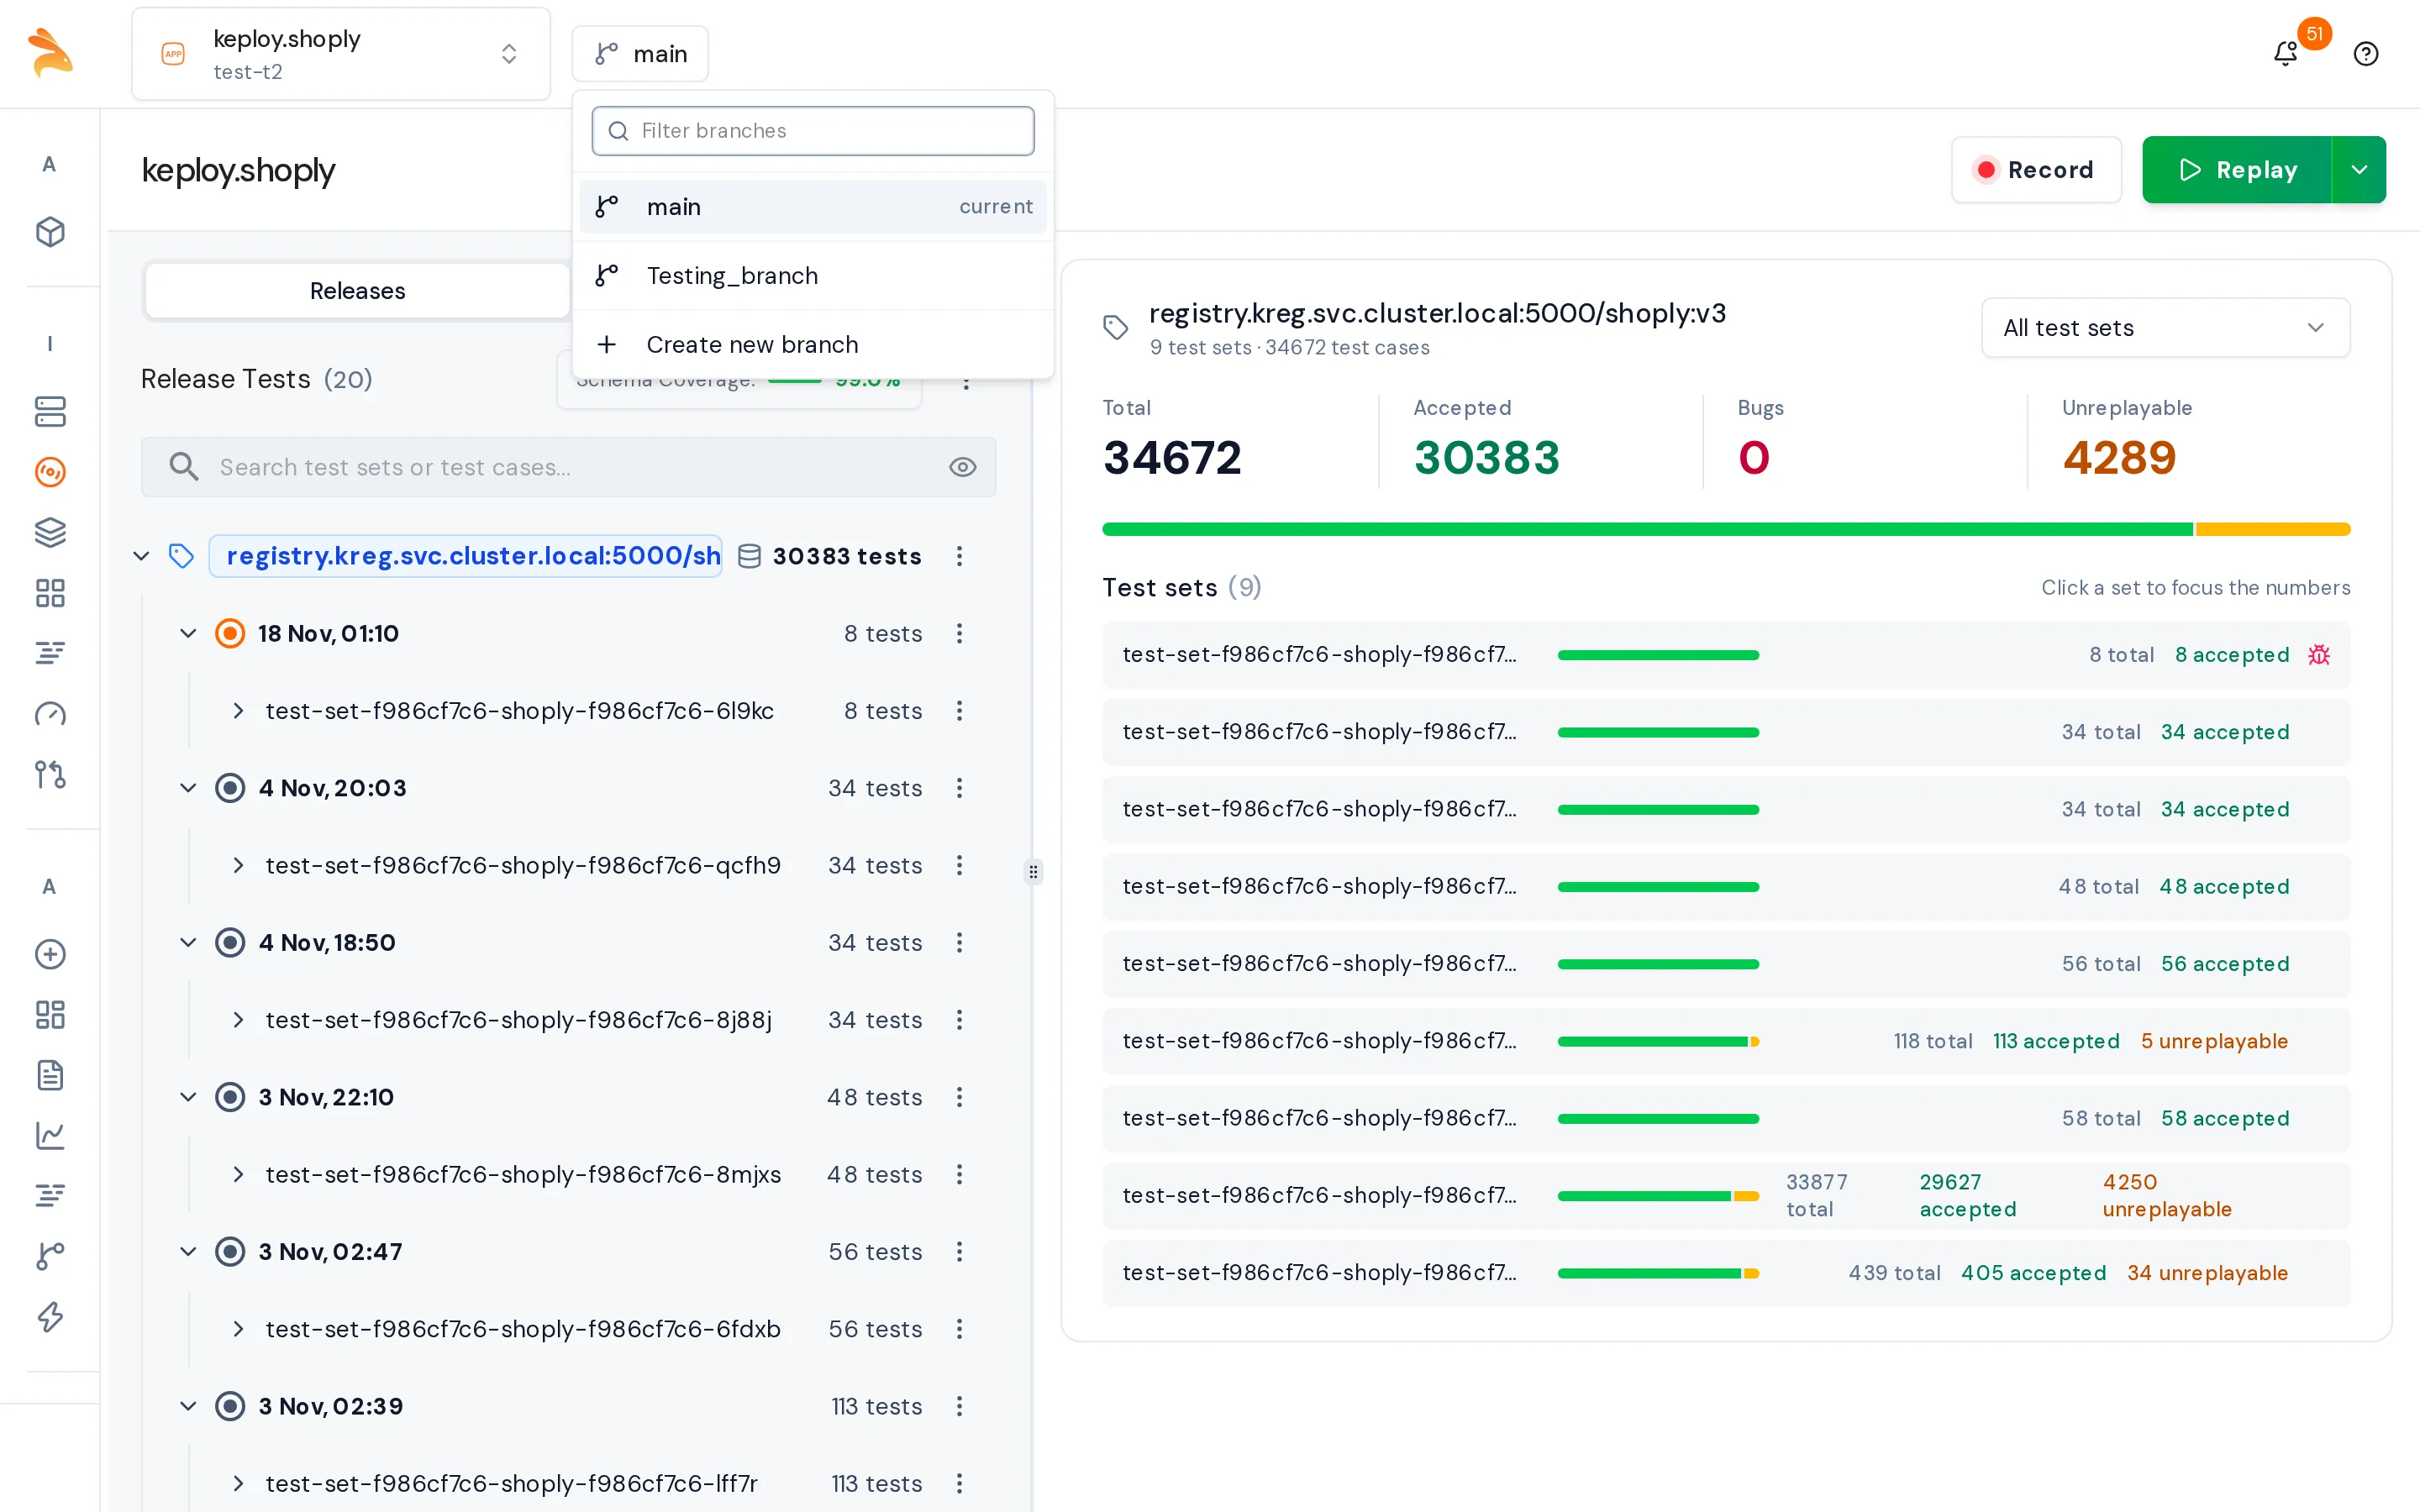
You rarely need to create a branch yourself: Create a branch to continue opens whenever you change test data on main. To create a branch in advance, open the branch picker in the header, which shows main, and click Create new branch. Enter a Branch name and click Create Branch.
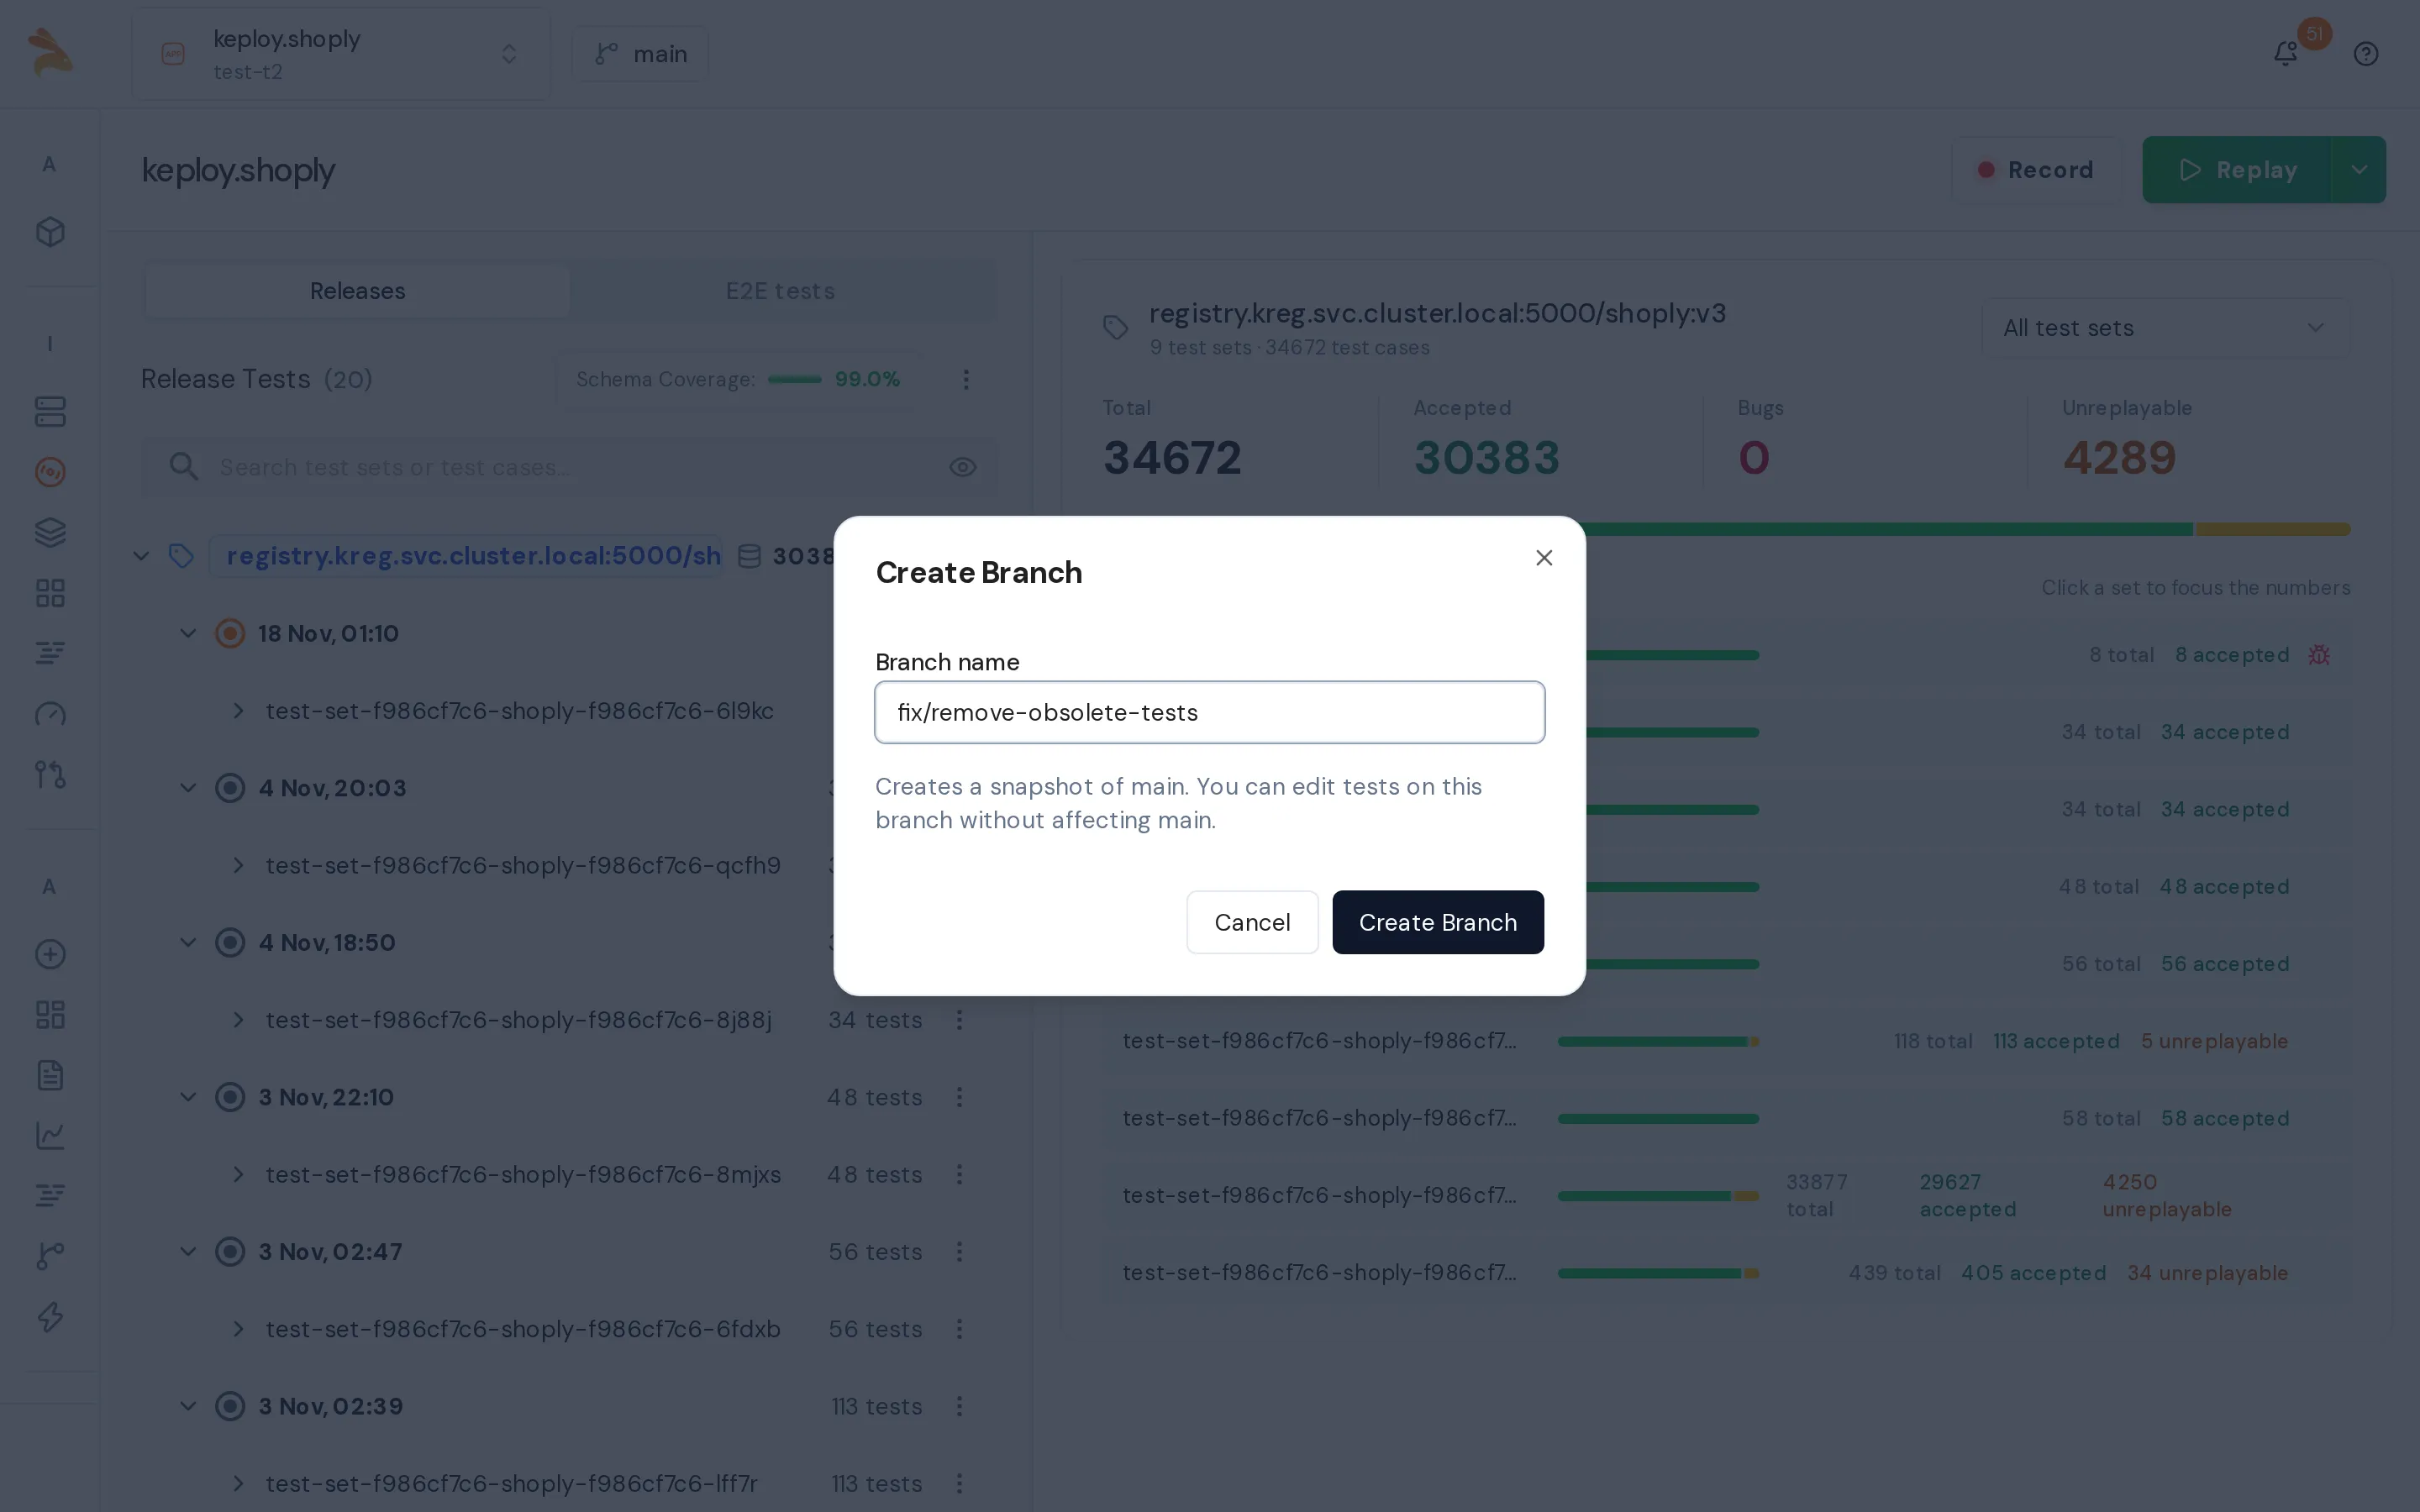
- A branch name can't be empty, contain spaces, or be 100 characters or longer.
mainandmasterare reserved. - Branch names are unique per app. A name that another branch uses, including a merged or closed branch, is refused.
- Naming the branch after your git branch makes the two easy to match.
A replay from the dashboard always runs against main. To replay your branch before you merge it, use the CLI:
keploy cloud replay --app "<namespace>.<deployment>" --branch-name "<branch>"
Commit, review and merge
- With the branch selected in the header, click View changes. The branch page shows your uncommitted changes in a banner at the top. The Changes tab lists the committed changes compared with main.
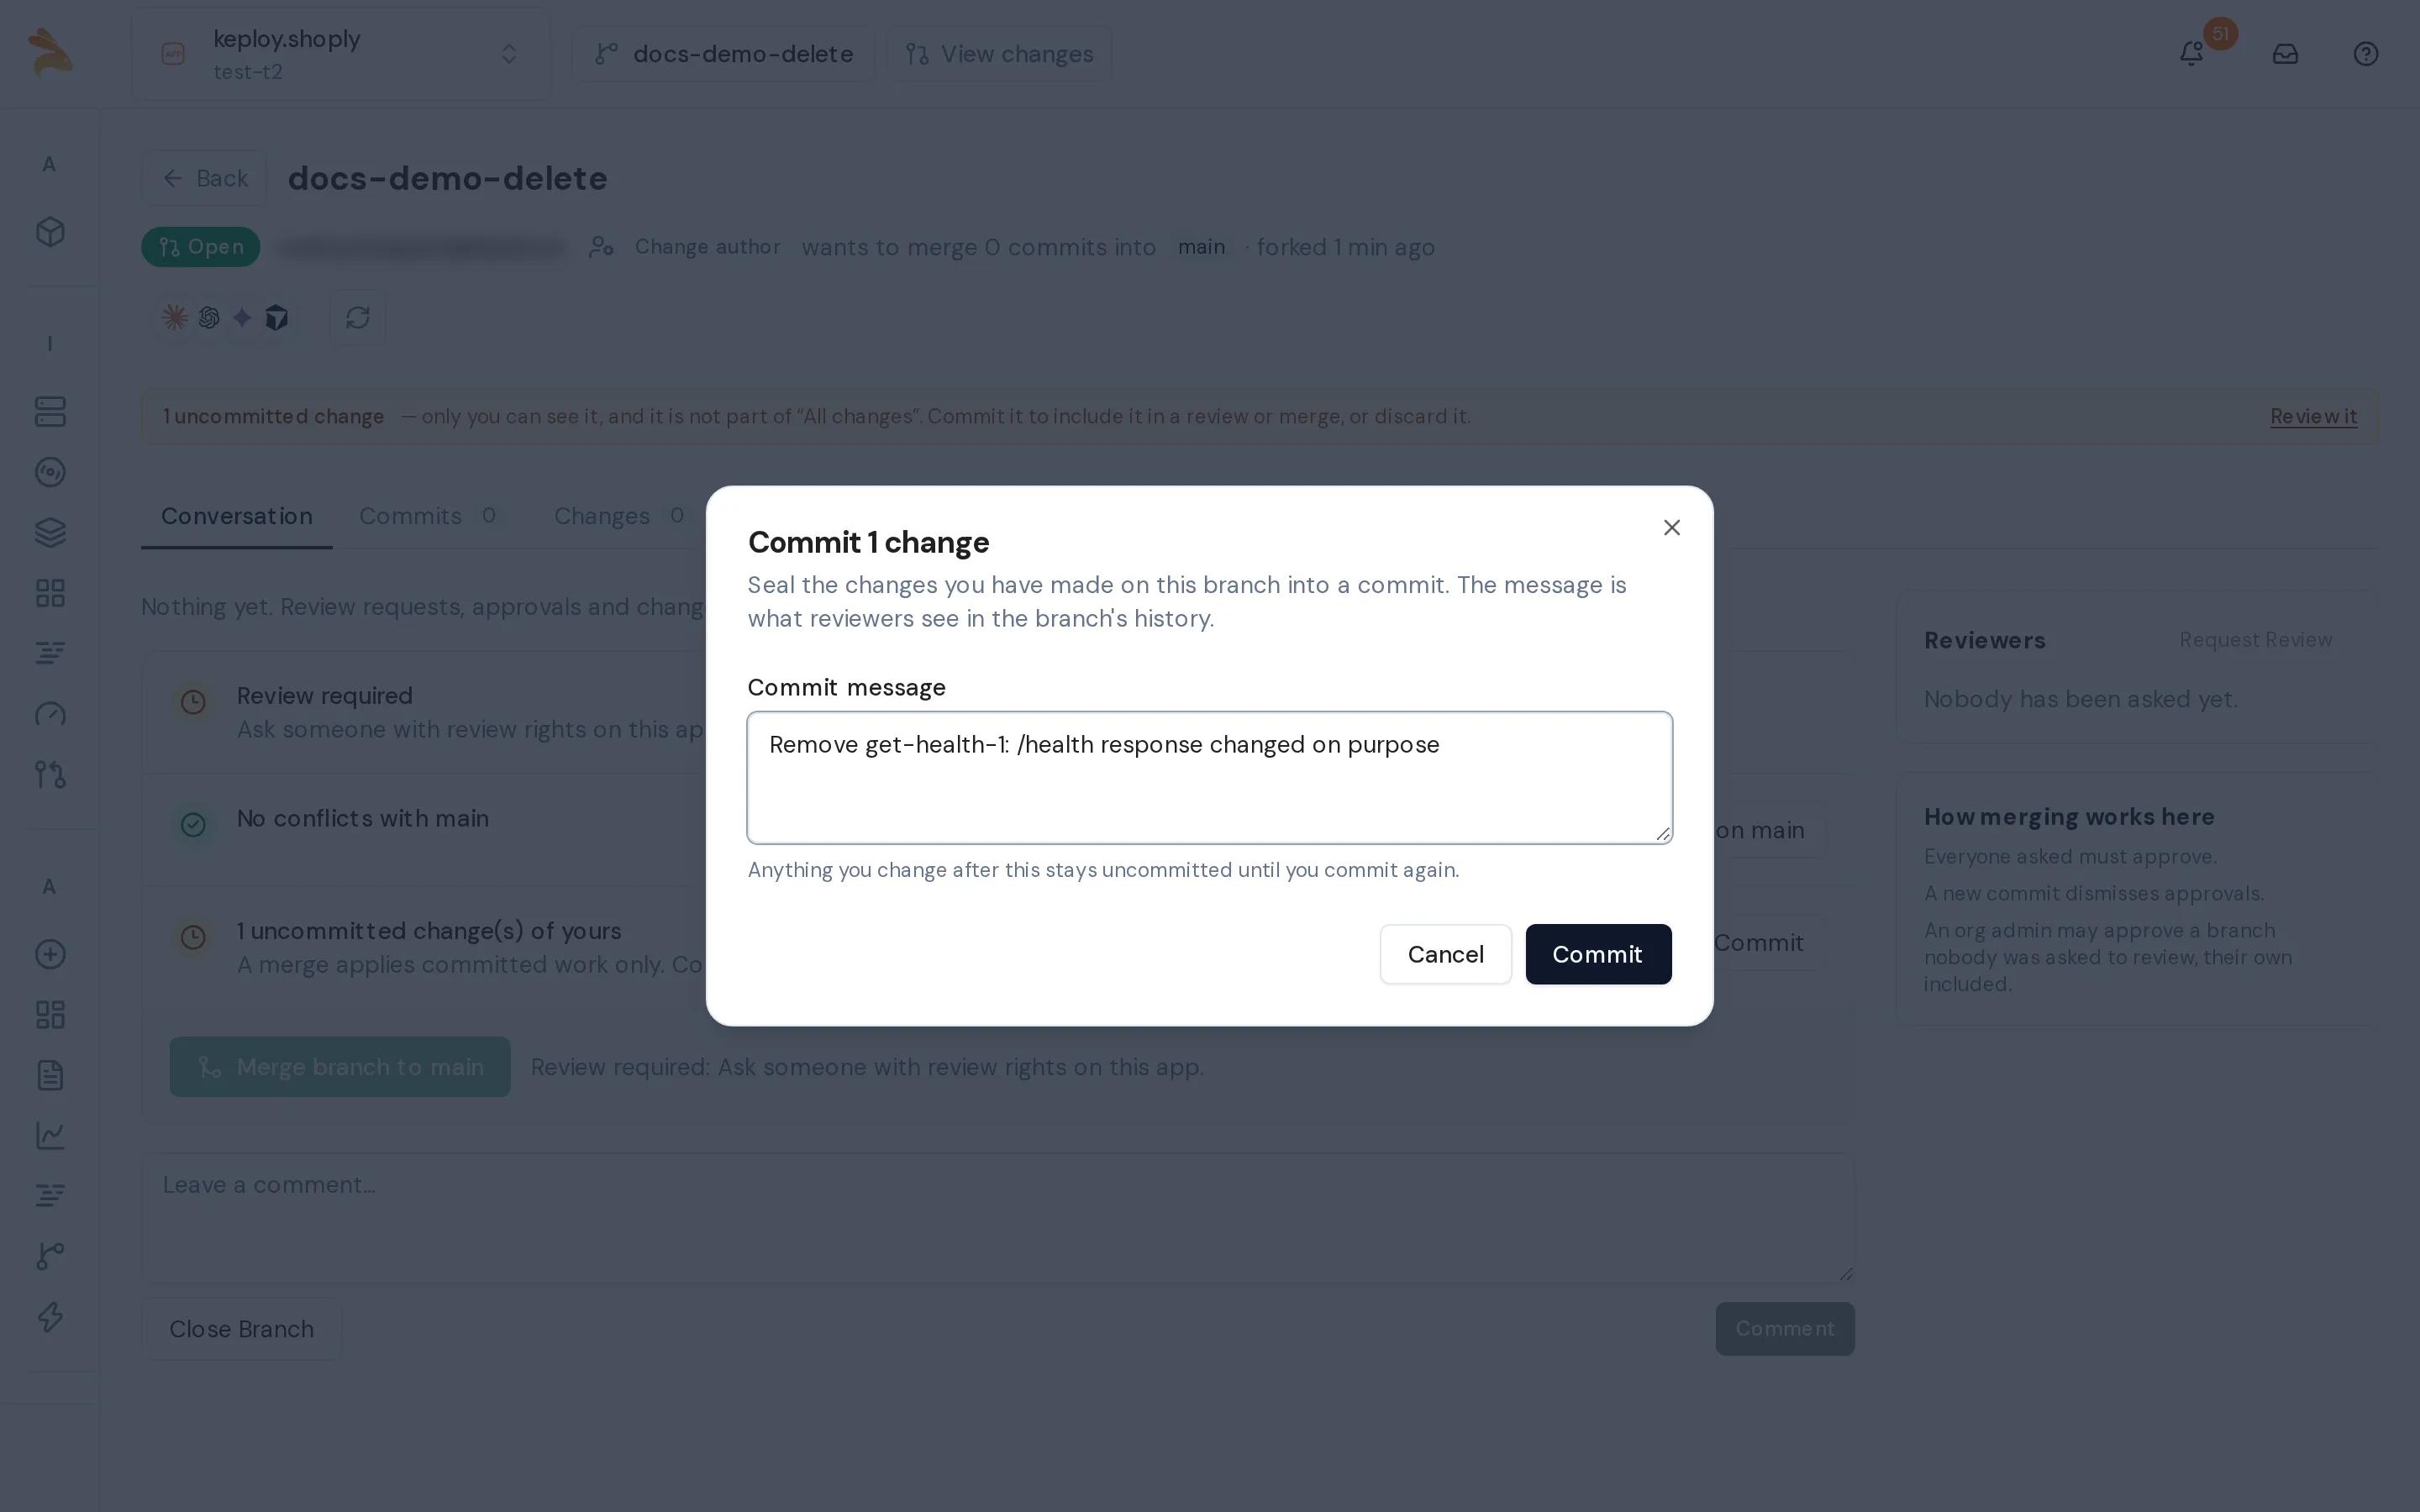
- Click Commit, enter a Commit message, and confirm. Only committed changes can be merged.
- Click Request reviewers and choose who should approve.
- The reviewer opens the same page and clicks Approve. Reviewers can't approve their own branch, except an Admin, who sees Approve your own branch.
- When the checks show Approved and No conflicts with main, click Merge branch to main.
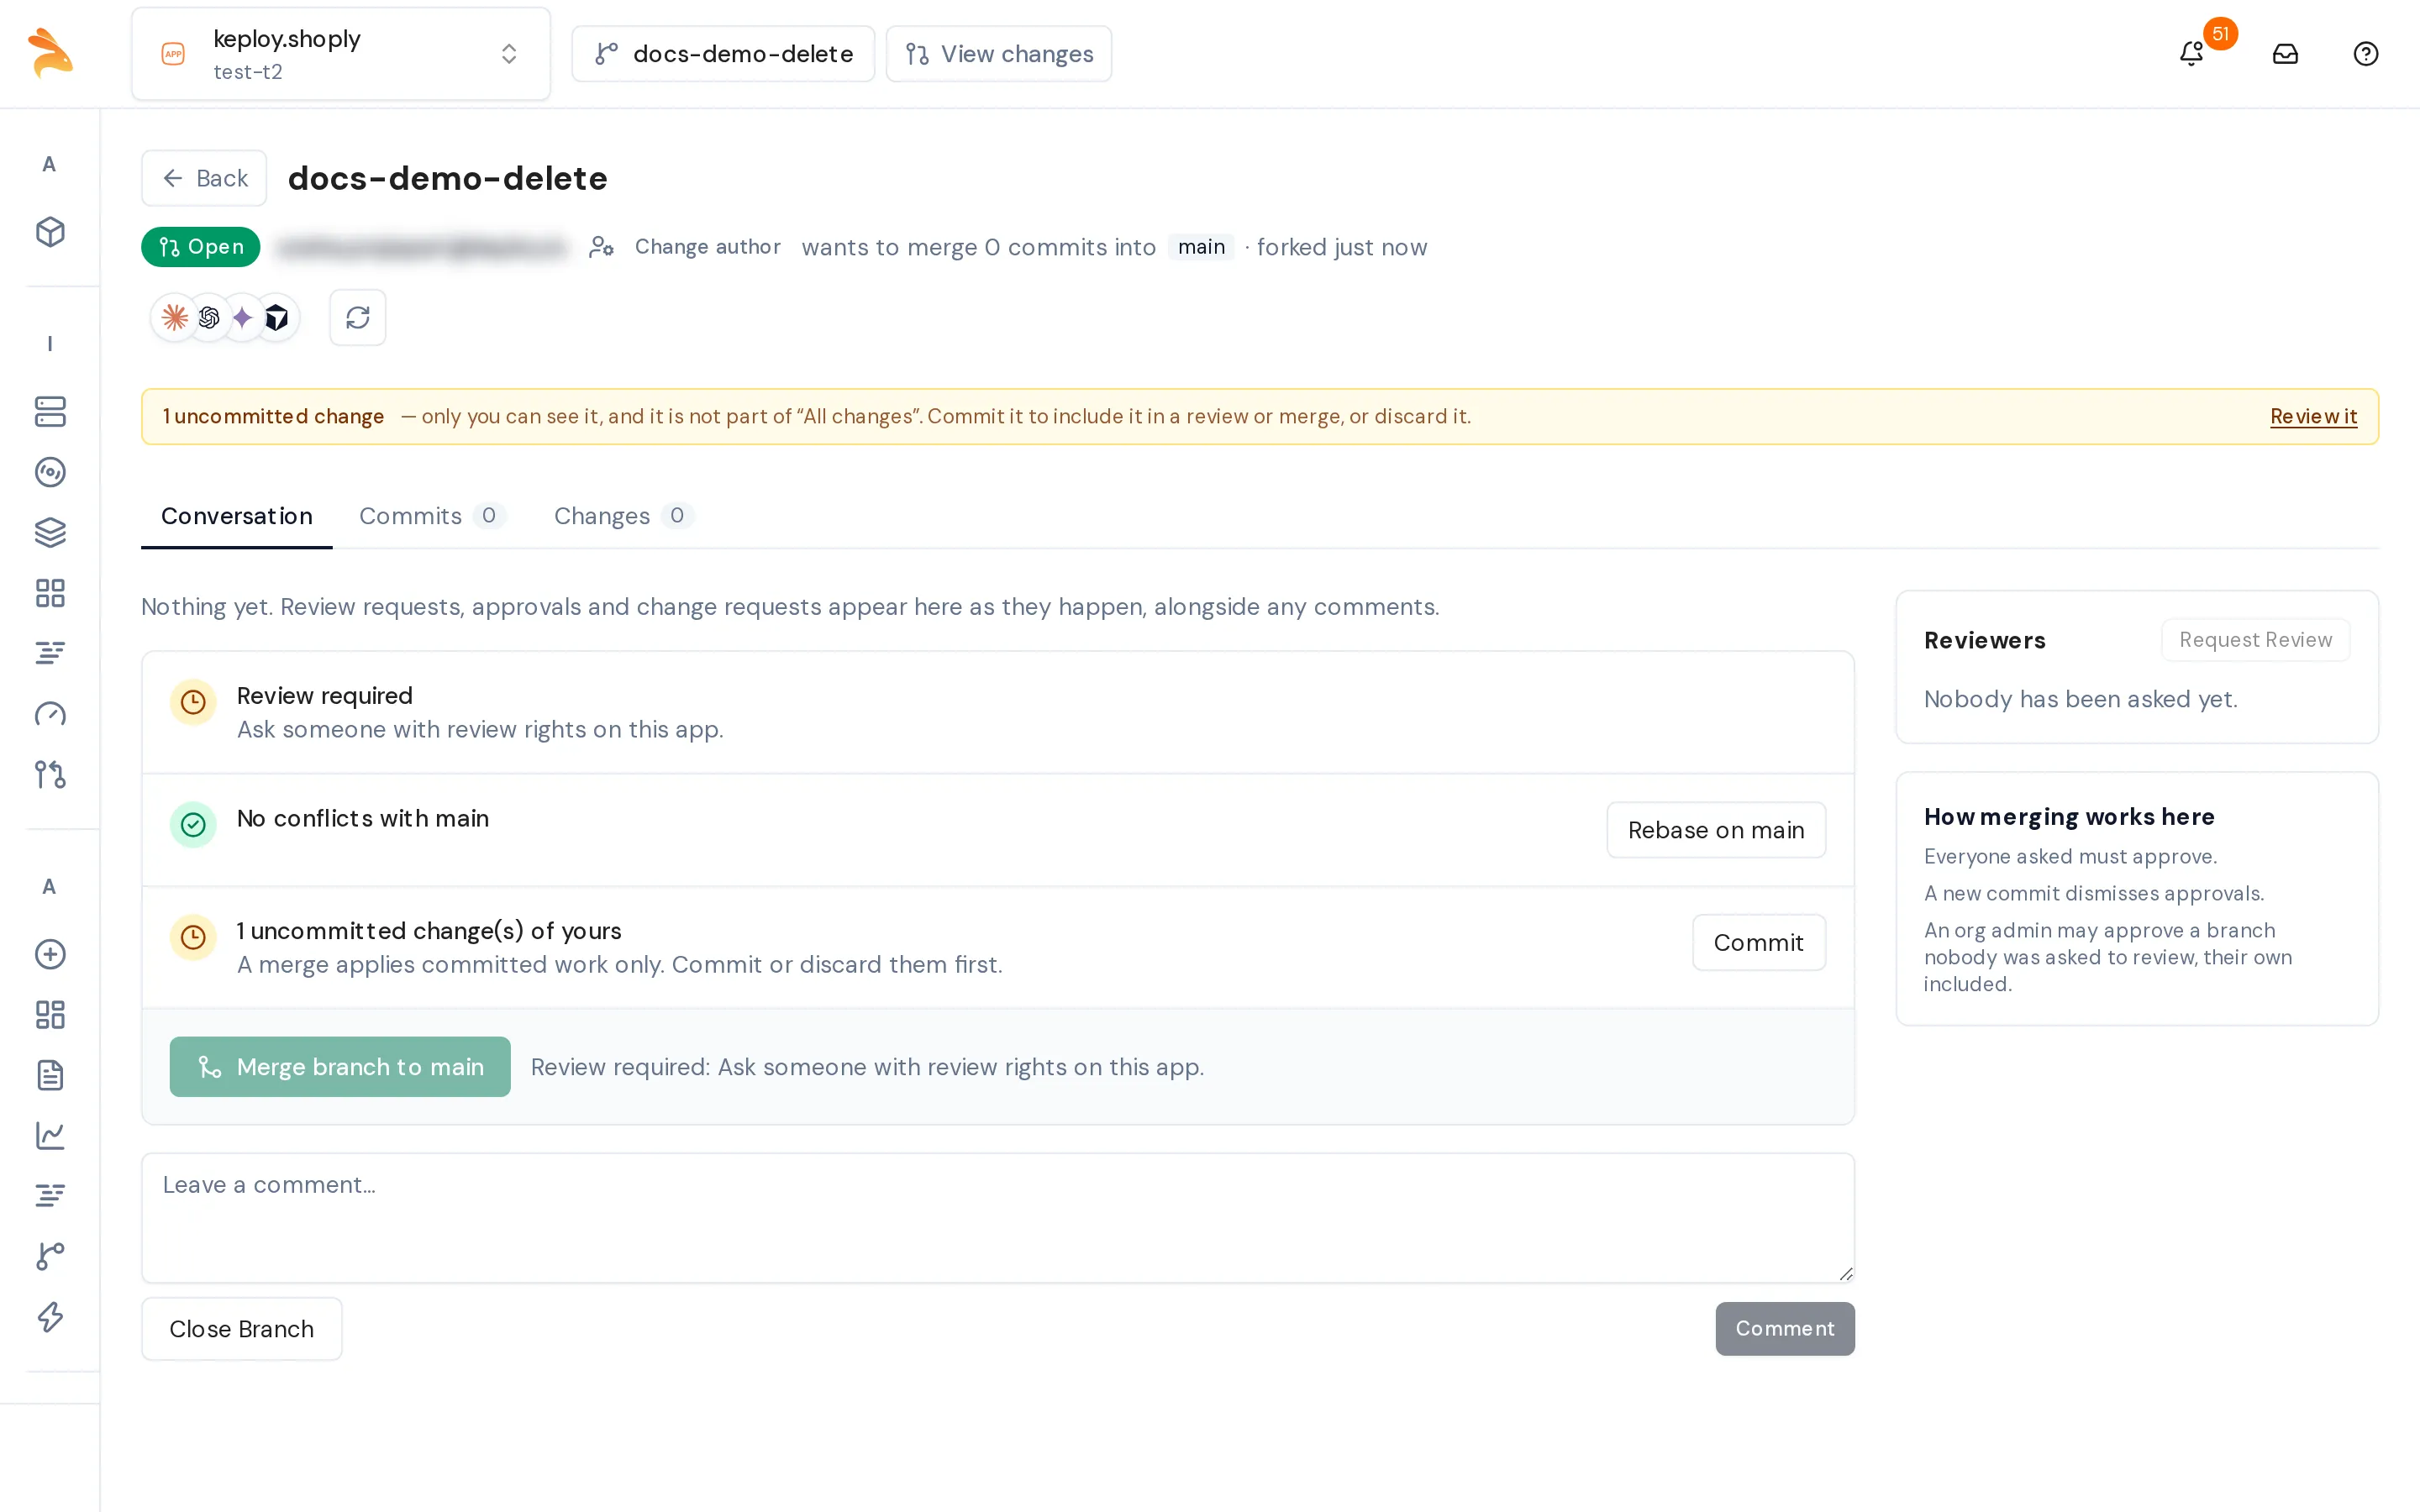
A message confirms the merge: Merged <branch> to main. From then on, replays of main include the change.
- New commits after approval: a new commit dismisses existing approvals, so the branch needs approval again.
- Conflicts: if main changed the same item, click Rebase on main, or click Resolve to choose how to resolve each conflicting item on the Changes tab.
- Skip review: an Admin can select Merge without the required approval. and click Merge to main, bypassing review.
Undo a change
On the branch page, which you open with View changes:
- Before you commit: click the discard icon on your uncommitted changes. This can't be undone.
- After you commit: click Restore test case (or Restore test set) on the item, or revert the commit.
- Any time before the merge: click Close Branch. Main stays unchanged.
After the merge, the change is part of main.
Merge from CI
When you replay pull requests in CI with keploy cloud replay, you don't merge the pull request's Keploy branch by hand: the first pipeline run on main after the pull request merges does it. See Replay in CI.
Troubleshoot deletes and merges
| Message or problem | What to do |
|---|---|
| Cannot delete: this recording is used by a sandbox test. | A sandbox test still uses this recording. Stop using it there, then retry. |
| Failed to delete test case(s) … | Check that you have permission to change test data on the app, then retry. |
| Merge branch to main stays disabled | Read the checks above it: commit your changes, get approval, or resolve conflicts. |
Related
- Run a manual replay: replay test cases and open the Test Report.
- Edit test cases and mocks: edit test cases and mocks, and mark fields as noise.
- Replay in CI: the Keploy branch that a pull-request pipeline creates and merges for you.
- Cloud Replay Command Reference: the branch flags of
keploy cloud replay.